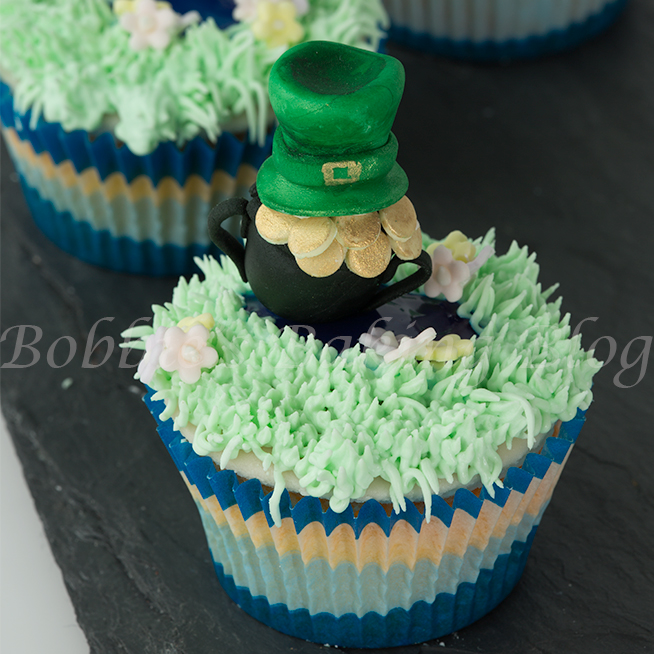
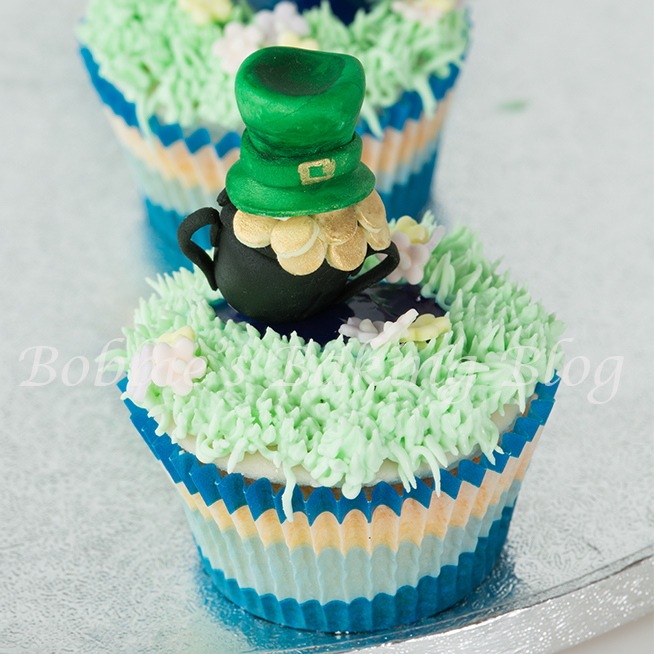
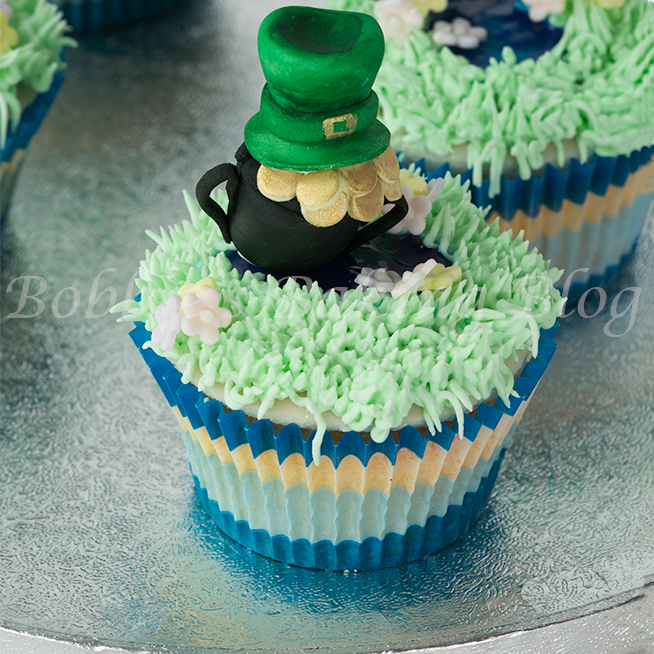
The cupcake almost looks like a leprechaun
It is time for us to have fun and good fortune with a special St. Patty’s Day pot of gold and leprechaun hat created with modeling chocolate tutorial.
Dating back to Medieval times, in Europe , the legend of the pot of gold is enthusiastically told by the Irish. The folklore claims fairies put the gold at the end of a rainbow and commandeered the leprechauns to guard it. This folklore has become an intricate symbolism of St. Patrick’s Day, a holiday that celebrates everything Irish including the hope and luck it takes to find that elusive pot of gold.
The famous Irish lore is based on a bit of trickery. A rainbow does not have an end point. “The way the physics work, rainbows are actually full circles,” the Earth being round as well prevents you and me from seeing the complete circle. Our vision is limited to only seeing as far as the horizon. Rainbow’s end is similar to a magic trick, an optical illusion. However that does not mean we can’t believe one day one of us may find the legendary pot of gold.
I thought why wait when we can construct our own edible pot of gold and Irish luck!
Pot of Gold and Hat:
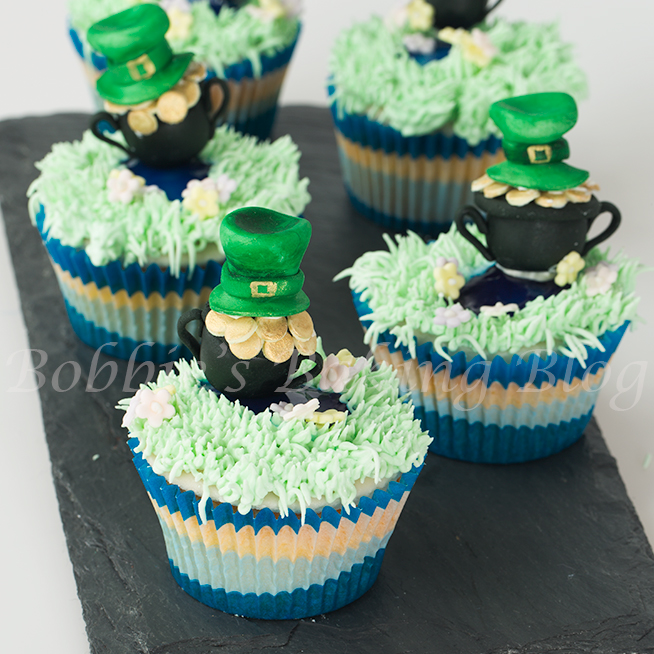
These cupcakes are so cute
Equipment:
- Creme de Menthe Cupcakes, flat top
- Circle cutters, various sizes
- Ball tool
- Piping tips/tube large and small, you will be using the opposite side
- Grass piping tip/tube, for piping
- #2 piping tip, for piping
- #7 piping tip/tube
- Palate spatula
- Knife
- A-ceto knife
- Parchment piping cones
- Flower plungers
- Fondant rolling pin
- Artistic brush, #2 round and #3 mop
- Celsticks, medium & small
- Toothpicks
- Clay gun
- 10 jacks balls
Materials:
- 1- recipe white modeling chocolate
- 1-recipe dark moldering Chocolate
- Royal Icing, colored green, blue, & white
- Clear piping gel or blue colored SK piping gel
- Blue food paste
- Edible glue
- Marzipan
- Fondant, to cover the cupcakesPetal dust & lustre, green, gold, and kiwi
- Everclear
- Corn starch
- Crisco
- White chocolate melts, melted for attaching
- Freeze spray
- Confectionary candy color black, Chefrubber
- Moss green, Wilton
- Vine green, SKGI
- Pink,SF
- Bitter lemon, SF
You may find supplies here
With the exception of black colour it is perfectly fine to use regular food paste for the modeling chocolate. If you want to add colour to the embellishments you need to create a paint with petal dust and Evercler (or lemon extract). Dusting the modeling does not work well!
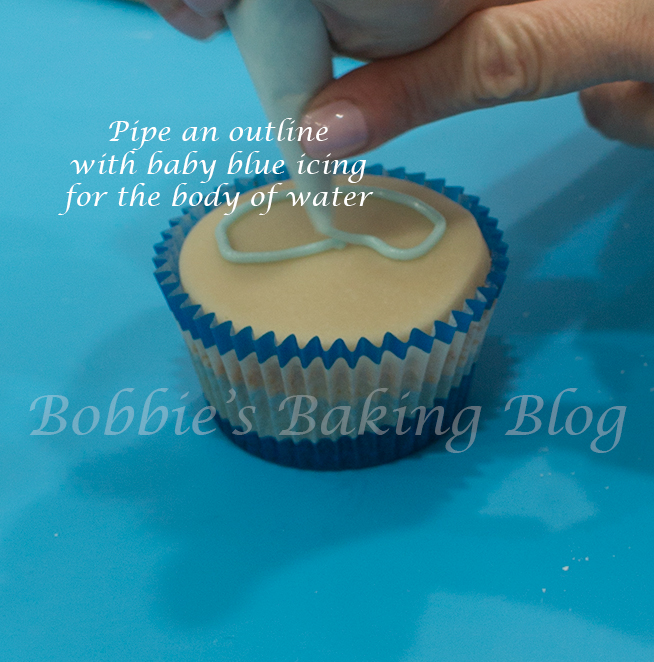
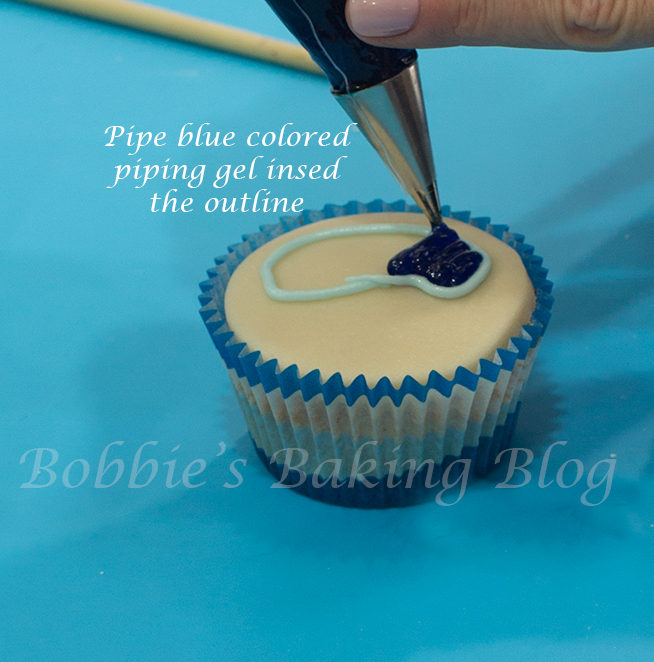
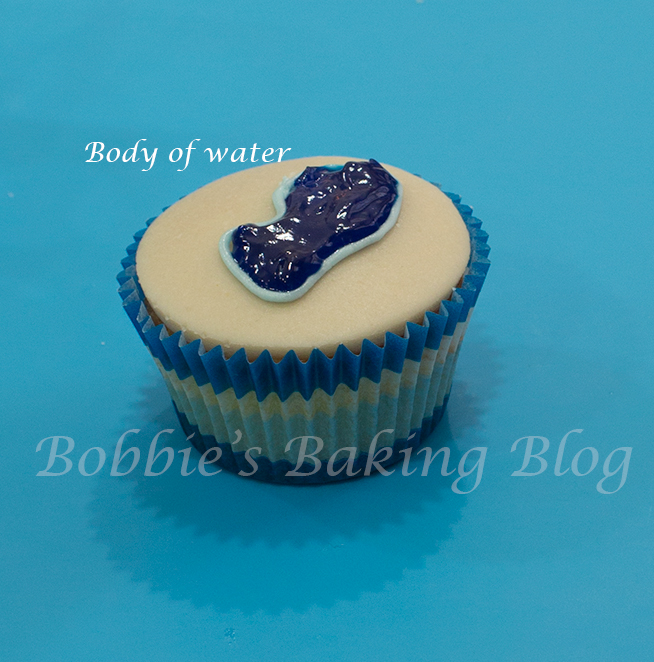
The Pond and Grass:
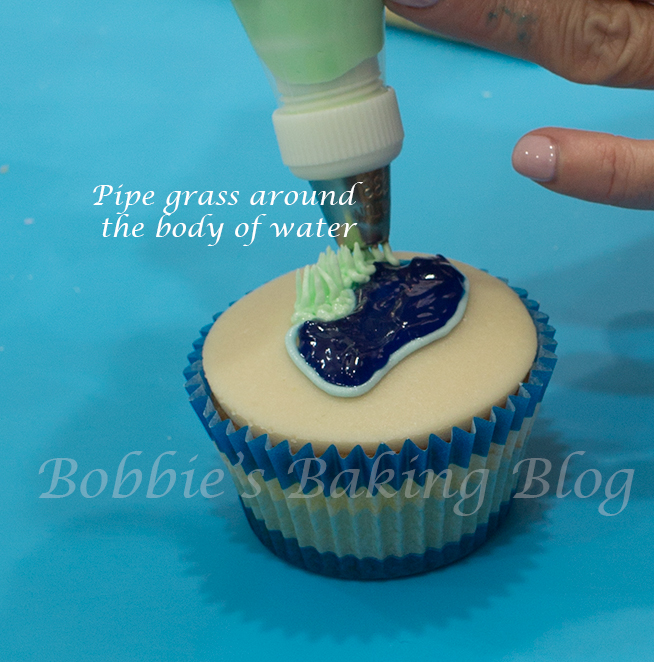
Cover the cupcakes, and allow the marzipan to dry. Color your piping gel with blue food paste and whip vigorously, place the colored piping gel in a piping bag fitted with a #2 piping tip/tube, outline a body of water with light blue royal icing, pipe the dam with your blue colored piping gel, and use a toothpick to spread to the edge (this will also create ripples for a water effect). With a piping bag fitted with a grass piping tip/tube pipe the grass from the outline of water to the edge of the cupcake.

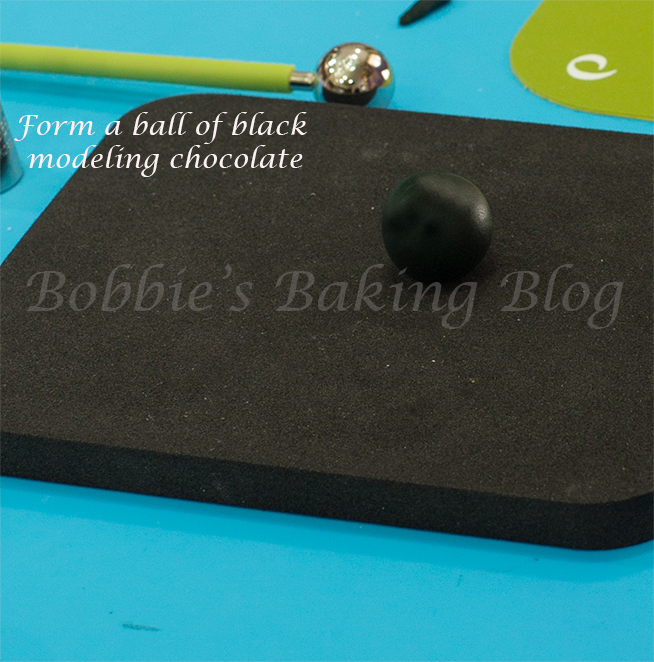
The Pots of Gold:
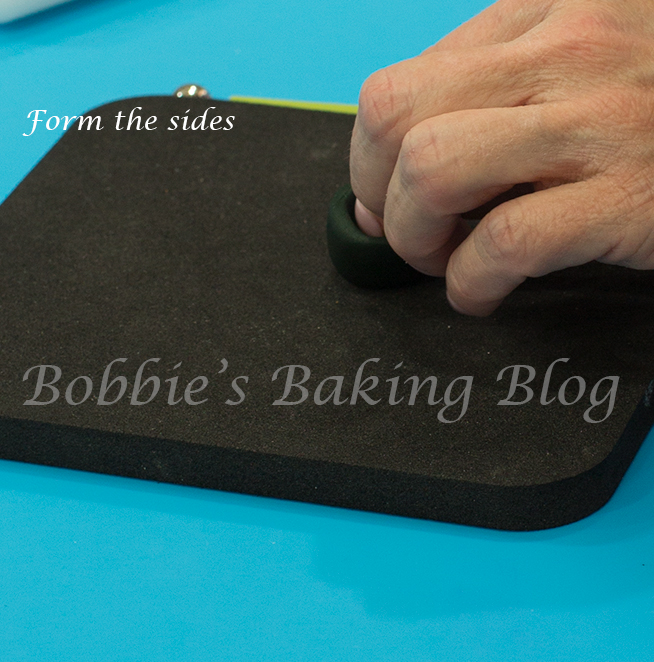
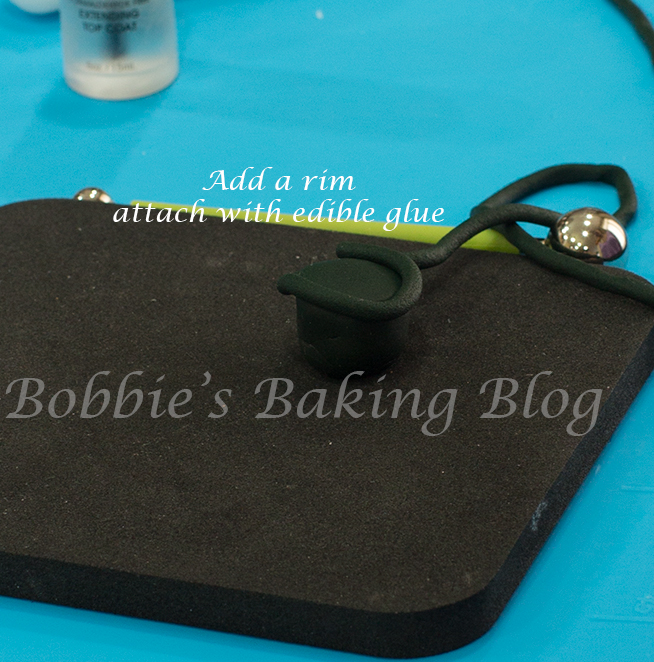
Color the dark modeling chocolate with confectionary black candy color roll a “jacks bouncing ball” size ball smooth, hollow the ball with a ball tool, flatten the hollowed ball, and shape the sides. Add a flatten round of dark modeling chocolate disks to the top. Using a clay gun and round shape disk create the rim of the pot, and attach the rim with edible glue (sugar water, egg white, or store bought).
Roll your white modeling, colored yellow, to about a # 3 on a pasta machine (coins are thick). Use a #7 piping tip/tube, to create little round disks and paint the little disks with a mixture of gold lustre dust and Everclear.

The Leprechaun Hats:
Color some of the white modeling chocolate with 1/4-toothpick moss green to 1/8-toothpickelectric green.
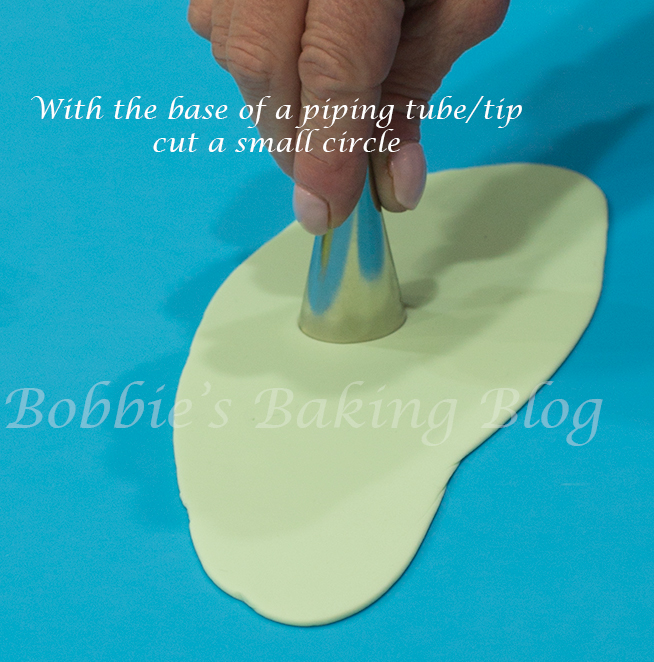
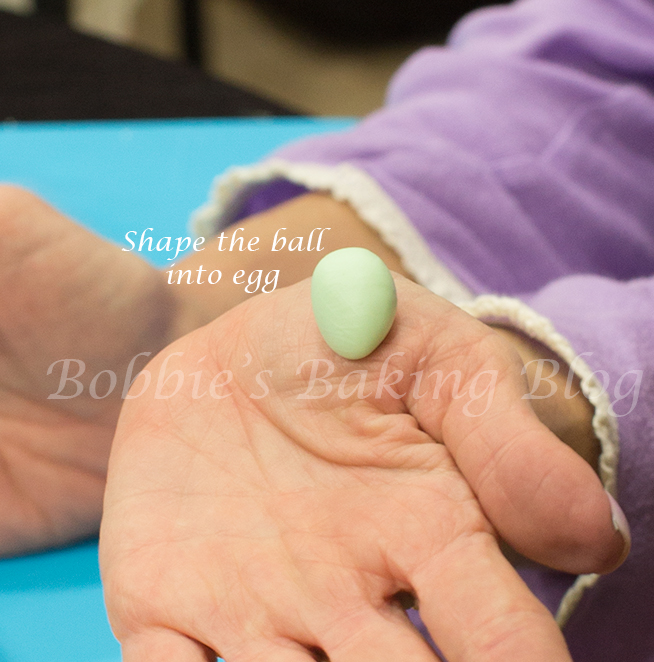
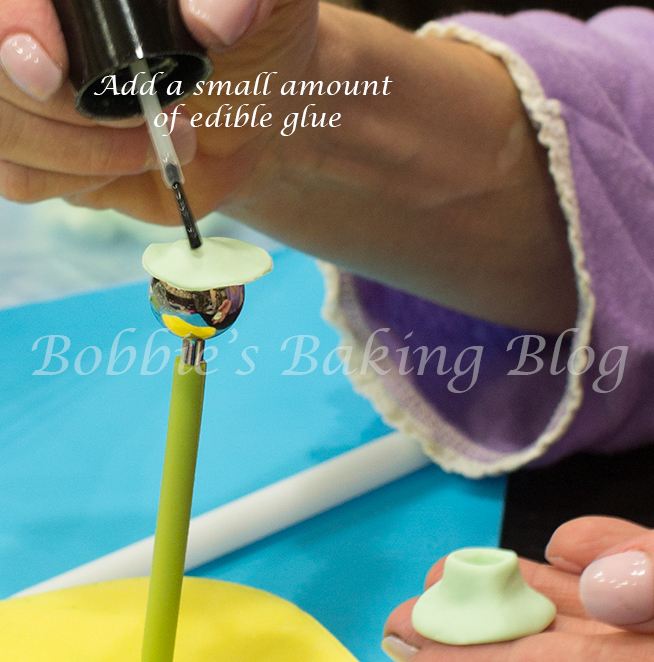
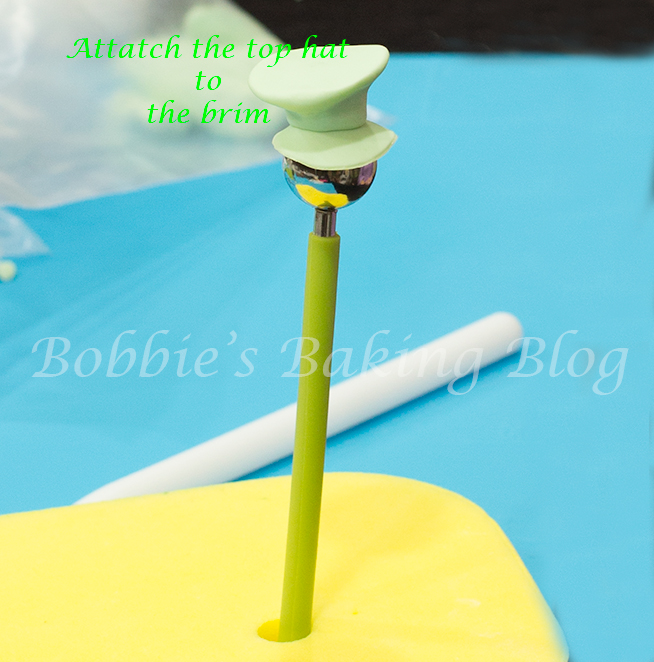
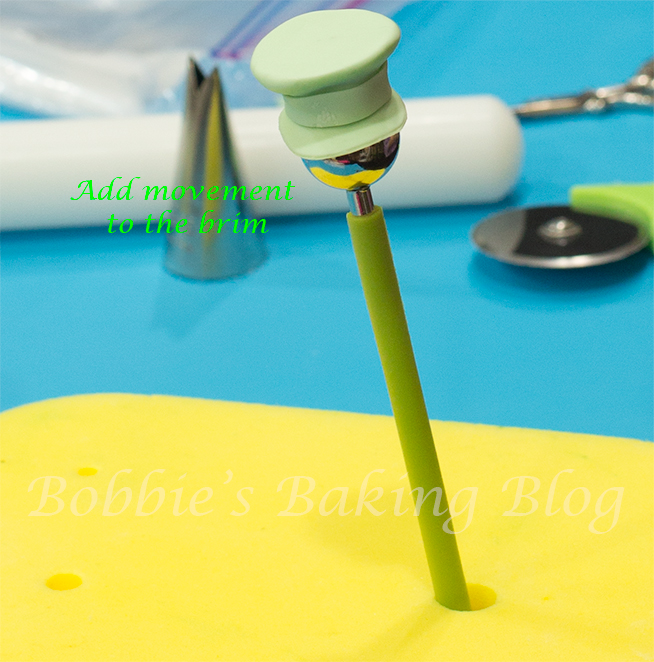
Roll some green colored white modeling chocolate and place in a pasta machine, thin to #3. Using the wide end of a large piping tip/tube cut a circle for the brim of the hat, and place the brim on a lightly cornstarch area and use a large ball tool to smooth the edges. Form a “jacks bouncing ball” size of green fondant into a smooth ball, turn the ball into an egg shape, with the pointy end of a medium celstick, hollow out the the egg point of the egg shape, play with the top to add movement, and with edible glue attach the top to the brim.
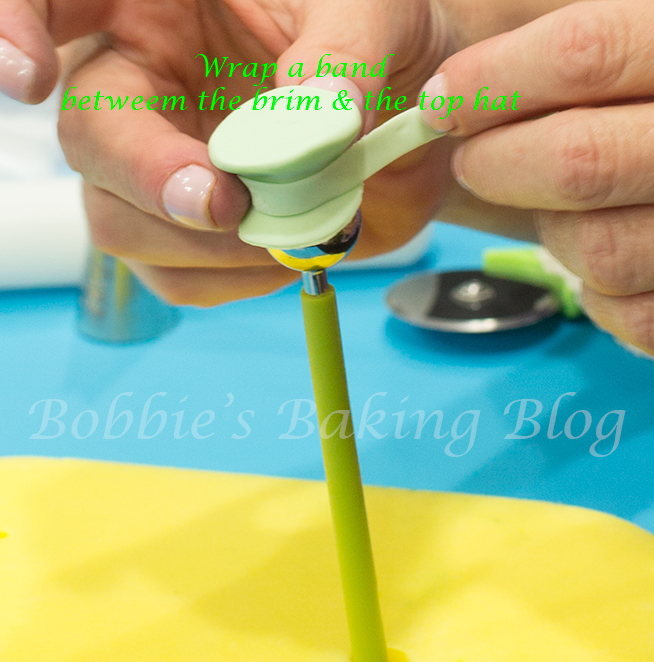
For the band roll to a #4 on a pasta machine flat, and cut about 3 mm or 1/8-inch wide strip, size the strip to the narrow part of the hat, and attach with edible glue.
Since you are using modeling chocolate you do not need to allow drying time, nor do you need to use anything to hold the shape. Once your hat is shaped (unless you smash it) it will hold the shape.


I added a few gum paste blossom in different colors for accent, but you could use white modeling chocolate for the blossom. Colour the modeling chocolate pink, yellow and blue.
Assembly:
Using melted white chocolate pipe a drop for each coin, attach the coins to the pots, now apply white melted chocolate to a hat, place on top of the coins, spray with freeze spray. Decide where you want to place the pots of gold and attach with the melted chocolate and freeze spray the melted chocolate. Place the flower blossoms around the cupcakes.
White Modeling Chocolate:
- 403 gram 1 lb white candy melts
- 106 grams 1/3 cup corn syrup (or glucose) warmed for 10 seconds
- 15 grams/ 2-Tablespoons icing sugar
Prepare your mise en place.
In a microwave safe bowl melt the white candy melts, in 30 second intervals. Stir after each interval until most of the candy melt have melted (stir the little bit that has not melted.) Set to the side and allow the chocolate to cool to about 89-91 degrees F./32-33 degree C.
In a measuring jug heat the corn syrup for about 15 seconds in the microwave. Pour the corn syrup into the melted white chocolate, sift the icing sugar on top, and stir slowly about 25 strokes until the mixture does not have any streaks from the corn syrup. Do not over mix or instead of having a dough you will have a greasy mess. Pour the mixture onto a piece of plastic wrap, tightly wrap.
Allow the mixture to rest for 12 to 24 hours. After resting unwrap your dough and knead on a cool surface. Now you have modeling chocolate. Lauren Kitchen’s has a wonderful video showing step by step instruction.
Dark Modeling Chocolate:
- 453 grams/ 16 ounces or bag mercers dark melting chicolates
- 126 grams/1/2 cup light corn syrup, warmed for 10 seconds
- 1o grams /2-Tablespoon cocoa powder (unsweetened)
In a microwave safe bowl melt the dark candy melts, in 30 second intervals. Stir after each interval until most of the candy melt have melted (stir the little bit that has not melted.) Set to the side and allow the chocolate to cool to about 89-91 degrees F./32-33 degree C.
In a measuring jug heat the corn syrup for about 15 seconds in the microwave. Pour the corn syrup into the melted dark chocolate, sift the cocoa powder on top, and stir slowly about 25 strokes until the mixture does not have ant streaks from the corn syrup. Do not over mix or instead of having a dough you will have a greasy mess. Pour the mixture onto a piece of plastic wrap, tightly wrap.
Allow the mixture to rest for 12 to 24 hours. After resting unwrap your dough and knead on a cool surface. Now you have modeling chocolate.
Crème de Menthe Cupcakes:
The pot of gold has attitude!
- 150 grams/1 1/4-cups all purpose flour
- 168 grams/ 1 5/8- cups cake flour, not self rising flour
- 9 grams/2-teaspoons
- 1-teaspoon salt
- 300 grams/ 10.5 ounces butter, room temperature
- 300 grams/ 1 1/2-cups sugar
- 1-vanilla pod, seeds only
- 3 drops cherry blossom extract
- 5 eggs, room temperature
- 30 grams/ 2-Tablespoons Crème de Menthe
- 1-Tablespoon lime zest
- Equipment:
- Standing mixer or hand mixer
- Rubber spatula
- 50 mm ice cream scooper, medium
- 2 muffin pans
- 24 liners of choice
Prepare your mise en place.
Use the three stage method.
Line 2 (1/2 cup-12 capacity) muffin tins with cupcake papers.
In a small bowl, sift the flours, baking powder and salt. Set aside.
In a large bowl, on the medium speed of an electric mixer, cream the butter and vanilla bean until smooth. Add zest, add the sugar gradually, and beat until fluffy, about 3 minutes. Whisk the eggs with the crème de menthe in a measuring jug. Sift the dry ingredients until the dry ingredients are incorporated. Add the mixture, alternating with the flour mixture and egg mixture (beginning with flour and ending with flour) beat on low speed until all the ingredients are amalgamated. Use a rubber spatula to scrape down the batter in the bowl to make sure the ingredients are well blended.
Use a medium ice cream scoop, scoop the batter into the cupcake liners, filling them about 3/4 full. Bake for 20 to 25 minutes at 180 degrees C/350 degrees F, or until a cake tester inserted into the center of the cupcake comes out clean.
**If you do not want to use alcohol substitute mint extract or an emulsion i.e. mint oil.
I would enjoy seeing your St.Patty’s Day cupcake designs, and if you give permission I will place the photos on my FaceBook page with you name!

You could always substitute buttercream for the royal icing grass!
Enjoy!
Voila!


Trackbacks/Pingbacks