This is my first Daring Baker’s Challenge, I was elated to read the 2010 November Daring Bakers’ challenge was hosted by Simona of briciole. She chose to challenge Daring Bakers’ to make pasta frolla for a crostata. She used her own experience as a source, as well as information from Pellegrino Artusi’s Science in the Kitchen and the Art of Eating Well. We, the Noto Family, adore tarts and with Thanksgiving on the heels of this challenge I had the opportunity to try a different and someone else’s recipe, besides there were very few restrictions, the filling was left for the baker to decide!
With enthusiasm Sydney and I began “our pseudo trip to Italy”, we did not need to jump on a plane and travel 16 hours to the romantic country, we were able to bring Italy to our kitchen. The aroma, textures, and taste gave us a mini Italy stop. Watching the orange yellow sun peak out in the early morning of a crisp November day (with a cup of coffee in hand) we organized the day of cooking and baking. The top item on the list was the Daring Baker’s Challenge.
As Sydney, my daughter, and I were cooking two giant pots, one filled with the makings of chicken stock and the other, The Noto’s Italian Sauce, we prepped our mise en place.
 Please excuse the rag in the background ; it is a working kitchen after all!
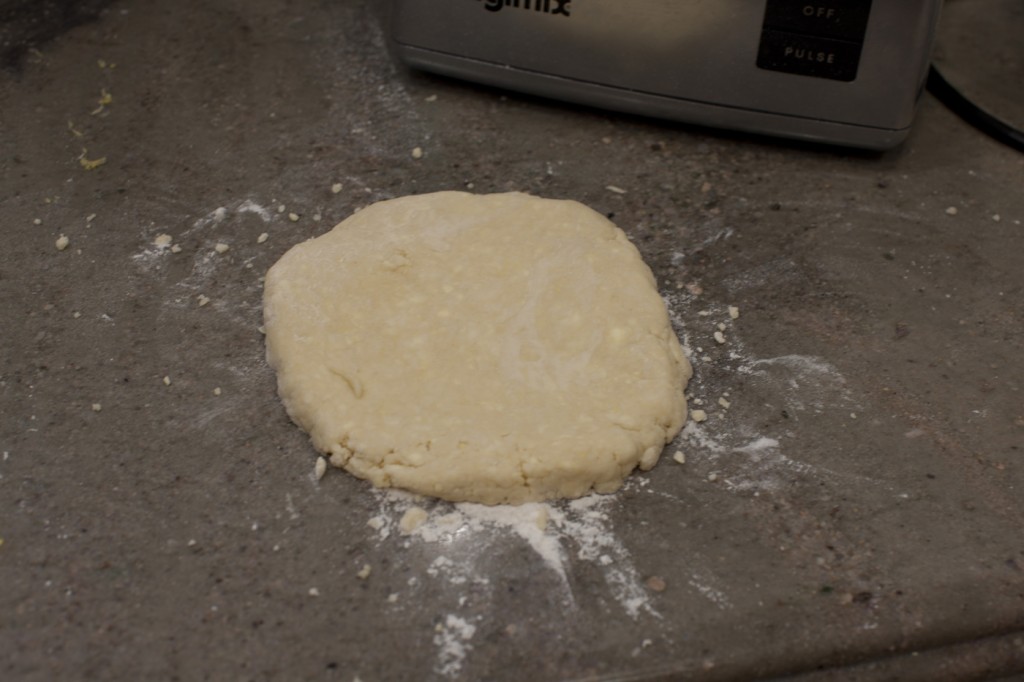
I have to admit I used my food processor for all the ingredients, besides the egg. I pulsed the very very cold butter pieces till they were about pea size, dumped the mixture onto a lightly floured counter top and made a well into the center for the beaten egg. Then kneaded the dough, shaped the dough and then let it rest in the garage refrigerator (I use this refrigerator for sweets and pastries). At this point I realized neither Sydney nor I had discussed the filling for this wonderful crostata crust, in unison we both said “frangipane.” My husband just shook his head and proclaimed he was living with two Bobs (his nickname for me).
The dough ready to be wrap and chilled
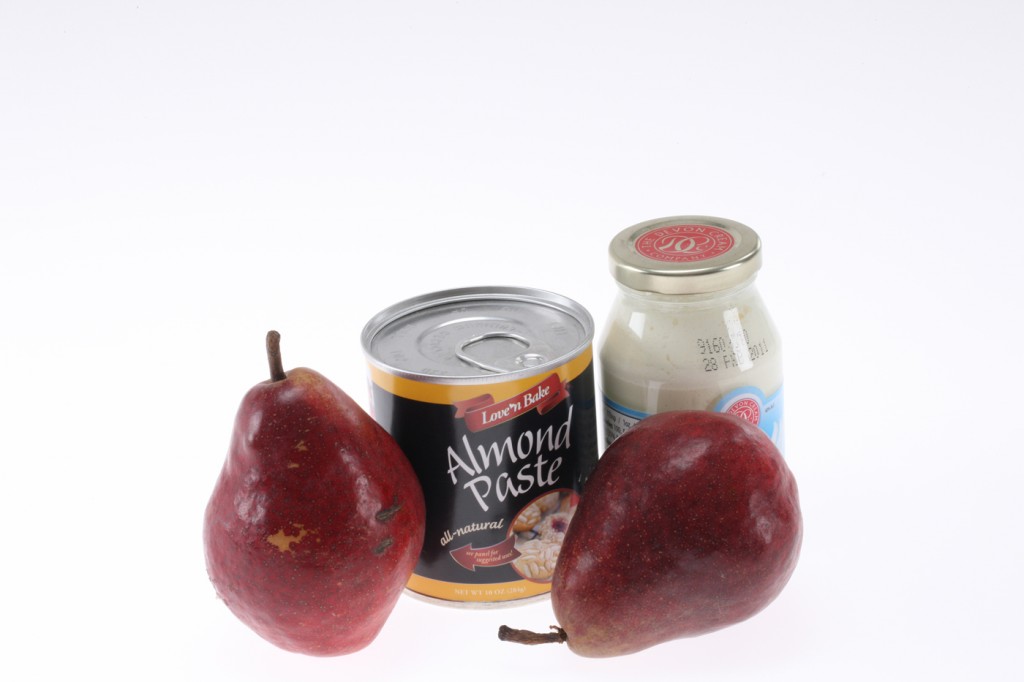
Sydney loves crème fraiche and pears, now we just needed to develop a recipe with all the components. The final result was caramelized pear and frangipane. The dough needed to be chilled for a while, so Sydney and I began getting all the ingredients for our filling.
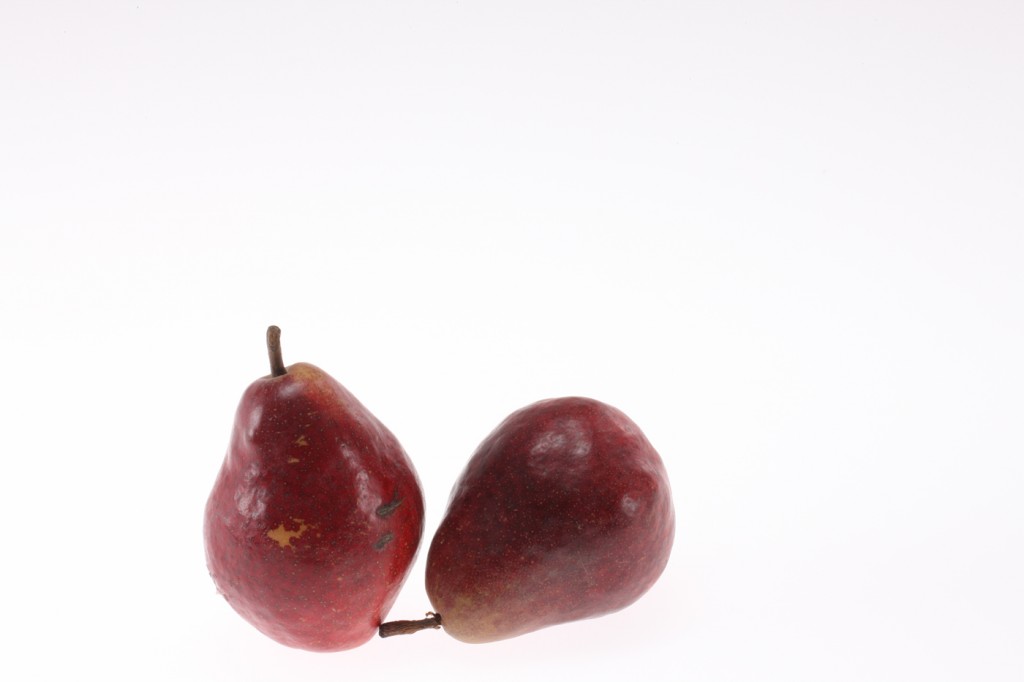
Don’t these pears look like there floating?
It was finally time to wake-up the pasta frolla (crostata) from it’s chill nap in the refrigerator, roll the dough out, place it in the tart shell pan, dock it with a fork, and then the dough needed to be chilled in the freezer while we prepared the frangipane. Again I used my food processor for this as well. One of the ingredients we ended up adding to our filling was Amaretto di Saronno, we had a little shot of the Amaretto, it was going in the frangipane we needed to taste test it!
I measured each ingredient and began to blitzed the eggs, almond paste, cream, crème fraiche, and milk. The crostata was brought from the below 0 degree freezer and became the home of the filling, so it could bake at 205ºC/ 400ºF degrees in the oven till the filling was set.
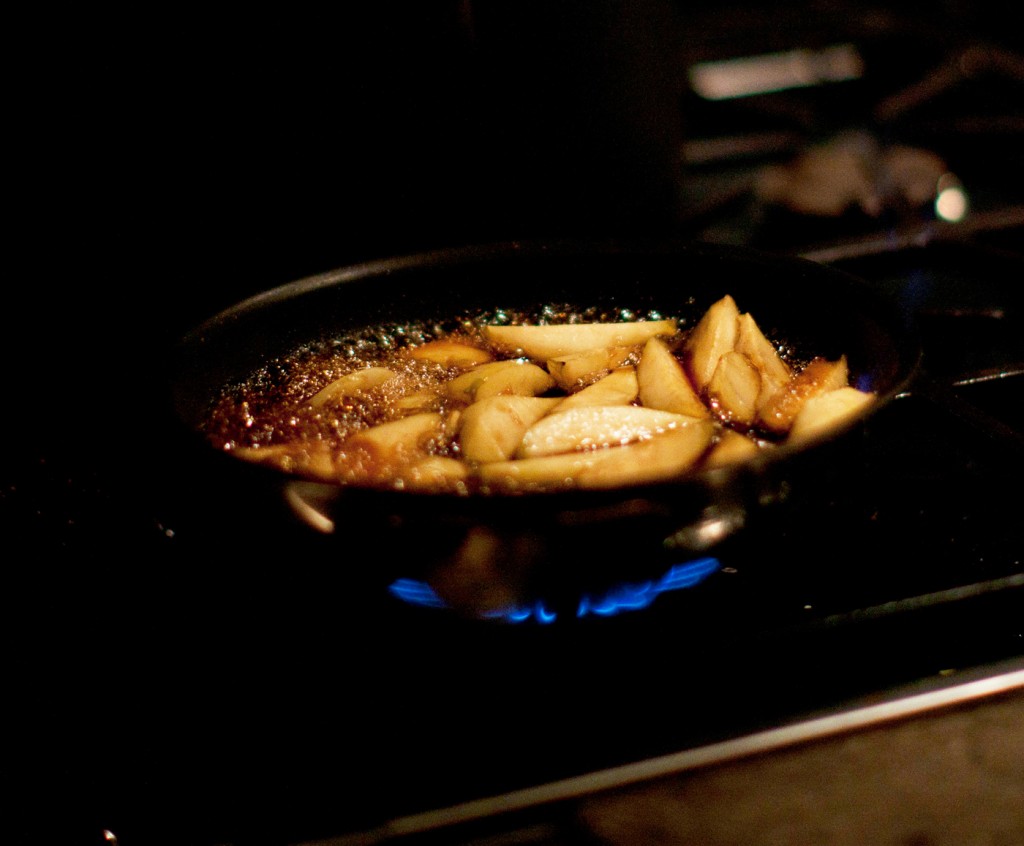
After the tart was baked it was then put, still in the pan, on a cooling rack, and we began to caramelize the pears in brown sugar and water before it was flamed with Calvados. Flaming pears is actually quite fun!
The time had come to lay warm, sticky elegant pears onto the cooled tart filled with the frangipane. I must give Sydney all the credit for the design of the pears, I had a brain lapse and just could not make those pear behave. Sydney and I had an enjoyable and boisterous time we actually created another tart!
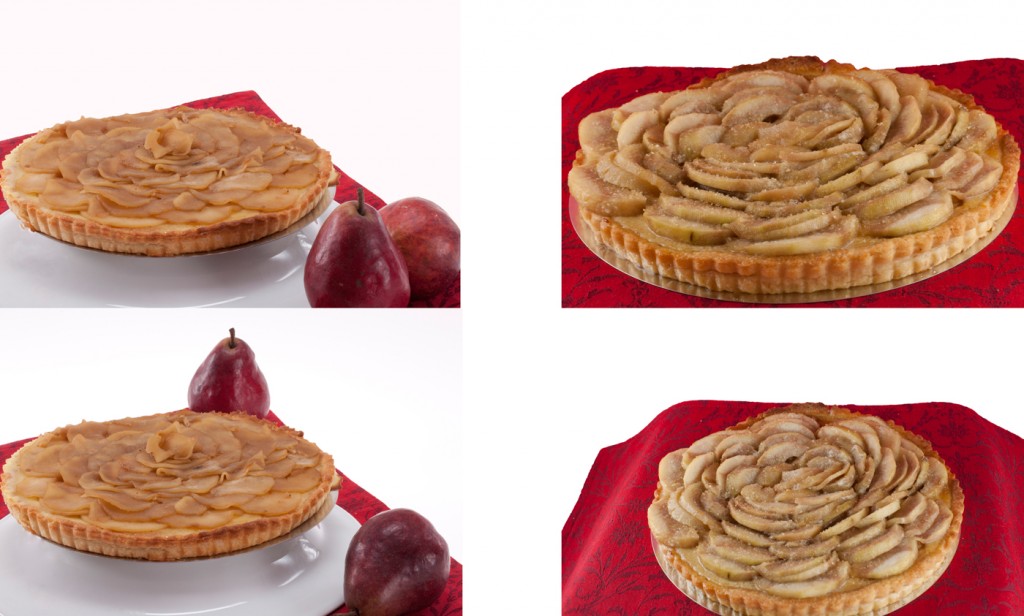
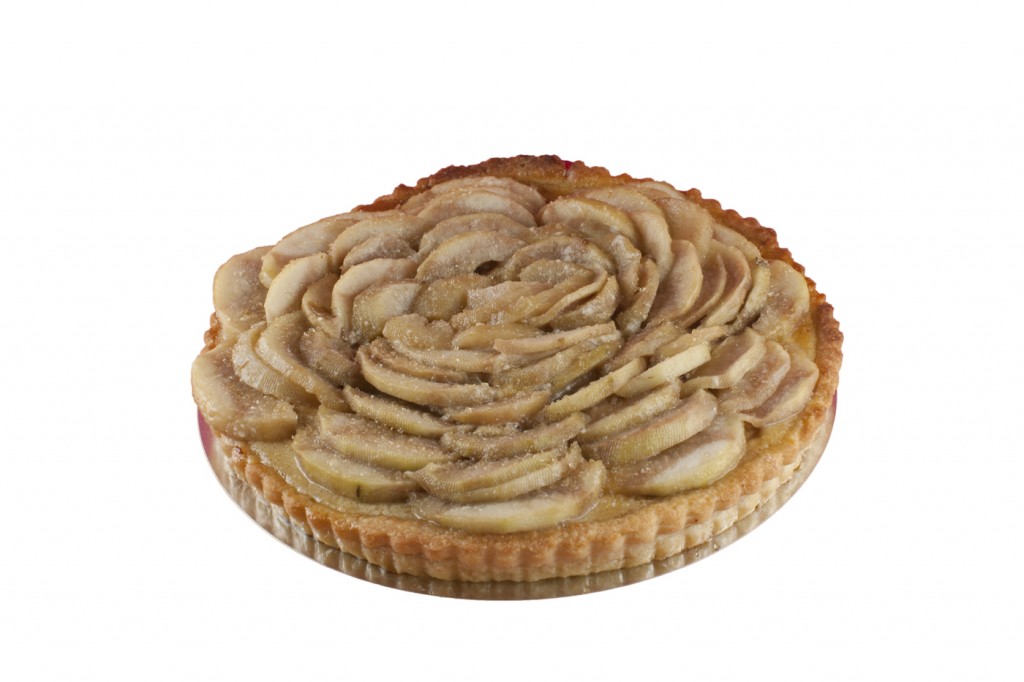
The pictures on the right are of the first tart we made using green pears, cut with a sharp knife. On the left are pictures of the second tart we made using red pears, cut with a mandoline . Its really interesting to see the two different cuts, it gives the tart a whole new look!
To reiterate the 2010 November Daring Bakers’ challenge was hosted by Simona of briciole. She chose to challenge Daring Bakers’ to make pasta frolla for a crostata. She used her own experience as a source, as well as information from Pellegrino Artusi’s Science in the Kitchen and the Art of Eating Well.
Here is the recipe for the dough:
100 grams,1/2-cup, minus 1Tablespoon( 3 1⁄2 oz) superfine sugar or 90grams, a scant 3/4 cup,( 3 oz) of powdered sugar
235 grams,1 and 3/4 cup,( 8 1/4 oz.) unbleached all-purpose flour
Pinch of salt
115 grams, 1 stick (8 tablespoons / 4 oz. ) cold unsalted butter, cut into small pieces
grated zest of half a lemon (you could also use vanilla sugar as an option, see Note 2) 1 large egg
1 large egg yolk, lightly beaten in a small bowl
Place sugar, flour (I sifted the flour), salt, and lemon zest in a food processor pulse to mix, add the cold butter and pulse a few more times (the butter should resemble a pea size). Empty the bowl on a granite or marble work surface (it helps to keep the dough cold) make a well in the center and add the beaten egg. Begin with a fork to combine the dry and the liquid ingredients together. It helps to use your finger tips. Knead the dough gently and quickly, into a ball, pat the ball into a disk, and wrap in wax paper and plastic wrap. Allow the dough to rest for 2 hours minimum. Simone says the dough may rest overnight.
Remove the dough from the refrigerator, roll to desired size. Sprinkle the counter and a rolling pin lightly with flour. Roll the dough out into an 11-inch circle. Carefully roll the dough up onto the pin and lay it inside a 8-inch pie pan. Press the dough firmly into the bottom and sides so it fits tightly, the dough should be 1/8-inch thick.
When the the dough is nicely chilled remove it from it’s chilly home and lightly flour a marble board or counter top (I find using the heel of my hands to begin flattening the chilled works well). Now start rolling from the center and away from yourself. Retreat back to the center and roll towards yourself this time, after rolling the dough once in each direction gently lift the dough and turn it 1/4 of a turn, continue this method until the circle is a diameter of 10- inches. Brush the excess flour off the dough with dry pastry brush, roll the dough around your rolling pin, transfer to your 8- inch tart pan. Use your rolling pin, gently roll the pin over the top of the tart pan, the excess dough will separate, and removal is simple or trim the excess dough with a very sharp knife around the rim. Place the crust on a sheet pan to catch any spills (I find this method tedious). Prick the dough with a docker or a fork and freeze the crust at least 15 minutes.
Preheat the oven to 205ºC/ 400ºF degrees and line with foil, and fill with pie weights or beans. Bake for about 15- 20 minutes, then remove foil and weights. Return the tart to the hot oven for about 7 minutes or until golden brown. Remove the tart and set aside to cool. While the tart is cooling prepare the frangipane.
Caramelized Pears and Almond Filing:
198grams/ 7 ounce almond paste
14grams/ 1- Tablespoon Amaretto
1 large egg
2 large yolks
55grams/ ¼ -cup heavy cream
55grams/ ¼ -cup crème fraiche
61grams/ ¼ -cups whole milk
99grams/ ½ -cup brown sugar
59grams/ ¼ -cup water
15 grams/ 1-Tablespoon butter, unsalted and room temperature
28grams/2-Tablespoons Calvados
Prepare mise en place
In a food processor fitted with the stainless steel blade combine almond paste, egg yolks, egg, heavy cream, crème fraiche, and whole milk process till smooth. Pour the almond crème into the tart pan, spread evenly, and bake for about 12 to 15 minutes or until set. Remove from the oven and allow the tart to cool on a wire rack.
Meanwhile peel and quarter pears or use a mandoline. In a skillet add brown sugar and water, when the syrup starts to bubble stir in the butter, and add the pears. Coat the pear evenly with syrup, when the syrup turns dark and bubbly pour in the Calvados (off the heat). Flame the pear and reduce to a simmer, allowing the flame to dissipate. Remove from heat and allow to cool.
Arrange the pears on top of the almond crème filling, with the narrow ends pointing towards the center, spoon the caramelized liquid over the top. Allow the tart to sit until the liquid hardens slightly.
I had a wonderful time with this challenge thank you Simone and Daring Bakers! I hope everyone had a great Thanksgiving and I am anxiously awaiting the next Daring Baker’s Challenge!




Great article. I just love your gorgeous photos!
I’ve never baked anything before, and this morning I decided to try this recipe… it ended up being DELICIOUS. I was so proud of myself, and grateful to have found this blog!
Your crosta looks soooooo pretty. I wish I had pears right now. Sigh.
A beautiful tart! Looks delicious!
Love It!
You’re amazing. Pumpkin whoope pie with a mascarpone white chocolate filling over the top!
Your photography is absolutely gorgeous! And this dessert looks like heaven!
Pears and frangipane together is fantastic! I think your crosta looks pretty heavenly — I love the pictures!
It does look truly delicious. I don’t know if pumpkin pie can live up to this!
I simply love your blog! It is beyond awesome. Good nice recipes I will give a try one day n.n
You seem to have so much experience on this, I just started my own blog, I have to say I envy your photos, they beautiful ! I just hope one day to be half as good as you are!
What a beautiful arrangement! I love the pear slices on the layer of frangipane, a little dollop of whip crème perfection!
Wow, You can write!
Your crostata looks beautiful and sounds delicious! I would love a slice.
The crostata looks wonderful! Thanks for the recipe. Bookmarked it for later use.
It looks perfectly divine!! It is hard to believe you’re a self taught pastry chef!
Thats so totally killer – I’m going to make that for sure.
What a wonderful crosta!
Your frangipane looks wonderful, great texture! And the caramelized pears sounds like an ideal partner for the almonds! Perfection!
Love your challenge crosta, hope you did well!
Oh I am definitely saving this recipe – looks amazing!
Gorgeous and absolutely delicious ~Your page is looks mercy, your graphics are good look, and what’s more, you use reference that are relevant to what you are saying
Looks beautiful and inviting
Reading the above comments on your blog and people are very interested in it.
great information.
Your crostata looks so beautiful. It sounds rich and delicious. What a wonderful job!
I like your tart article