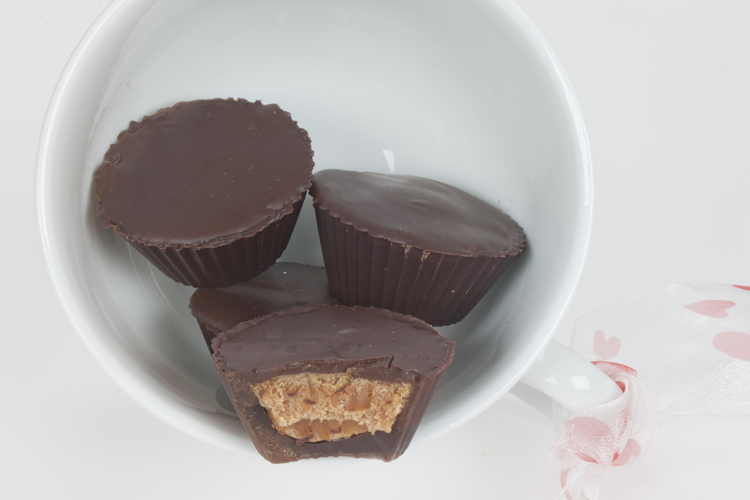
A few nights past I had a chocolate cup graving so desperately, if I didn’t know better I would have thought I was pregnant. Since that is physically impossible I begged Sydney to help me create a coupe dozen. It wasn’t that hard to convince her since she loves them also.
The chocolate rum cups are fairly easy to make, the most tedious step is brushing the melted bittersweet chocolate on the mini cupcake silicone liners. We began with the chocolate; you will need at least 3 separate layers of the chocolate. The method involves melting the chocolate, tempering the chocolate (you don’t want the chocolate to have a grey hue), painting the melted chocolate on the inside of the mini cupcake liners, freezing the cups for 30 minutes, and repeating the process 2 more times. I will explain in more detail towards the end.
While the first coat was having a chilly rest we began the caramel. Caramel basically is sugar, water, heavy cream and flavoring of your choice. For starting the caramel you will need a candy thermometer, medium heavy bottom pan, small heavy bottom pan, and a whisk.
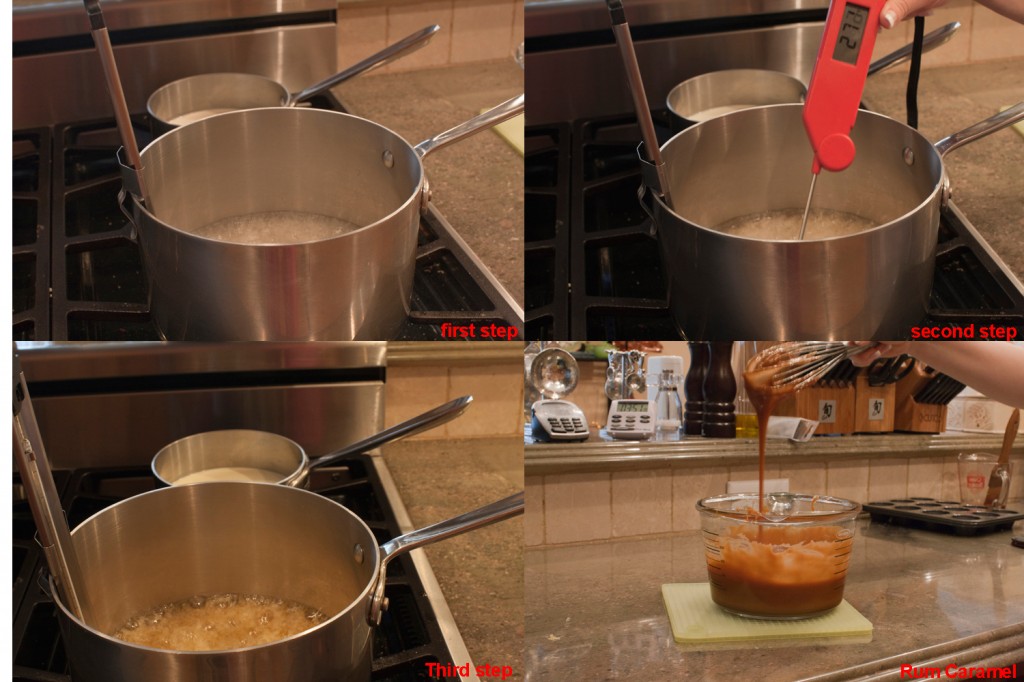 Pretty much this how easy the method of homemade is.
The caramel is extremely hot, for safety reasons prior to adding the rum I pour the caramel into a medium measuring jug. In fact while I was whisking the caramel, in the measuring jug, I asked Sydney to please start adding the rum, a tablespoon at a time. I had been whisking the caramel for a good three minutes, butter pat had already been added, when Sydney poured the first tablespoon of rum into the caramel; the the caramel began to bubble the aroma”steam” was so potent I ended up with a rum facial! My nasal passages were so clear I could smell the glass cleaner from the next room. I did not want Sydney to miss out on a rum spa facial, I had her switched places with me. I poured the second tablespoon of rum into the caramel as she whisked, when I looked towards her, her beautiful chestnut colored eyes were watering. I know this sounds snarky, but I was laughing so hard I began to cry. Needless to say the final tablespoon she added I yet again received a spa rum facial. Now by this time the rum had gone to our heads, so for the next twenty minutes we were a little “punchy,” besides it was getting late in the evening.
As the Rum caramel was cooling down to 37 degrees C/98.6 F, we remelted the dark chocolate, tempered it, took the mini cupcakes (for connivence the mini cupcake liners had be laid into two mini cupcake pans) once the chocolate had tempered, about 33 degrees C/89 degrees F, we began painting the second layer. This was repeated once more and let to rest in the freezer between both applications for about 30 minutes.
When the cups had a nice thick coat of chocolate we poured the caramel into the cups, sprinkled with fleur de sel, melted and tempered the last bit of chocolate. With a measuring teaspoon we poured the prepared chocolate on top of the caramel, carefully with the back of the teaspoon smoothed the melted chocolate to the edge of the liners, placed them back into the freezer for one hour to over night. The liner is easier to remove if you have the patience to allow them to sleep over night in the freezer. I let 22 sleep over night, but as I said in the beginning I was craving the chocolate rum cups, so Sydney and I waited maybe two hours before we ate one each, at 2:oo am. I was really craving these cups and you will too!
Chocolate Caramel Cups
Silicone mine cupcake cups
Caramel:
400 grams/ 2-cups granulated sugar
80 grams¼ -cup corn syrup
59 grams ¼ -cup water, for hard caramel,
118 grams/½-cup water for soft caramels
226 grams/1-cup for oozing caramel
165 grams/3/4-cup heavy cream
55 grams/1/4-cup crème fraiche
Fleur de sel salt
29 grams/2-Tablespoons unsalted butter cold
40 grams/3-Tablespoons dark rum
250 grams/1-cup bitter sweet chocolate, chopped fine
Directions:
For the caramel:
Pour water into a 2-quart heavy-bottomed saucepan; in the center of pot add corn syrup and sugar. Bring to a boil over high heat, covered. Uncover the pot, insert a candy thermometer, and continue to boil until syrup is thick and golden in color, registering 300 degrees on candy thermometer, about 15 minutes. Reduce heat to medium; continue to cook until sugar is a deep amber color, begins to smoke, and registers 350 degrees on candy thermometer, about 5 minutes longer. Meanwhile, when temperature of syrup reaches 300 degrees, bring the cream, crème fraiche, and a pinch of salt to a simmer in a small, heavy-bottomed saucepan over high heat. (If cream reaches a simmer before the syrup reaches 350 degrees, remove cream from heat and set aside).
Remove the sugar syrup from heat. Slowly pour about one quarter of hot cream into the sugar syrup; let the bubbling subside. Add remaining cream; let bubbling subside. Whisk gently until smooth; whisk in butter, vanilla and dark rum and cook over medium heat for 5 to 10 minutes, until the mixture reaches 248 degrees F. Let the mixture cool for 30 seconds.
Pour the caramel into a heatproof measuring jug, be careful, then pour the caramel either into prepared chocolate cups or on silpat till chocolate is ready.
Chocolate Cups:
Put the chocolate in a medium glass bowl or a Bain Marie. Set the bowl over a saucepan of barely simmering water and stir occasionally until the chocolate has melted, about 4 minutes. Temper the chocolate. Spoon 1- teaspoon of the chocolate into the mini silicone or paper cups swirl the chocolate around and with a pastry brush brush the chocolate evenly around the cupcake liner, place in a mini muffin/cupcake tin, put the tins in the freezer for 30 minutes, repeat this process two more times.
After the third coat has been frozen for 30 minutes pour the caramel into the frozen chocolate cups and spoon 1/2-teaspoon of melted chocolate over the top of the cups and smooth out with the back of the spoon.
Place in the freezer for at least 1 hour to over night. When the cups are ready and still frozen peal away the silicone or paper liners. Store in the refrigerator in an airtight container. The cups are best if eaten at room temperature

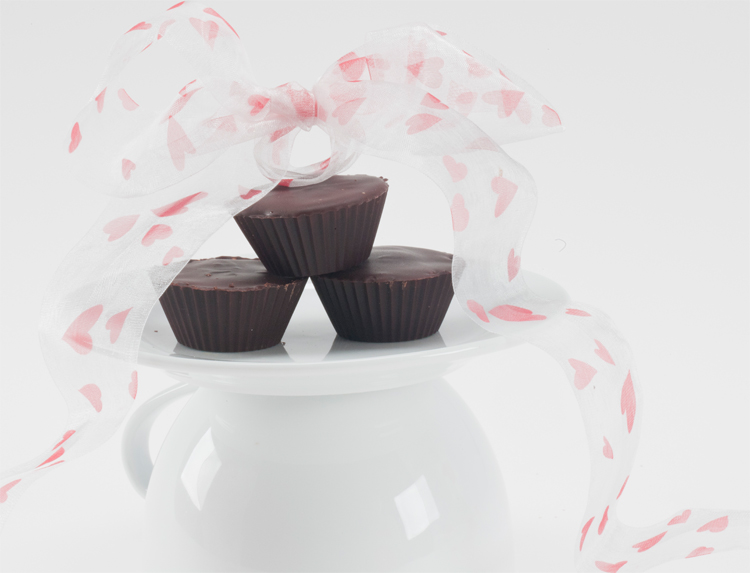
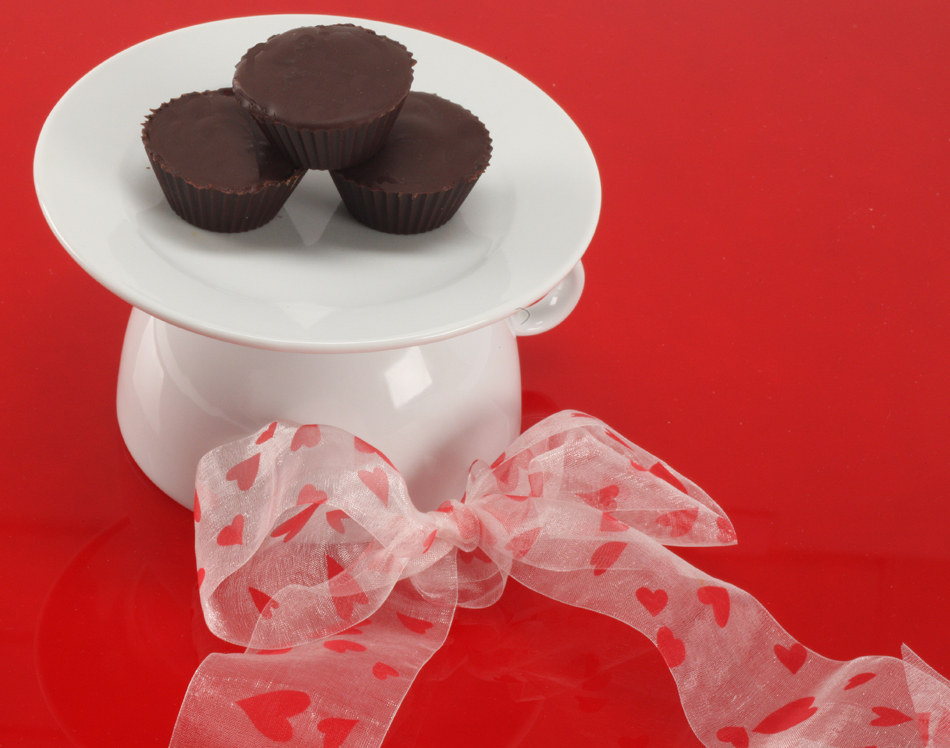


Mmmm, these look so delicious! Very cute. 🙂
Very well written post. It will be helpful to anyone who utilizes it, as well as myself. Keep doing what you are doing – for sure i will check out more posts.
Wonderful set of photographs. Lovely caramel cup!
Thank you for making the recipe, and sharing it! I made these cups and they eaten before I had a chance to have one!
Those look AMAZINGGG! I so want one right now!
Oh Yummmm. With treats like this, who needs any other vices!
Excellent advise as usual
These sound yummy!
I now am following you 🙂
salted caramel is truly delicious, add rum now the caramel cups are 5 stars!
Hello! I just would like to give a huge thumbs up for the great info you have here on this post. I will be coming back to your blog for more soon.
You are a genius..I love caramel! Those are so cute and I’m liking how easy they are to make. =)
Great tutorial! These are easier than I thought.
Good luck!
Your talent is valueble for me. Wow, these look so delicious. I hope you move on to the next round.
October 10, 2010 7:32 PM
This post is great. Thank you for this post. I like this type of people who share knowledge with others.
Fantastic post but I was wondering if you could write a litte more on this subject, the tempering of chocolate,? I’d be very grateful if you could elaborate a little bit further. Thank you!
J’adore votre blog
Nice commentary. last thirty days I uncovered this internet internet site and desired to permit you be conscious that i’ve been gratified, heading via your site’s posts. I should certainly be signing equally as much as the RSS feed and can wait around for another post. Cheers
Nice article.Delicious subjuect. I will be coming back some time in the near future.