This past week was a friend’s son twelfth birthday; his favorite flavor is “girl scout” mint chocolate. Sydney and I wanted to create a birthday cake that mimicked as a girl scout cookie. I did not have any girl scout cookies so we needed to experiment with different mint flavors to have the perfect flavor combination. First we relied on Sydney’s eleven year old “taste bud memory” of Thin Mints. We began by baking mint chocolate cookies, about 4 batches, before we finally accomplished a deliciously similar mint biscuit. DF had a wonderful palate party with our mistrial mint biscuits!
Once we knew the exact flavor we began to work on transforming the cookie into a mini cake. Since the only information we had in our baking arsenal was mint chocolate flavor, the texture was completely our choice, however we needed to choose the correct texture. Brownie cakes were our first idea, but they tend to be on the rich side and would not be compatible with the filling we had created. Chocolate genoise and chiffon is light, almost too light, so we decided on a silky velvet cake, with mint flavor.
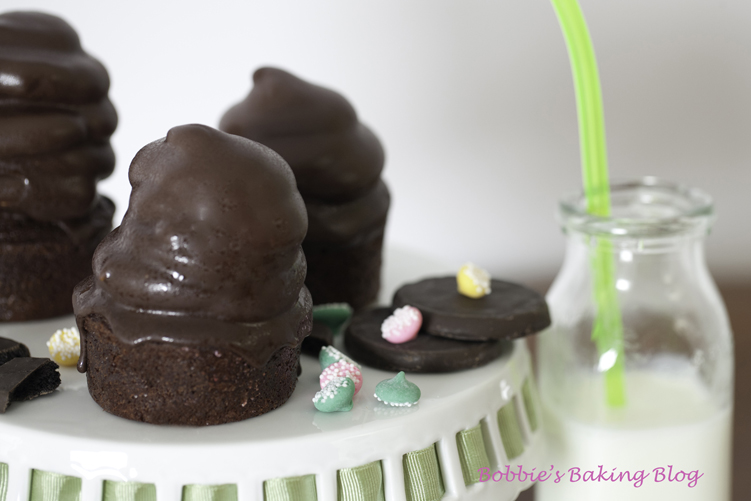
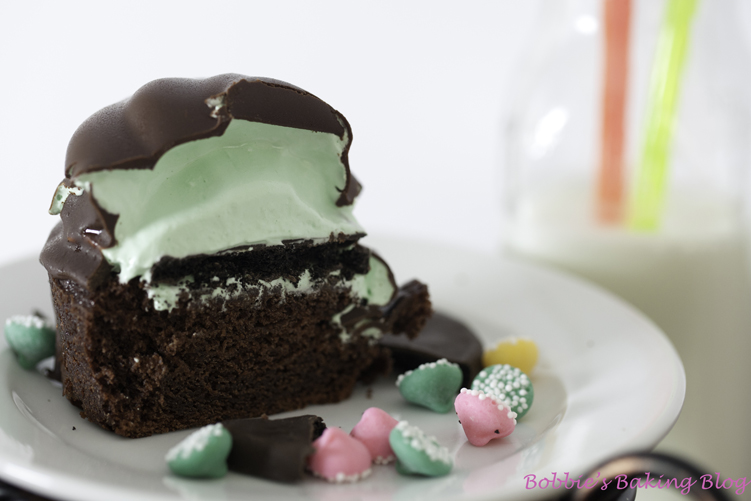
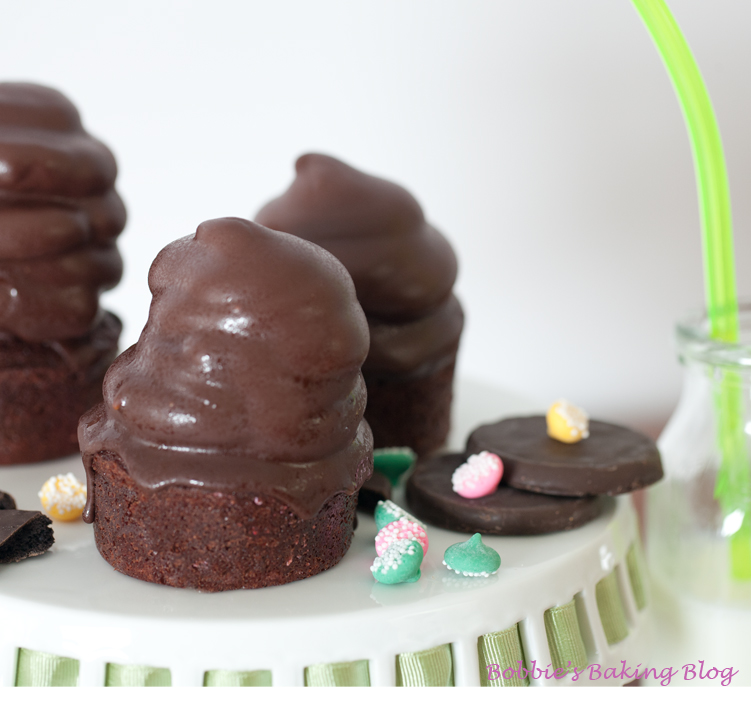
The filling was a “no brainer,” both Sydney and I love marshmallow meringue. Marshmallow meringue is versatile; it can be a filling, a frosting, candy, our version of “fluff”, and we have even baked them into cookies. We certainly did not leave out the chocolate coating, like the ones found over the girl scout cookies. We dipped the top of the mini cakes into meted chocolate, which resembles an ice cream cone!
Mint Chocolate Wafer Cookies: (Or you can use store bought)
Chocolate Wafers:
226 grams/1 cup unsalted butter, room temperature (2 sticks)
113 grams/2/3 cup sugar
1 extra large egg
240 grams/2 1/3 cup pastry flour, sifted
65 grams/ ¾ cup cocoa powder
1 1/2 teaspoon baking powder
1/4 teaspoon salt1 teaspoon vanilla
Prepare your mise en place. Preheat the oven to 350 degrees F.
In a large bowl use an electric mixer to cream together the butter and sugar until light in color and fluffy. After creaming butter and sugar for about 5 minutes add the egg and continue to cream until well blended. In another medium bowl stir together the flour, cocoa powder, baking powder, and salt. Add the dry ingredients to the butter mixture and stir to combine using a wooden spoon.
**Place the dough on a sheet of plastic wrap. Press the dough into a 1-inch high round. Wrap in plastic wrap and refrigerate for at least 30 minutes or up to 1 day.
Roll out the dough to between 1/8 and 1/4-inch thick. Use a 1-inch round cookie cutter to cut out the dough. Bake on a heavy baking sheet for 8 to 10 minutes. Place the baking sheets on a wire rack to cool cookies.
Chocolate Peppermint Coating:
500 grams/ 2 cups bittersweet chocolate, chopped finely
28 grams/ 2 Tablespoons fleur de sel butter
1/12 teaspoons peppermint extract
In a double boiler place the finely chopped chocolate. Slowly melt the chocolate, stirring continuously until it is glossy and smooth. Remove from heat and allow the melted chocolate to cool to about 32 degrees C/ 95 degrees F. Stir in the peppermint extract and butter till shiny and smooth..
Assemble:
Allow the cookies to cool. Line a cooling rack with parchment paper and place over a baking sheet.
Dip one cookie at a time; using a chocolate dipping fork or a long fork dip the biscuit (cookie) gently and turn over. Taking care to fully yet thinly completely cover both sides. Once covered lift the biscuit and allow the excess chocolate to drain back into the bowl and then place on lined cooling rack. Repeat until the biscuits are completely and thinly coated with peppermint chocolate. Place the entire baking sheet into the freezer to set.
Store in a plastic bag once set and leave in the freezer. Prior to serving remove from the freezer and bring to room temperature. Unless, like my husband you enjoy them frozen or cold! For the mini cakes use cold.
Silky Chocolate Fudge Mini Cakes/Cupcake with Crème de Mint:
63 grams cocoa powder, unsweetened powder
118 grams/1/2 cup boiling water
150 grams/ 3 large eggs
118 grams water, room temperature
2 Teaspoons vanilla
1 1/2 peppermint extract1-teaspoon instant espresso
235 grams/ 2¼, plus 2 Tablespoons cake flour, sifted
300 grams/ 1½ cup superfine sugar
15 grams/3 teaspoons baking powder
Pinch of salt
227 grams, 2 sticks butter, room temperature still cool and cubed
Use a flexipan Cylinder pan or line two cupcake pans with liners. Preheat the oven to 180 degrees C/ 350 degrees F.
Prepare your mise en place.
In a medium bowl whisk the cocoa powder, 1-teaspoon of vanilla, peppermint extract, espresso powder, and boiling water until very smooth, cover with plastic film, and cool the cocoa mixture to room temperature. In another bowl whisk the eggs, 118 grams of water, and the last teaspoon of vanilla, just until combined.
In the bowl of a standing mixer, fitted with the paddle attachment mix the flour, the sugar, baking powder, and salt. Mix on low speed to amalgamate the dry ingredients. Add the butter cubes and cocoa mixture, continue to mix on low speed until the dry ingredients are moisten. Raise the speed to medium and beat for about 1 ½ to 2 minutes. Turn off the mixer and scrape down the sides.
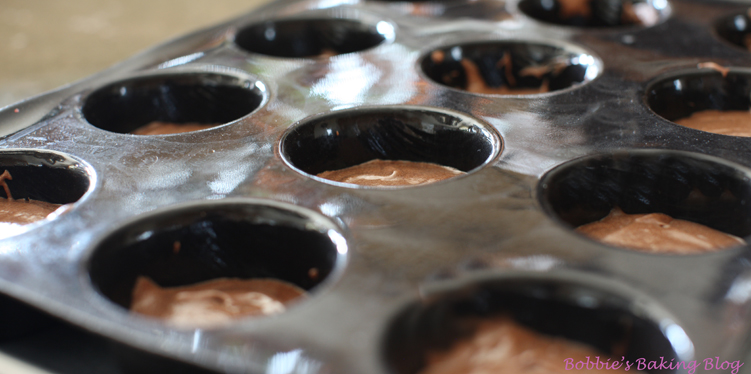
On medium-low speed, gradually add the egg mixture in two parts, beat for 30 seconds between each addition and scrape down the sides. Using an ice cream scoop, scoop the batter into the prepared flexpan cylinders or cupcake pans. Bake 25 to 35 minutes or until a cake tester comes out clean and when gently pressed it springs back. The cake will begin to shrink as it cools. Allow the mini cakes/ cupcakes to cool for 7 minutes in the pan and then invert on a cooling rack and re invert upright once again.
Marshmallow Meringue:
3 egg whites
59 grams/4 tablespoons cold water
350 grams/ 1¾ cup superfine sugar
1 teaspoon pure vanilla extract
3 teaspoon mint liqueur
green colorant
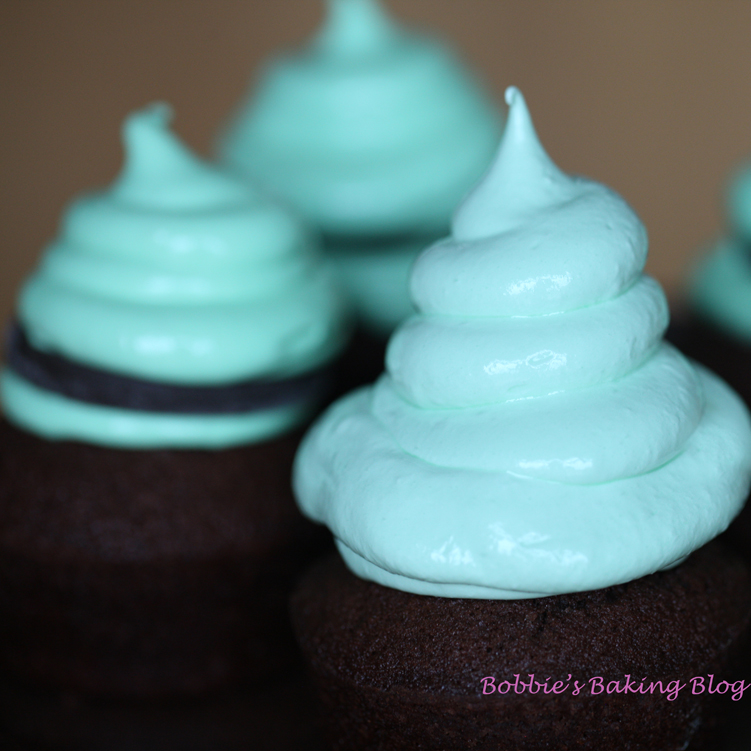
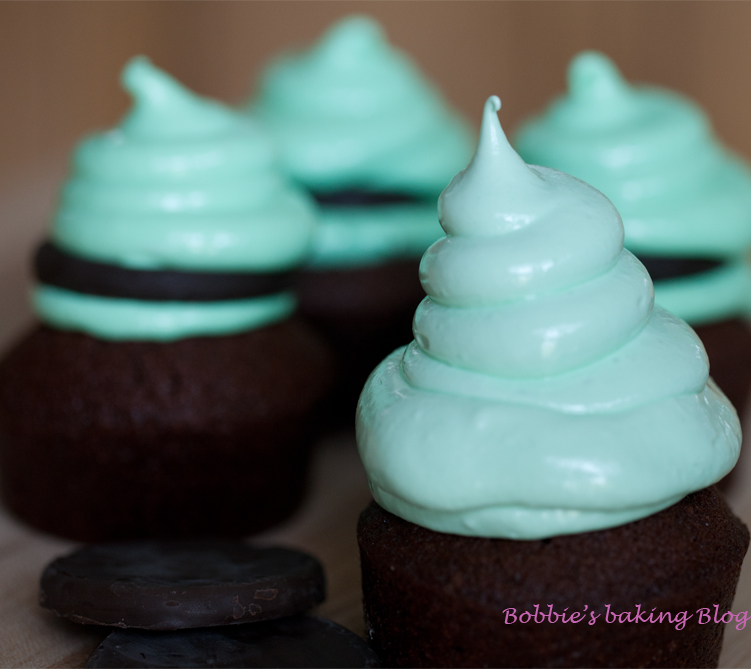
In a copper bowl, combine the egg whites, cold water, and sugar in the top of a double boiler. Whisk with a hand held mixer on high until foamy and combined. Place over boiling water and whisk constantly with a hand mixer until the frosting is stiff and holds peaks, about 7 minutes. Remove from the heat and whisk in the vanilla and 4 drops of green paste food colorant. Let cool whisking often.
Chocolate Coating:
500 grams/2 cups bittersweet chocolate3 tablespoon butter
In a bain-maire or double boiler melt the chocolate and butter whisking constantly till almost completely melted. Turn off the heat and whisk till smooth, shiny, and all the chocolate has melted. Temper the chocolate to 32 degrees C/ 95 degrees F.
Assembly:
Prepare a large piping bag with 1/2-inch plain tube, wrap a rubber band where the tube and bag connect, and cut the tip of the bag. With a large rubber spatula spoon the marshmallow-meringue filling into the bag, push the filling to the bottom and remove the rubber band. Pipe one full swirl, lay the mint biscuit on top, finishing piping to desired height. Place the piped mini cakes in the freezer for 30 minutes.
Once the cakes have been in the freezer, remove them and line a baking sheet with parchment paper, and place a cooling rack on the lined baking sheet. Grab the bottom of the mini cakes/cupcakes and dip the marshmallow-meringue in the chocolate, allow the chocolate to drip for 30 seconds, turn right-side up and rest upon a cooling rack with a lined baking sheet underneath. Leave at room temperature for 10 minutes and place in the freezer.
Serve:
15 minutes prior to eating remove from freezer and allow the mini cakes/cupcakes to come to room temperature and eat!




I spotted this photo on foodgawker and just wanted to let you know that it looks incredible!
These look gorgeous. Although I am not such a cupcake fan I adore these. Great colors, yummy ingredients. Thanks for sharing.
These look fantastic! Thank you so much for this recipe.
These are super cute! I love how these little treats look like ice cream! And mint chocolate is a great flavor. Awesome work! I am going to follow you and check back on your delicious goodies!
Nice to meet you Bobbie!
Blair
I just wanted to stop by and say that these cakes are amazing! I am going to try these for a party coming up, great idea for Memorial day! Thank you!
Elegant as always! Your have a wonderful way to take a simple cake and turn it into a cute masterpiece!
These look incredible.
Yummy… fab photos, too! Love and can’t wait to try.
Just found your site on the web! Wow is all that comes to mind when looking through your posts. I am a baker, and always try to challenge myself with new techniques and ideas! I must say these “mini” cakes are my favorite they are so adorable! I am going to try this and become a member of your site!
Hi there!
I saw your picture while searching for mini cake recipes and I stumbled upon your site. You make beautiful goodies, especially the cakes. I love mint chocolate! Plan on reading more!
What a wonderful treat! I love the color of the mint. The pictures look fantastic by the way!