I am blessed with quite a few nieces and nephews; which are wonderful in many ways. It is extra special for Sydney, being an only child, she has had enough cousins to keep from feeling too isolated. We generally invite/ rotate a couple of the cousins ( there are a total of 12), over during the weekends to spend the night and bake through out the day. On this particular day we were entertaining two of the youngest children, after an hour of negotiating pastries, the both finally settled upon a chocolate graham cracker cake with peanut butter frosting.
The cake is youngster friendly, and they were so excited to be cracking eggs, weighing ingredients, and using the mixer. As our baking expedition started, Sydney and I each chose a cute rosy cheeked child, and began assigning tasks. They were so adorable with anticipation. and animated enthusiasm. Working with young impressionable minds is a gratifying, but colossal responsibility. It’s crucial that not only did they enjoy themselves, but have a healthy respect for baking and learning valuable knowledge of the mathematics, ingredients, and safety.
Safety being the ultimate priority of the kitchen, we spent a exorbitant amount of time going over food safety and more importantly physical safety. Our goal was to keep their attention focused, instead of having two children starring glassed eyed. We began with allowing them to taste some of the ingredient that were going to be used during the day. We moved over to the cutter and, allowing them to touch each cutter/ rolling pin, explaining how each tool worked. We had them feel, hold the handle, finally (with our HELP) cut an apple, lastly the gas flame on the stove top and looking at the outside of a 180 degrees C/ 350 degrees F oven preheating. They could feel the heat coming off the saucepan and the heat on the outside of the oven.
Once the safety issue had been addressed we began prepping and weighing. They love the scale, so we used the opportunity to visually explain why measuring cups are completely accurate. We measured the cake flour about five times (The girls are intelligent and wanted unequivocal proof) , each time we leveled off the dry measuring cup, zeroed the scale with a bowl, the weight was different. There are not words to describe the eureka moment when a child learned a new development. I must admit it brought back heart warming memories of Sydney starting her culinary education. Culinary arts effervescent teaches mathematics, reading, and sometimes history, learning becomes not only enjoyable, but entreating as well.
We were all having a boisterous time constructing the cakes and watching them bake in the oven; the girls wanted to see the cake as the batter turned into an actually cake. Therefore I allowed them to gently turn the oven light on whenever they needed a peak. Once the cake had finished Sydney showed them how to gently press the middle of cake; while explaining if the cake, when light pressed, springs back and the color was a deep chocolate brown the cake is ready to cool.
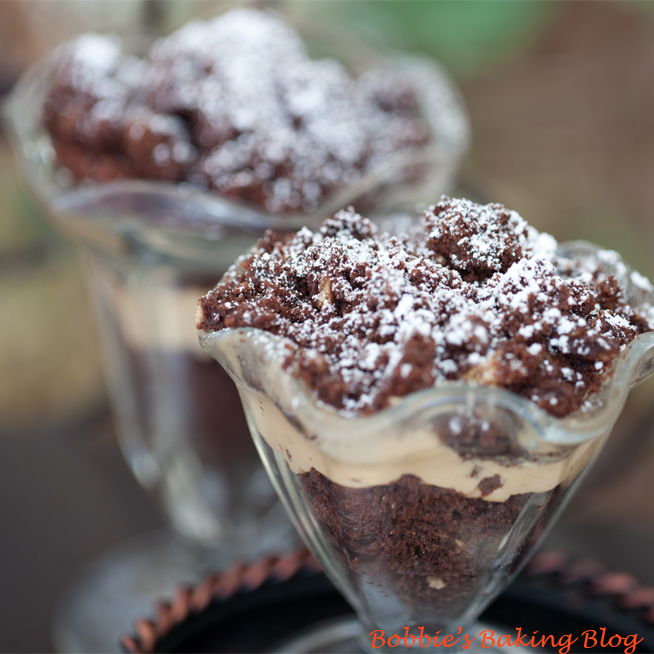
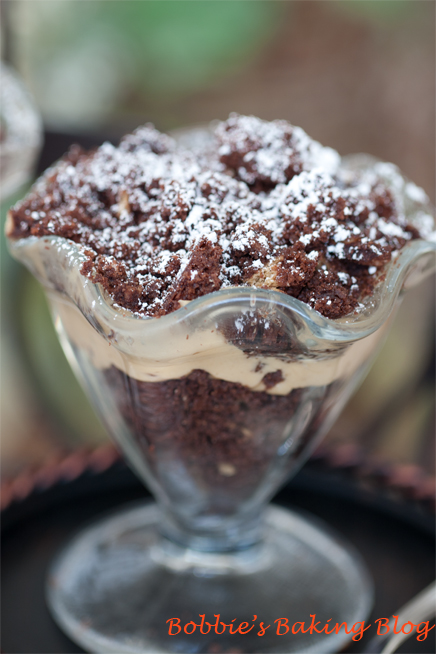
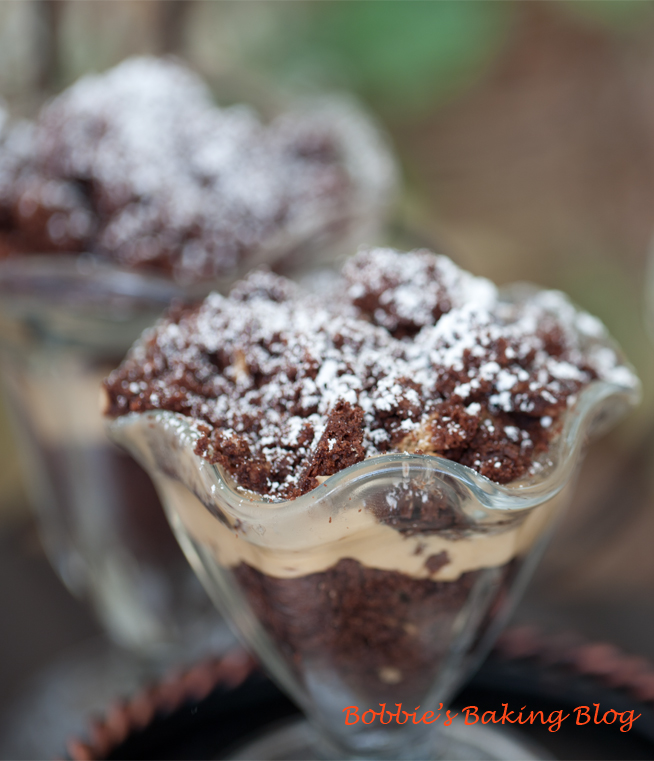
Once we let the cakes cool in the pan for ten minutes, I showed them the “art” of inverting. Here is were I dropped the ball, and did not clearly elude the cakes were still fragile and needed to fully cool before we could work with them or touch them. I turned around to grab the mise en place for the peanut butter filling and icing; as I began to turn around to face them one of the cakes had crumbled. The girls were devastated, an excellent opportunity to show how a mishap can be fixed, sometimes the mishap ends up being a blessing in disguise. The Decant Chocolate Peanut Butter Later Cake was now a Decant Chocolate Peanut Butter Trifle.
Decant Chocolate Peanut Butter Layer Cake:
63 grams cocoa powder, unsweetened powder
118 grams/1/2 cup boiling water
150 grams/ 3 large eggs
118 grams water, room temperature
2 Teaspoons vanilla
1-teaspoon instant espresso
235 grams/ 2¼, plus 2-Tablespoons cake flour, sifted
300 grams/ 2½-cup superfine sugar
15 grams/3- teaspoons baking powder
Pinch of salt
227 grams, 2 sticks butter, room temperature still cool and cubed
150 grams/ 1/2-cup chopped pretzels, crumbs
150 grams/ 1 package graham crackers, crumbs
Line an 20 x 20 cm/ 8×8 pans with parchment paper, use a flexipat cylinder. Preheat the oven to 180 degrees C/ 350 degrees F (6-inch).
Prepare your mise en place.
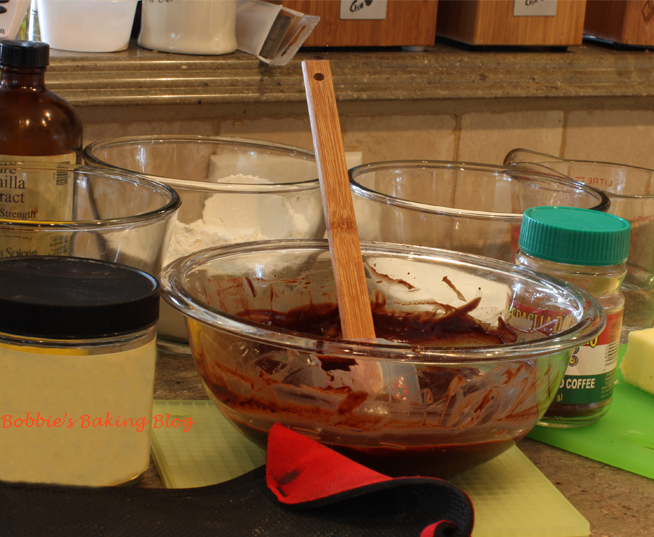
In a medium bowl whisk the cocoa powder, 1-teaspoon of vanilla, espresso, and boiling water until very smooth, cover with plastic film, and cool the cocoa mixture to room temperature.
In another bowl whisk the eggs, 118 grams water, and the last teaspoon of vanilla, just until combined.
In the bowl of a standing mixer, fitted with the paddle attachment mix the flour, the sugar, baking powder, and salt. Mix on low speed to amalgamate the dry ingredients. Add the butter cubes and cocoa mixture, continue to mix on low speed until the dry ingredients are moisten. Raise the speed to medium and beat for about 1 ½ to 2 minutes. Turn off the mixer and scrape down the sides.
On medium-low speed, gradually add the egg mixture in two parts, beat for 30 seconds between each addition and scrape down the sides. In a bowl sprinkle the pretzels graham crumbs with a little flour and toss to coat. With a rubber spatula gently fold the pretzel and graham crumbs into the chocolate batter.
Using a rubber spatula, pour and scrape the batter into the prepared pan.
Bake 45 to 50 minutes or until a cake tester comes clean and when gently pressed the cake springs back. The cake will begin to shrink as it cools.
Allow the cake to cool for 10 minutes if using a flexipat, if using a glass or cast iron the cake needs about 35 to 40 minutes. Invert carefully.
Unmold the cake once it has cooled on to a lined cooling rack and set aside.
Peanut Butter Filling:
266 grams/ 1 -cup “Skippy” peanut butter, w/o peanuts (I prefer)
113 grams/ ½ -cup mascarpone cheese
113 grams/ 1 stick butter
113 grams/ ½ cup crème Frâiche
60 grams/ ½ -cup icing sugar
1-teaspoon vanilla extract
In a food processor with the steel blade attachment add all the ingredients and pulse till smooth and creamy, with a uniform color.
For Trifle:
Tear or cut, depending on the look you want to achieve. If you want the pieces to be unified cut 1.3 x 1.93 cm .5 x .5-inch squares, pipe with an open round tip or cut a bag (using it as piping bag), layer the cake again. continue till you reach the top, starting and ending with cake crumbs, sprinkle with a dusting of icing sugar.
Serve, if you are not going to be serving within 1 hour place in the refrigerator and sprinkle the icing sugar just prior to serving.
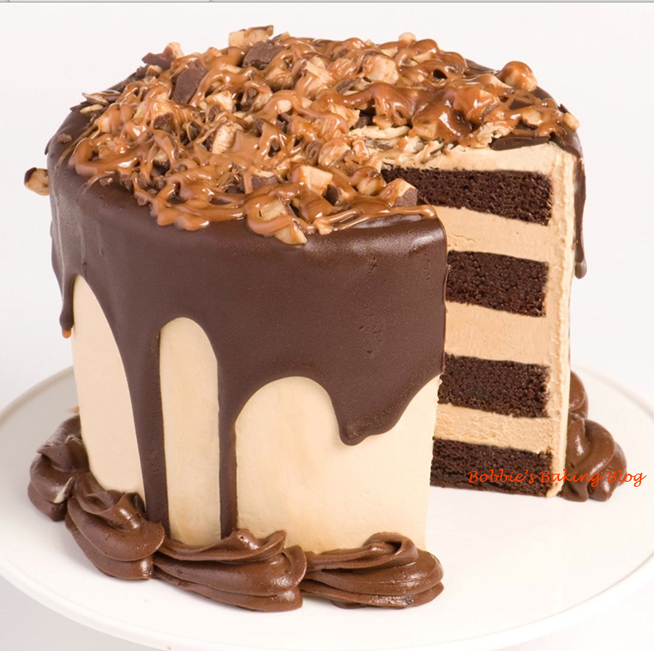
If you want to create a layer cake follow the recipe for ganache and assembly written below.
Ganache:
240 grams bittersweet chocolate, chopped fine
125 grams/ ½ -cup milk, whole
60 grams/ ¼ -cup cream frâiche
56 grams/ ¼- -cup butter
½-vanilla bean
In a food processor fitted with the steel blade add the chopped chocolate.
In a heavy bottom sauce pan add the milk and crème frâiche, bring to a gently full boil, pour through the feeding tube as you pulse the food processor till the chocolate is smooth, and stir in butter for a silky shine.
Chocolate glaze:
150 grams/5/8- cup bittersweet chocolate
113 grams/ ½ -cup butter clarified
14 grams/ 2 sheets gelatine
Pour the gaze in a measuring jug
Caramel Nut Garnish
250 grams/ 1 1/4 cups-sugar
146 grams/ 1-cup peanuts chopped coarse, roasted
Chopped bittersweet chocolate, to sprinkle
In a dry heavy-bottom saucepan roast the raw peanuts for about 8 to 10 minutes, or until your nose smells a light roasted smell. Cool, chop, and set to the side.
Heat the sugar in a dry sauce pan over medium heat,using a fork lightly stir the sugar. Once the sugar begins to melt stop stirring and swirl the pan so the sugar melts evenly, and continue cooking until it is a dark amber color.
Assembly:
Place the cakes on a cutting board, with an offset spatula spread a thin layer of peanut butter filling smoothly over the top of the cake. Place another layer of cake on top, spread the chocolate ganache over the top with an off-set spatula, and place in the freezer for 10 minutes to firm and set up. (Leaving enough peanut butter filling to spread over the top of the cake, this will keep the cake smooth).
Once the cake has set take an offset spatula spread a very smooth layer of peanut butter filling and place back in the freezer for 1 hour up to 6 hours.
The cake needs to be very cold to pour the glaze. Line a baking sheet with parchment paper; place a cooling rack on top of the lined baking sheet. Pour the glaze over the cake. Once the glaze has been applied pour the liquid caramel, sprinkle the peanuts and bittersweet chocolate.
Serve.





You are always so positive, I would have been in tears. Instead of making that gorgeous cake you allowed those girls to feel like superstars with trifles. Bobbie you ROCK!
What a cute story!