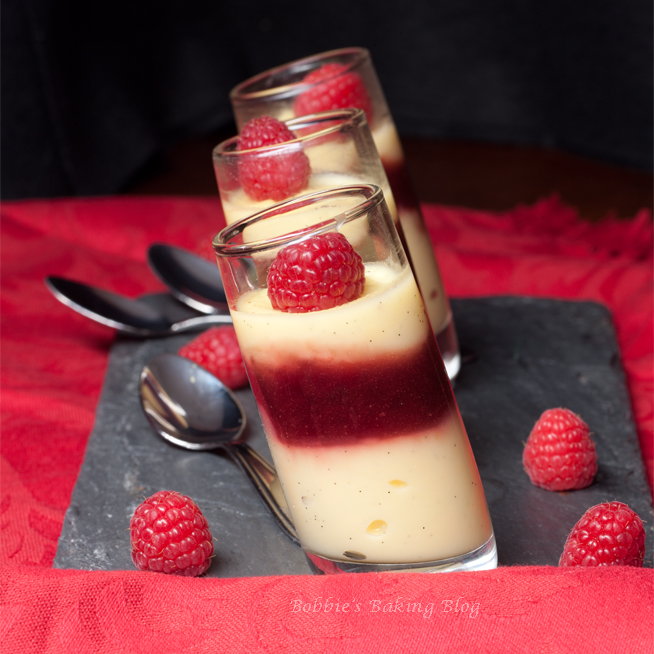
These slated glasses were perfect for the Champagne Pudding
In the past month Sydney and I have found ourselves using glass for quite a few recipes ( the esthetics can be eye popping). Glass however can be problematic when working with studio lighting. I wanted the Champagne Pudding to have a romantic yet mysterious look. After spending time researching “false black” backgrounds, instead of masking in photoshop, Sydney and I put together a DIY macro table setting, Using an antique night stand, a black stone dish, and a red napkin Sydney styled the pudding beautifully. It was my turn to create the alluring mood. As I have mentioned in previous posts I have canon lens and cameras, I decided to use my EOS mark 111 with the 100mm 1.2.8 lens. I set the iso to 100, light boxes were set to 224, the aperture was set to 18 and the shutter speed to 1/200.
The photo below is prior to achieving the illusion.
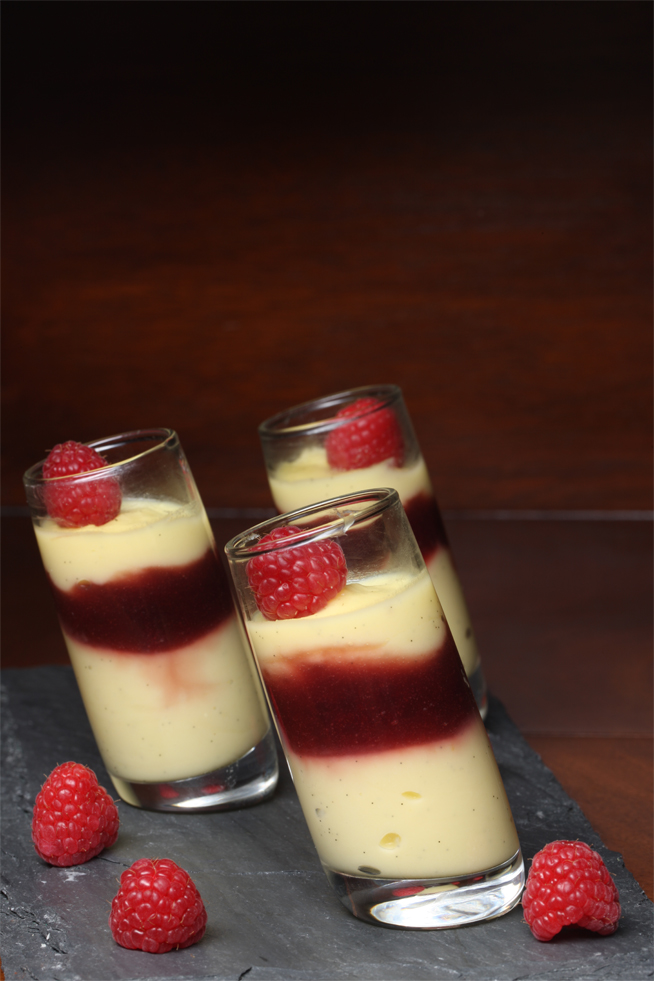
It is apparent that the glasses are on wood
The camera, lens, aperture and studio lighting are the same in these photos, however the shutter speed was set at 1/200 and the photo above the shutter speed was set at 1/120
The difference is incredible.
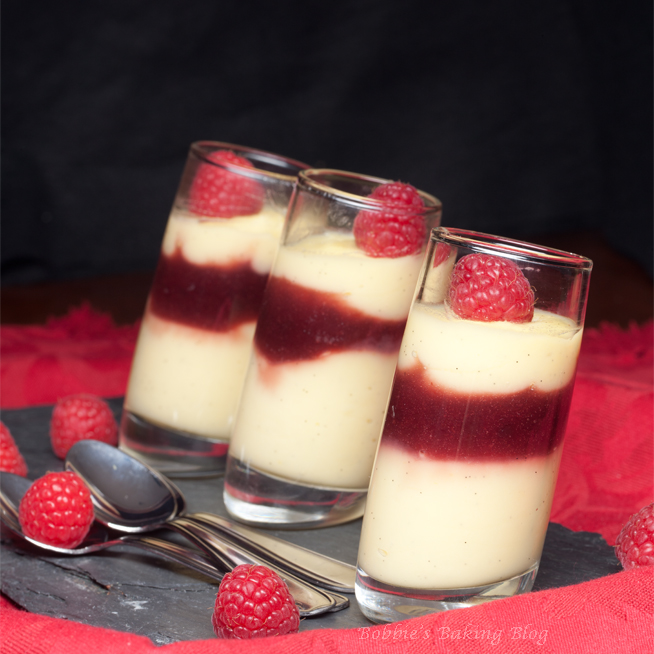
The background appears completely black
The glare on the glasses disappeared once they were on the night stand, but we did move a light box to the front of the night stand and angled downwards, before the light box was behind the stand.
For the Opera Cake we used a similar technique.
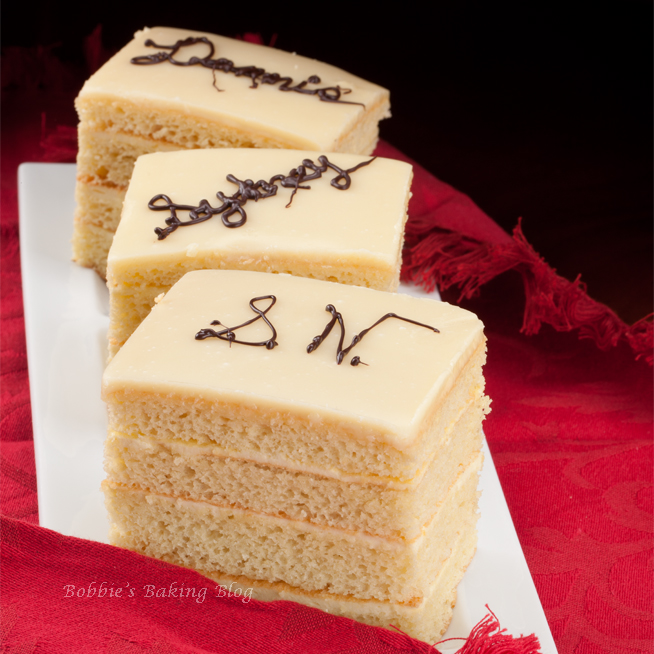
As you can see the background has a similar illusion
For this photo we used the canon mark 111, lens 100mm, the aperture was set to 22, and the shutter speed was set to 1/60. Although the “false black” was achieved, the first few photos had a distracting glare on the porcelain plate. Again we brought the long light box to the front and angled upwards this time.
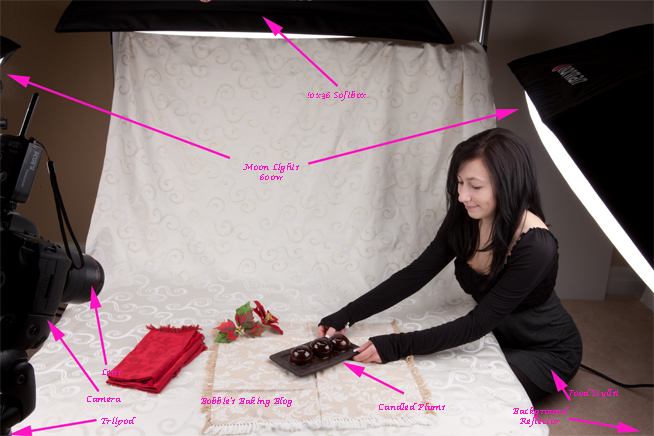
The light box I am referring to is above Sydney's head
Sydney, my food stylist, wanted the Mousse au Chocolat to have a completely white background; which is harder to achieve without a hazy gray appearing, plus due to the fact that the beautiful glasses were placed on my antique pink cake plate glaring became quite problematic once again.
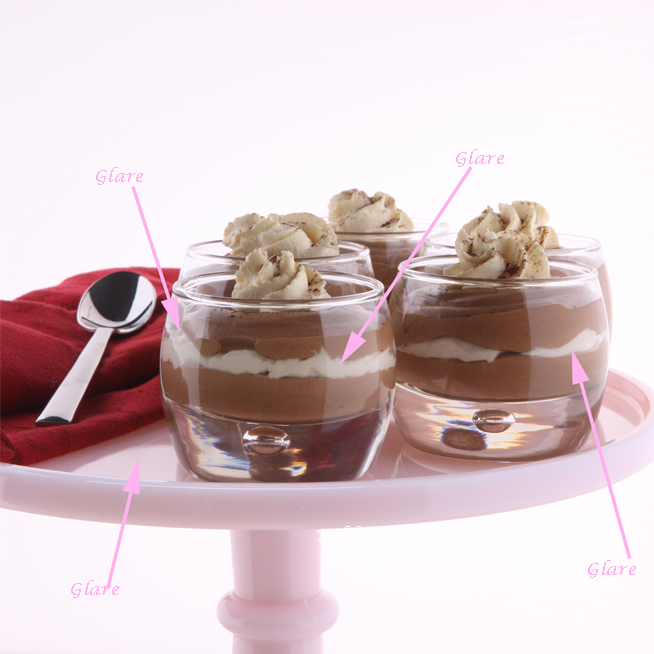
Besides the distracting glares the photograph's background has a pink hue
To be perfectly honest this set-up was difficult; the cake plate glared, the glasses glared, and if we increased the studio lights as high as was needed to for a white-out background the glasses began to disappear .
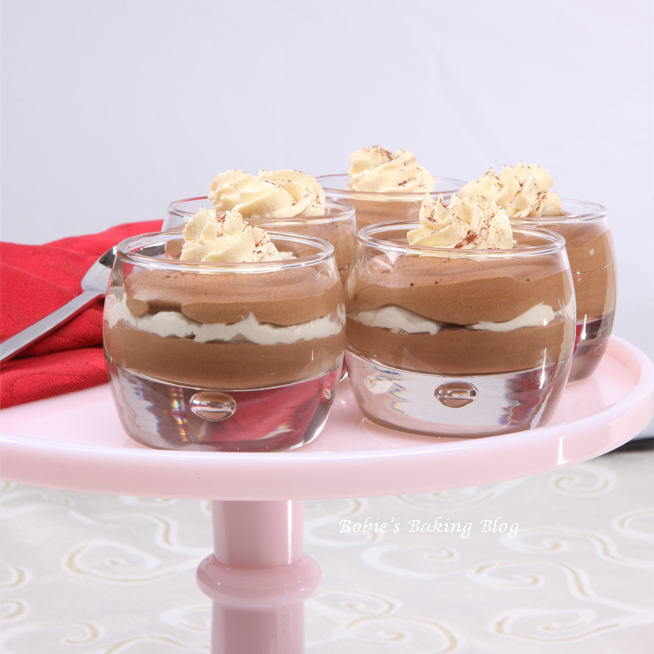
The glares are lessen, but background is almost blue
The final photograph was achieved by raising the side light boxes above the glasses of mousse and pointed downward bouncing off each other. We then used a 110mm 5-in. round reflector placed behind the cake plate.
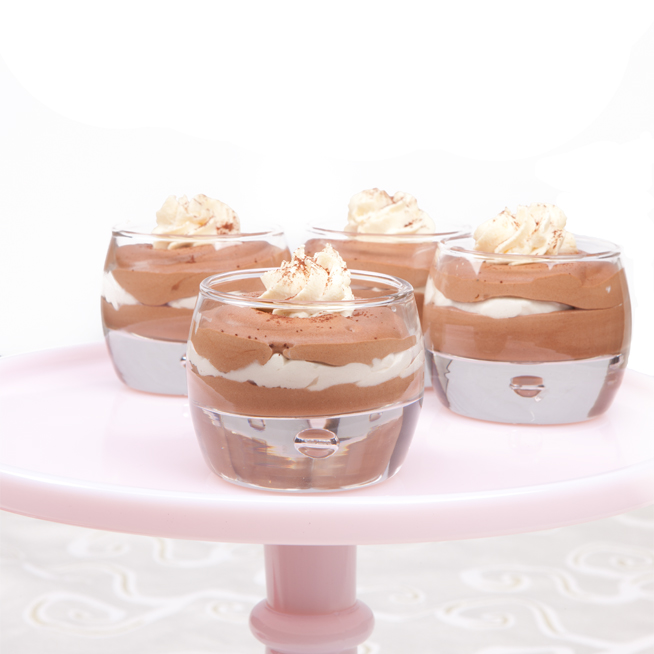
Half of the background is white; almost there
Sydney loved the look of the photograph; she thought the texture on the bottom added elegance to the photo, however I wanted the entire background to be white. With the glares under control I imported the raw images to lightroom. In light room, I was able to the use the adjustment brush with the feather level around 40 to brush out the background. The brush adjustment tool enables me to change the background without dissolving the subject (in this case the mousse au chocolat).
For all the Mousse au Chocolat photographs we used the mark 111, EF 24-70f/2.8L. With the iso at 100, studio lights at 284,shutter speed set at 1/4, and an aperture of 16.
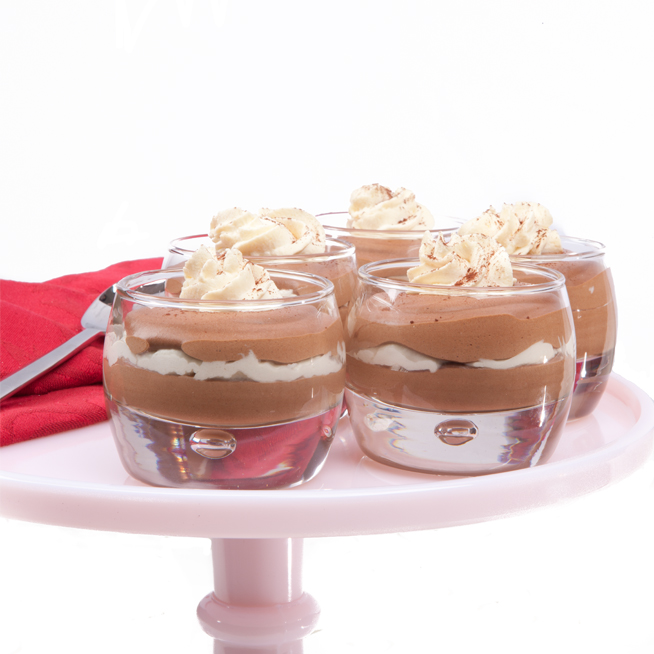
Voila!



*BEAUTIFUL*