I adore a warm buttery flaky croissant with a strong cup of coffee. A friend, Nancy asked me if I could bake some gluten free croissants (she has celiac disease) I was hesitant, but she was persuasive. Sydney explained I should go out of my comfort zone and try to create a flaky gluten free croissant, the worst that could happened is the gluten free croissants would not turn out. I reminded Sydney I am a perfectionist and have a problem with failure, I become panicky. Sydney replied back the only way to learn anything new is to fail and learn from the mistakes. She also repeated my own words back to me, realizing ” mistakes is a trade off we have to embrace, and if you allow yourself to be open to mistakes, the faster you will learn from them, and the quicker you can grow”. I agreed to try and I tried about five times before I was satisfied the gluten free recipe tasted similar to the croissants with regular flour. I although stayed up all night on third attempt, due to being neurotic about my previous mistakes (that attempt failed too)!
Gluten Free Croissants:
Equipment
- Medium Bowl
- Standing mixer
- whisk
- Bench scraper
- Croissant cutter, or good pizza wheel
- Plastic wrap
- Rolling pin
- Baking sheets
- Silpain, or Parchment paper
- Food processor
- Large flour brush
Materials
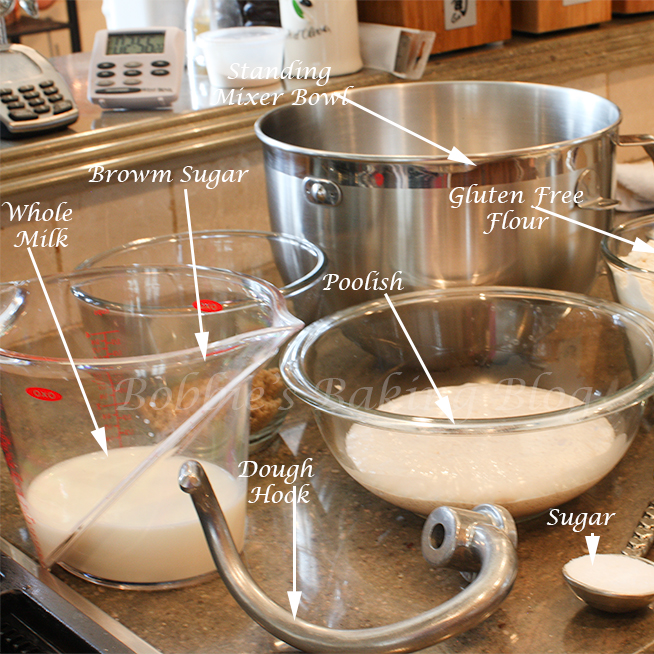
- 244 grams/ 1-cup whole milk, warm about 35 degrees C/ 95 degrees F
- 110 grams/1/2-cup heavy cream, warm about 35 degrees F/ 95 degrees F
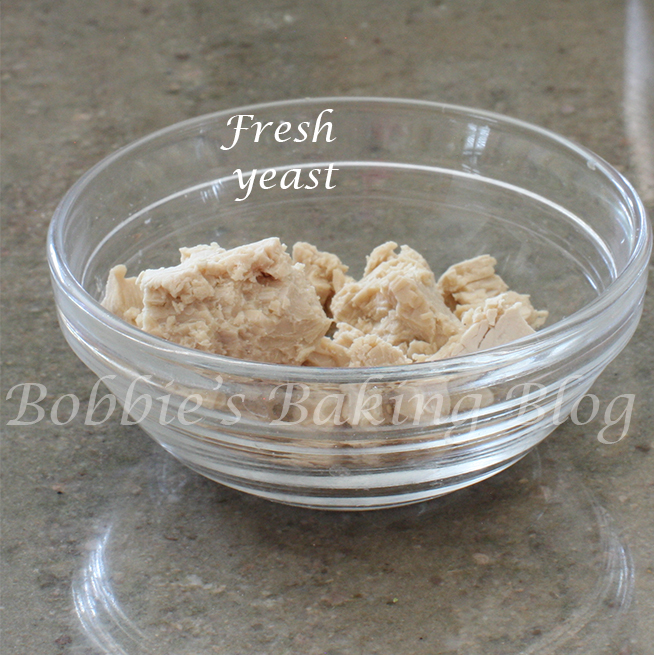
- 29.9 grams/ 1.3 ounces fresh yeast or 13 grams dry yeast/ 1 Tablespoon, plus ¼ -teaspoon
- 4 grams/ 1- teaspoon sugar
- 18 grams/1 Tablespoon salt
- 50 grams/ ¼-cups brown sugar, granulated white sugar may be subsituted
- 300 grams/ 1-7/8-cup sweet brown rice flour
- 120 grams/ 3/4-cup sorghum flour
- 120 grams/ 1/3- cup rice starch or 42 grams cornstarch
- 9 grams/ 1-tablespoon xanthan gum
- Beurrage Package
- 340 grams butter, cold
- 10 grams/ 3 1/2-teaspoons rice flour
- 21 grams/ 1-Tablespoon sorghum flour
Prepare your mise en place.
In a food processor pulse the sorghum flour, rice flour, and xanthan gum unit completely amalgamated, transfer to a bowl, and set aside covered.
Détrempe (croissant dough):
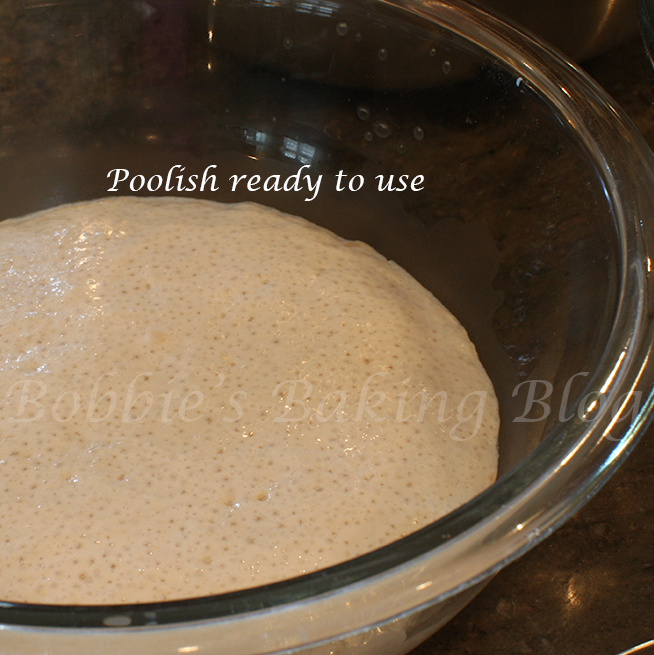
If using dry yeast: proof the yeast with the 110grams/ 1/2 cup warm cream, 4 grams/ 1-teaspoon sugar, and yeast. Adding the yeast to the warm cream and then the sugar allowing it to sit for about 7 minutes.
If using fresh yeast:
a. Dissolve 1 teaspoon sugar in 11o grams/ 1/2 cup cream, warmed to 90°F – 95°F
b. Add crumbled Cake Yeast to sugar solution.
c. Stir yeast until completely dissolved.
d. Let mixture stand until yeast begins to foam vigorously (5 – 10 minutes).
e. Add mixture to remaining ingredients.
In the bowl of a standing mixer add the yeast mixture, the gluten free flour mixture (reserving 60 grams/ 1/2-cup flour if needed), and the brown sugar whisk together, by hand, and then whisk in salt.
Using your dough hook on low speed add the warm milk until the dry ingredients are moistened. Raise the speed to medium (#4) and amalgamate for about 4 minutes. The dough should be silky, smooth, pulled away from the sides of the bowl, and will still cling to your fingers slightly.
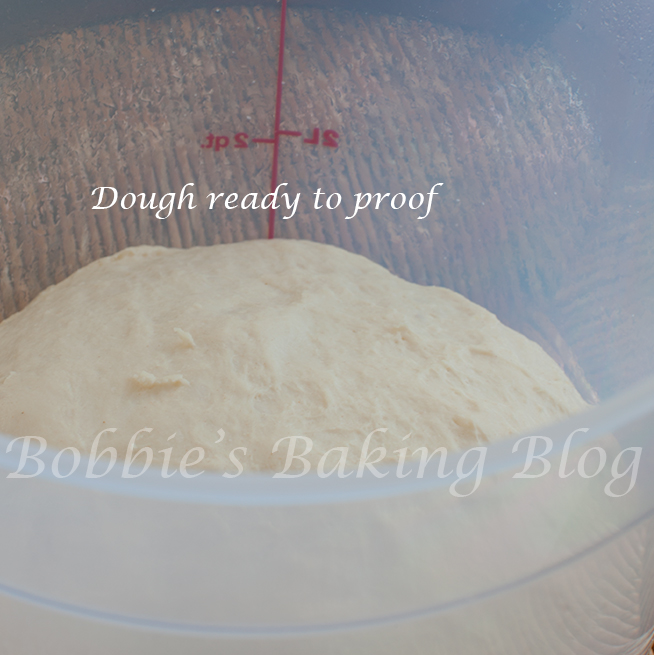
Place the dough in a 4-quart bowl 0r dough bucket that has been lightly greased with butter or cooking spray. Cover the bowl with the lid or plastic wrap. Place the dough in a r room temperature room (26 degrees C/80 degrees F ) for 30 minutes. If the room is colder preheat your oven to 150 degrees, turn it off, and the oven should register at 26 degrees C/ 80 degrees F. Place the dough in the oven.
Gently fold the dough.
Cover and place in the refrigerator for at least 2 hours to 8 hours.
The Beurrage (butter square):
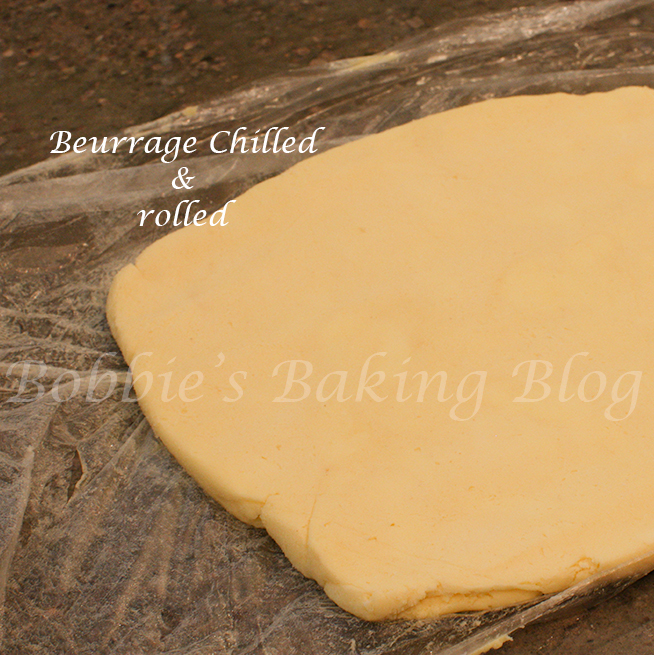
Cube the butter into dice size pieces. I found the best way to combine the butter with the GF flour, is to place the cold cube butter and 25 grams of flour in the bowl of your standing mixer on low speed, with the paddle attachment, mix the butter and flour. Once the mixture is amalgamated shape into a 28cm x 28cm, 9×9-inch square (no thicker than 3/8 of inch). The butter should still be cool but workable- about 16 degrees C/ 60 degrees F.
Use it right away, the temperature must be at 16 C/ 60F to laminate properly. Pâton:
**Laminate the dough
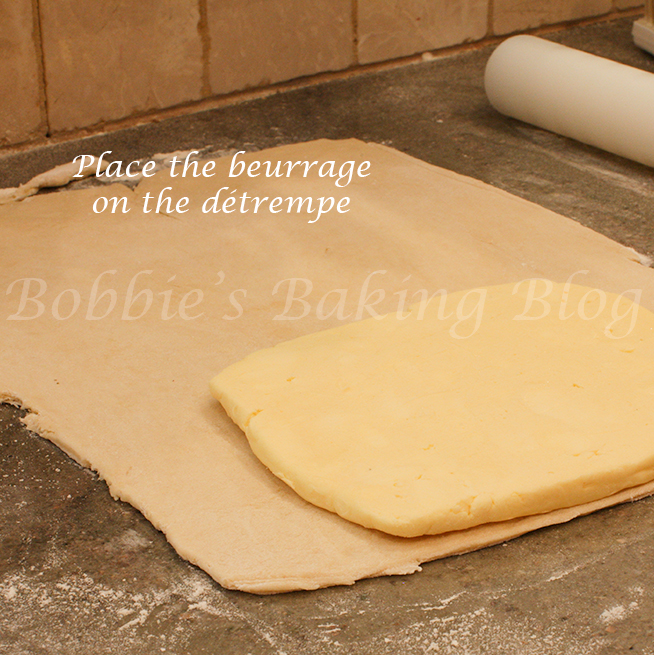
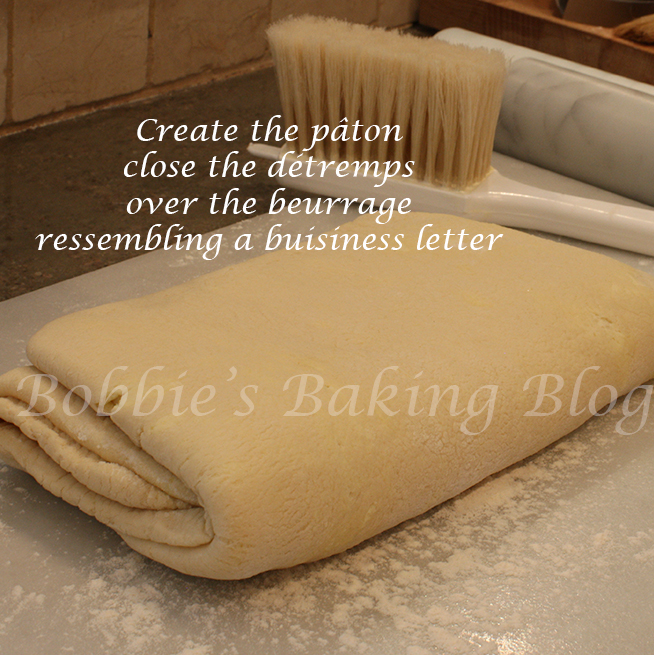
Take the dough from the refrigerator and roll out to 31 x 31 cm/ 12.5 x 12.5 –inches. Place the barrage (butter square) diagonally in the center of détrempe (dough) using the back of knife mark the dough at the corners of the butter, remove the butter at form flaps where the marks are. Roll the flaps a little. Now moisten the flaps slightly place the butter back into the center, diagonally. Wrap the butter by securely overlapping the flaps slightly. Wrap the pâton in plastic film and allow it to rest in the refrigerator for 30 minutes, but no longer.
** The laminating method is one Rose Levy Beranbaum uses, I believe it works best.
Turning the Détrempe:
First Turn:
Place the dough seems side up on a floured marble board. Keep your worksurface lightly floured, gently roll the pâton into a long rectangle about 50 cm/20 inches long by 18 cm/ 7inches wide. Brush off the flour from the dough’s surface and give it a business letter fold (folding into thirds). Wrap the folded dough in plastic film, lay on a parchment paper lined ½ baking sheet, and allow it to rest in the refrigerator for 40 minutes. Mark the paper to keep track of the turns. I generally like to complete a total of 6 turns, but a minimum of 4 turns is fine. The dough will let you know!
Second turn through four or sixth turns: (you may do up to six turns if the dough allows)
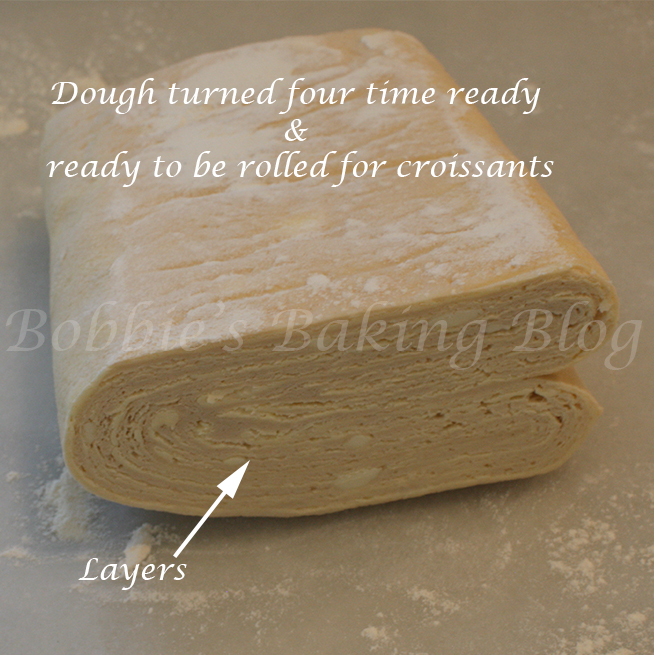
Start with a clean work surface that has been lightly floured. Position the dough so that the spine is faced to your left (like a book) and press down the edges of the dough with a rolling pin to keep them straight. (The upper part tends to roll out more than the bottom part). Roll and fold the détrempe the exact same way, but turn it over occasionally to keep the seams and edges even. Be sure to roll into all four corners of the détrempe, and use a pastry scraper to even the edges. A total of four turns should be completed; the third turn can have a double fold equaling four turns.
To Shape the Croissants:
Begin with a cleaned flour workspace.
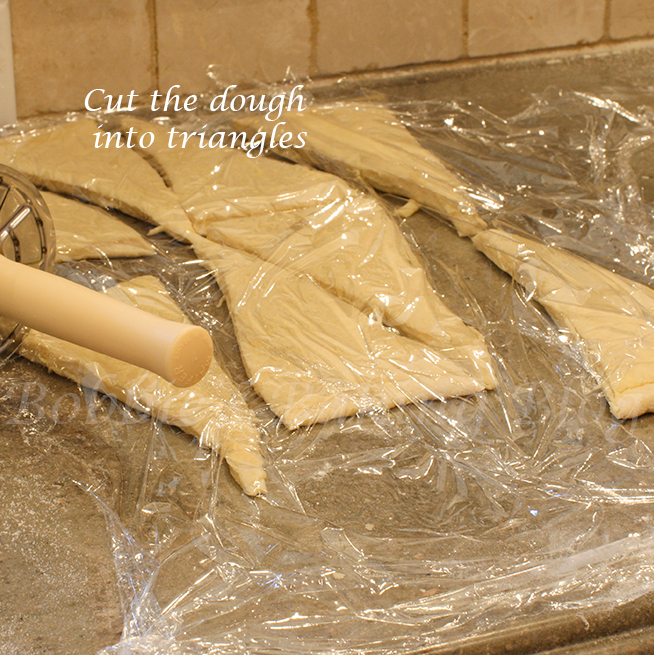
1. Cut the triangle.
2. Unfold the triangle carefully, cut along the fold to separate.
3. Gently stretch the triangle twice it’s original length about 23 cm/ 9-inches long.
4. Enclose a piece of scrape dough to pump up the middle.
5. With the point facing you roll the dough towards you, gently moving your hand down out to the side.
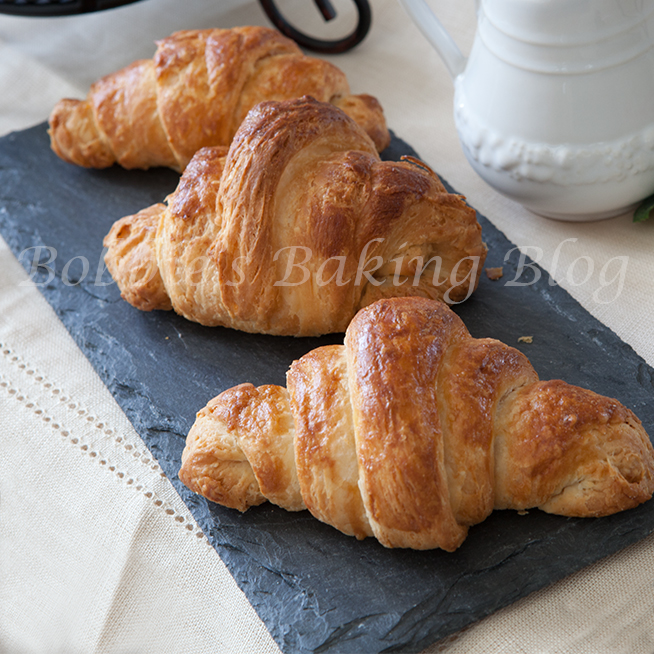
6. Curve the pointed ends of the rolled croissant to form the traditional shape.
Egg Wash Glaze:
• 50 grams/1 whole egg
• 14 grams/ 1-tablespoon heavy cream, half and half, milk or water
• Sugar for sprinkling, optional
Baking the Croissants:
Preheat the oven to 218 to 232 degrees C/ 425 degrees F, arrange the oven racks so one rack to the lower and upper positions. Prepare the egg wash and very lightly with a pastry brush, brush the egg wash onto the croissants.
Open the oven, spritz the oven generously with spray bottle of water and quickly close the door. Open the oven door again, slide the croissant sheets into oven and re spritz. Turn down the oven temperature to 240 degrees C/ 400 degrees F. after about 10 minutes rotate the croissant sheets. Reduce the oven temperature to 191 degrees C/ 375 degrees F and continue to bake the croissants till deep golden brown, internal temperature should register at 99 degrees C/ 210 degrees F. (about 8 more minutes). They will finish baking while they cool.
Cooling the Croissant:
Once the croissants have achieved the color and correct internal temperature, remove from the oven and transfer to a cooling rack for about 20 to 30 minutes.
Stepping out of my comfort zone gave me an opportunity to fail and realize the world did not stop turning. I also, in the end was able to create a gluten free croissant for Nancy. I owe Sydney a large thank you for being able to see the bigger picture, and nudging me to try. Sydney graciously FaceTime with throughout the entire attempts, excluding staying up all night with me! By the way I baked another batch with almonds, mostly to prove to myself it wasn’t good luck on the fifth try!
While preparing the gluten free croissants I thought this would be a great project for you and your children, they can help with the rolling!
Enjoy!






Hello! So excited to try this recipe! I am GF, soy free, and DF, may I use almond milk for this recipe in place of the cream and whole milk?
Also, can I substitute a GF flour blend for the sourgum flour?
This recipe looks fantastic! I can’t wait to try it. Gluten free food can be hard to make taste good so I am hoping this one works out.
Thanks for sharing!
Hi, is there anything else I could substitute sorghum flour with? It’s the only ingredient I can’t find (I don’t live in the US to order it online). Thanks in advance!
Hi Nuria, I don’t know of a good substitution, however, there are GF flour mixtures you may purchase. The mixtures have all GF ingredient in one bag/box.
How long do the shaped croissants need to proof for?
They need proof until the crescent shape has doubled in size
I have tried your recipe over three times and all three times failed miserably!
hello,
beautiful ! i’m french and the sugar change with coco sugar or honey ???
Thanks !!!
If I want to have these on my sons birthday for breakfast when is a good time to start making them? All the turns and waiting im not sure how long it will take
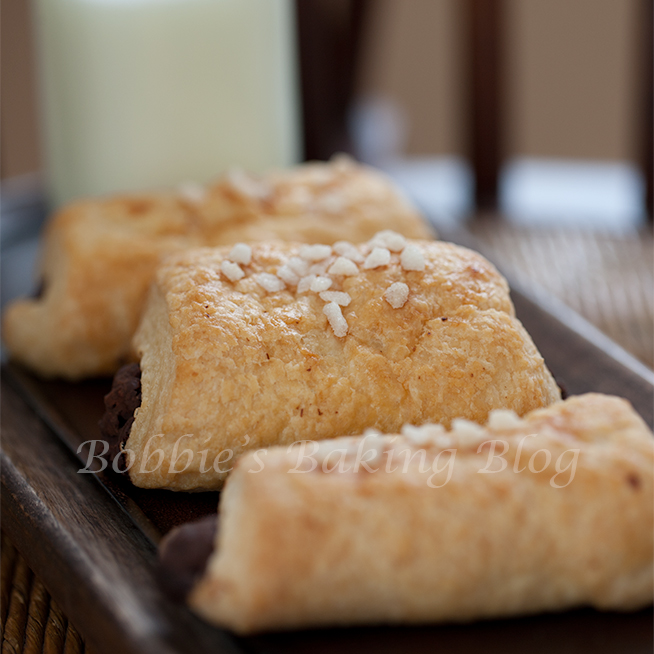
Just curious, are the pictures on your post, above, of the actual gluten free version, or are they of croissants made with regular wheat flour. Because that’s exactly what they look like. Stock photos. There’s no way sorghum flour will ever rise like these photos seem to indicate.
They are completely gluten free
Hi! Do you know what I can use instead of sorghun flour? Garbanzo flour or more rice flour? Or a Gf blend? Thank you!
Is it possible to use a gf flour blend instead if the individual flours?
This recipe is NOT for Passover use. It has yeast in it,which is considered leaven. No leavening for Passover! I’m not sure why this was stated under the picture?
You are quite the accomplished pastry artist. (Anyone questioning your photos only needs to do an ounce of looking around at your blog and business. Ridiculous for someone to speak to you that way.) Would you consider doing a video of the butter/laminating phase? I think most of us can handle the actual dough part, but this is where I get hung up. Thank you for sharing this insight with us!