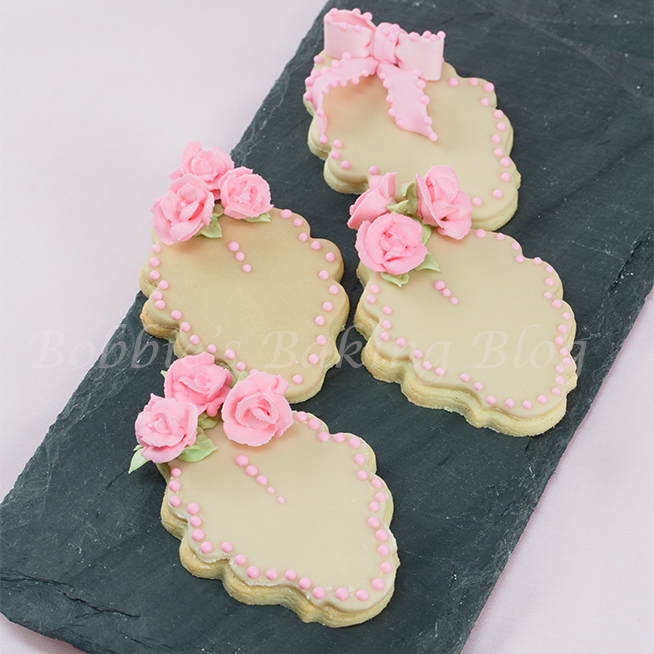
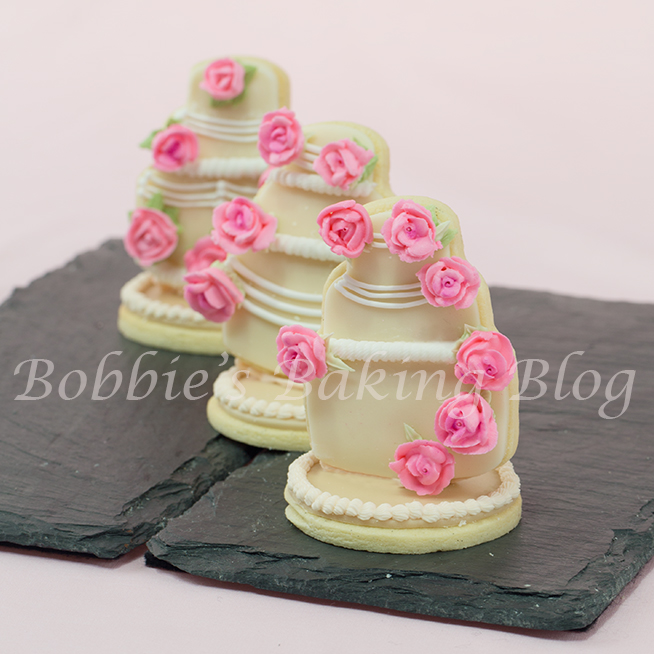
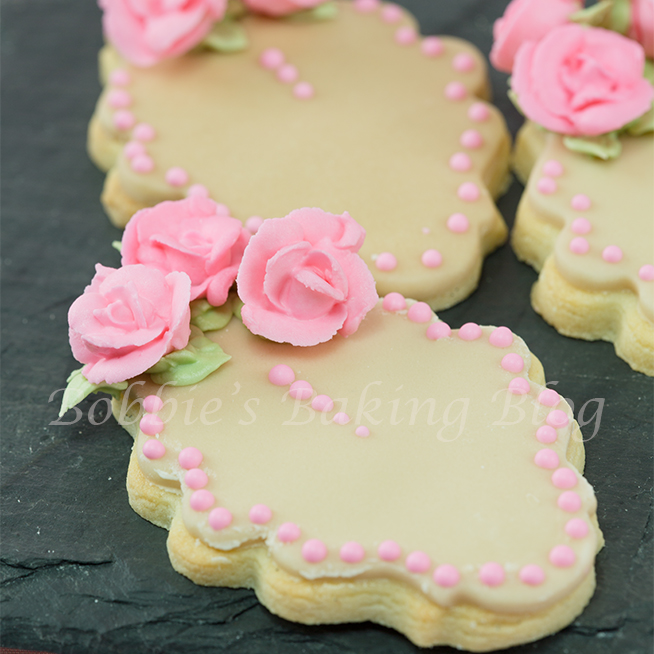
While preparing fondant covered sugar cookies to send to Sydney I realized there are several mediums, in cake decorating, for creating decorative roses. From easy and fast rosettes, piped royal icing roses, gumpaste fabric roses, to full blown sugar paste roses. All of these techniques are beautiful on cookies, cupcakes, cakes, and sugar paste sprays to keep forever. The plaque sugar cookies above become an extra special favor with the addition of piped royal icing roses and leaves. The piped royal icing roses would be also be stunning on a cake or cupcakes as a border.
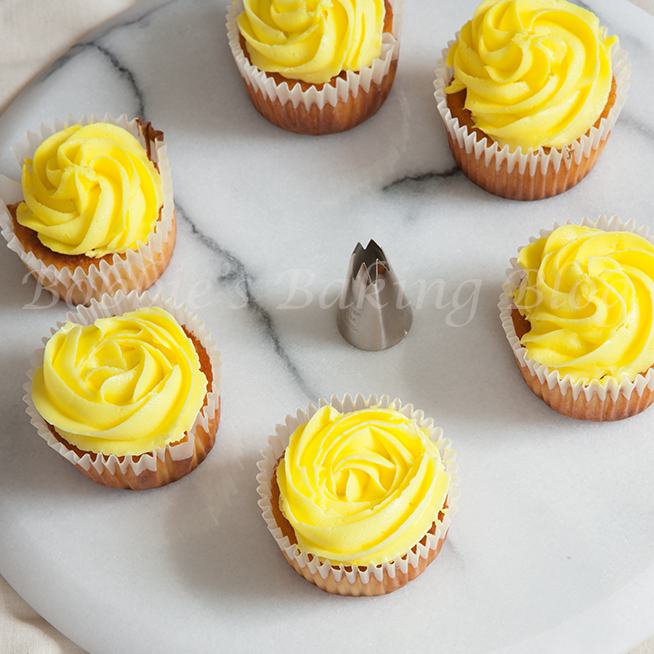
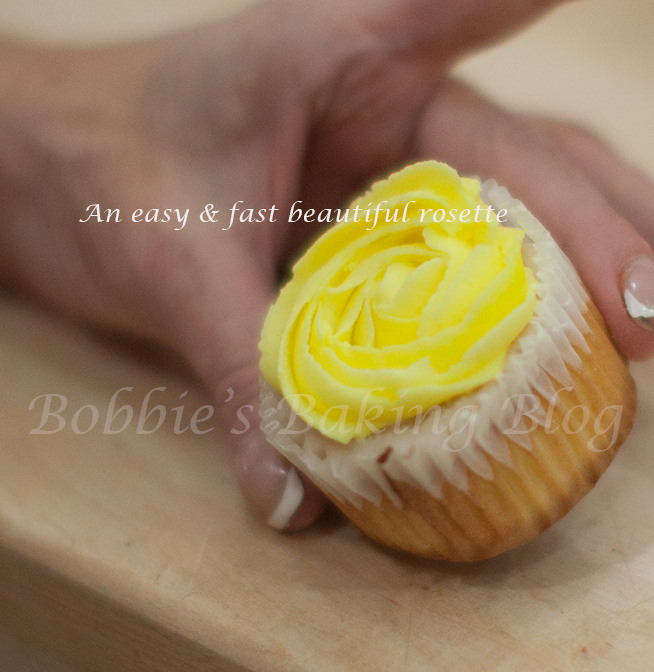
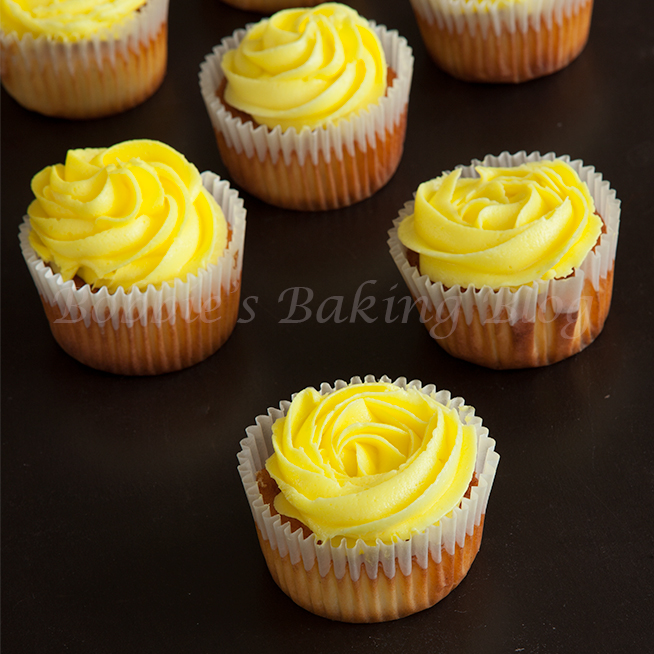
This simple piped rosette in either royal icing or buttercream turns an ordinary cupcake into an extraordinaire cupcake!
Rose flavored cupcakes above took less than a minute to pipe a fun rosette that adds a wow factor to the cupcake. Pipe these fast and easy rosettes over an entire cake and watch people’s faces light up.
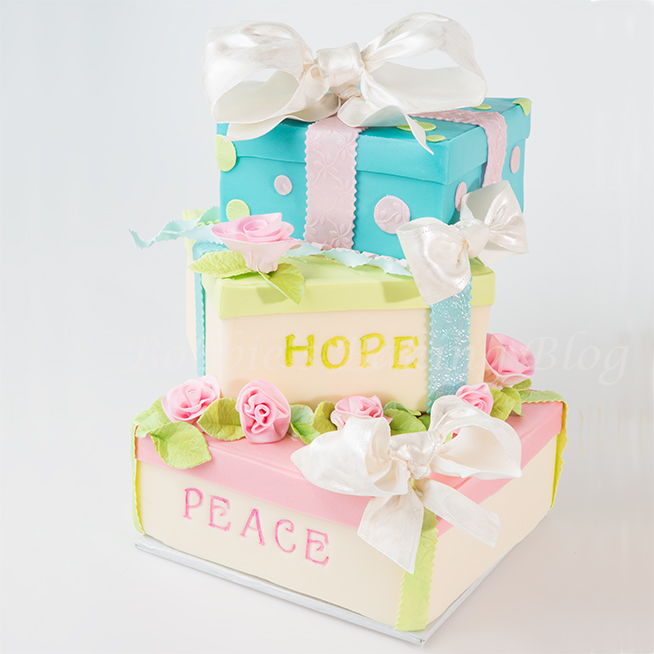
The 50/50 wrapped rose is an awesome addition to any whimsical or fantasy cake!
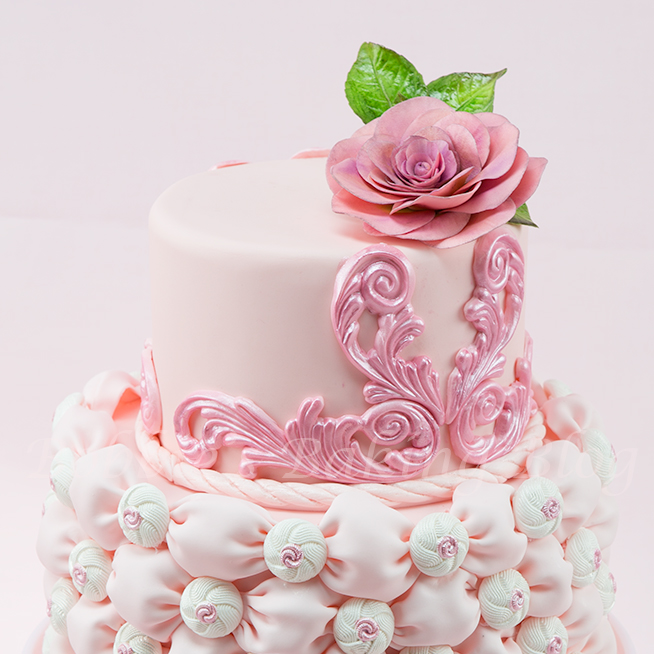
The fabric gumpaste rose was built in a celformer.
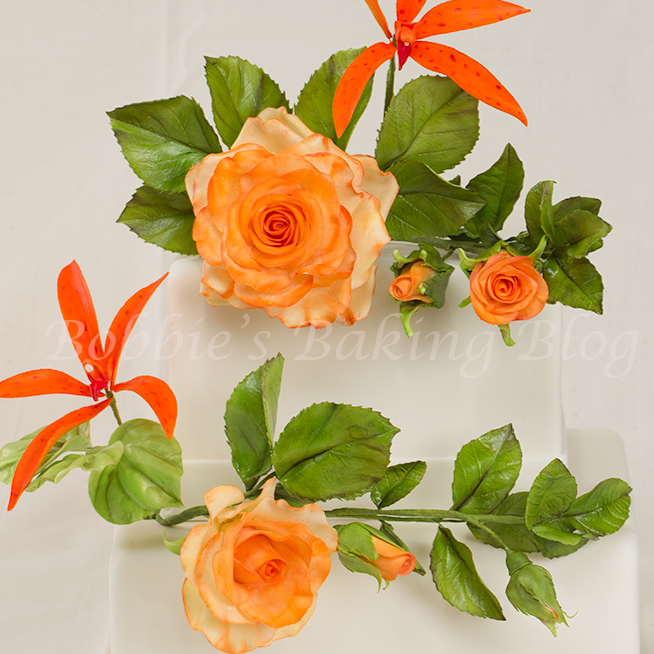
A full blown sugar paste Rose Spray has an incredible realistic look, I find creating an open rose is relaxing and I become lost while dusting them!
The Rosette:
Equipment:
- 1-large open star nozzle 3-M Jem1
- 1- piping bag or cornet
Materials:
- 1-royal icing recipe, buttercream, or combo
- Colour paste, your choice
- Prepare cookies, cupcakes, or a cake
Prepare your mise en place.
Have your pastry of decorating choice baked and cooled.
The Rosette:
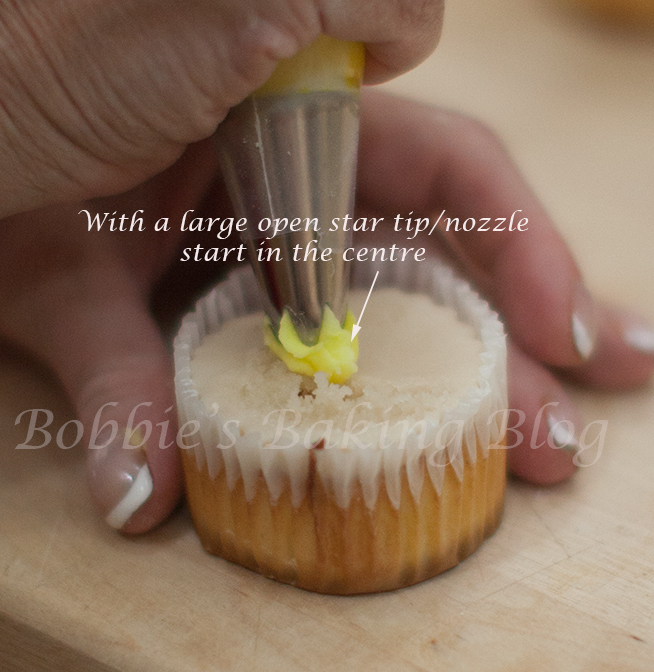
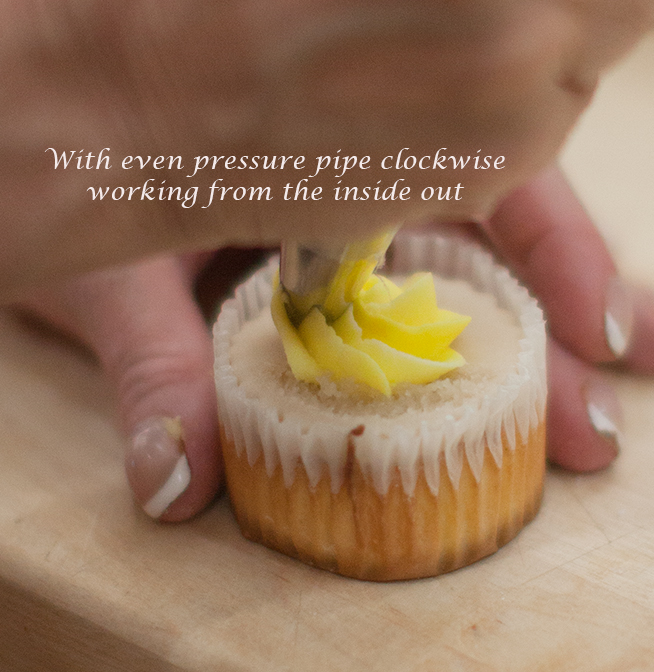
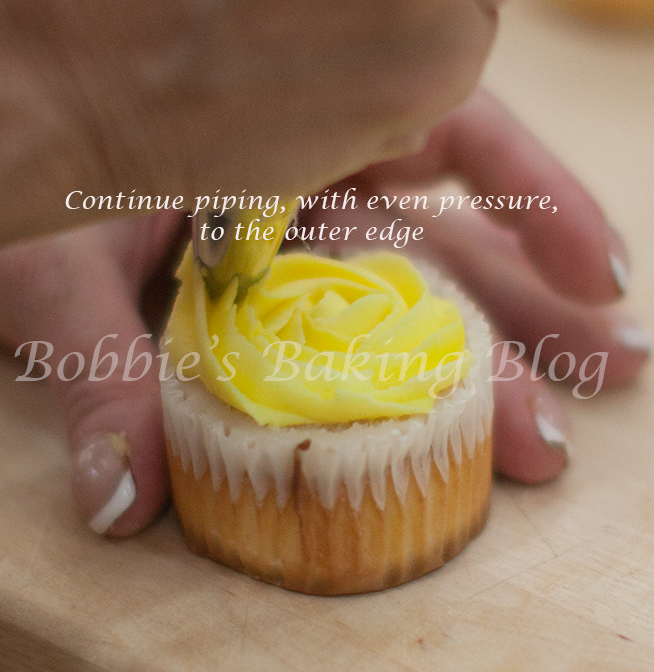
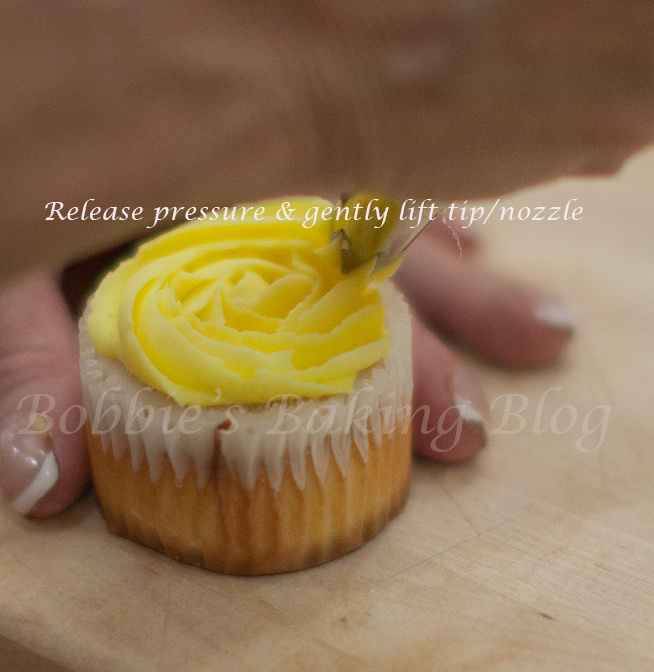
To create a rosette on the cupcakes/mini cakes have your piping bag prepared with your desired color. Place the tip/tube in the center of the cupcake/mini cake, holding the piping bag at a 90 degree angle, and turn clockwise working toward the outer edge, keeping even pressure. When you and the tip/tube create the last swirl of the rosette release pressure and gently pull the tip/tube away.
Piped Royal Icing Roses:
Equipment:
- Cornet
- PME 57 S petal nozzle or wilton 101
- Piping nail
- Material:
- Royal icing recipe, off-peak consistency
- Colour paste of choice
The Piped Rose:
Pipe a small amount of royal icing (stiff, off-peak) on a piping nail, and attach a square of cellophane. With the petal wide end down pipe a cone as you hold the piping nail between your fingers and thumb, twist clockwise.
Turn the petal tip up, around the top of your cone and back down to the starting point. This is your rosebud.
The petals:
Pipe the first three petals. Hold the tip so the wide end is touching your cone about 1/4- up, starting right where the bud finished off. Tilt the narrow end of the tip at a 45 degree angle from the centre.
As you turn the piping nail in a up and down motion of the tip will make a half circle-shaped upright petal. Wide end of tip must touch the rose base so that the petal will attach. Move tip up and down to the midpoint of your cone, forming the first petal.
Next pipe the second petal slightly behind the end of the first petal. Repeat the same method for the third petal, ending by overlapping the starting point of the first petal. Rotate the nail 1/3 turn for each petal.
Make a row of 5 petals just under the three . Touch the wide end of the tip slightly below the center of a petal in the top row. Angle the narrow end of the tip out slightly more with even pressure as you turn the piping nail moving tip up, then down, to form the first petal. Continue four more petals in the same manor.
For the final row create 7 petals at the bottom of your cone. Be sure to angle the narrow end of the petal tip slightly more toward you. Turn the nail clockwise as you pipe in an up down motion. Rotate the piping nail 1/7th of a turn for each petal.
Remove the cellophane carefully and allow the pipe rose to dry over night.
There are probably a dozen more ways to create edible sugar roses, but I shared a few of the ones Sydney and I use regularly.
The rosette rose is a prefect method to start young children decorating cakes. The rosette is not only fun, but they will be successful!
Enjoy!



Trackbacks/Pingbacks