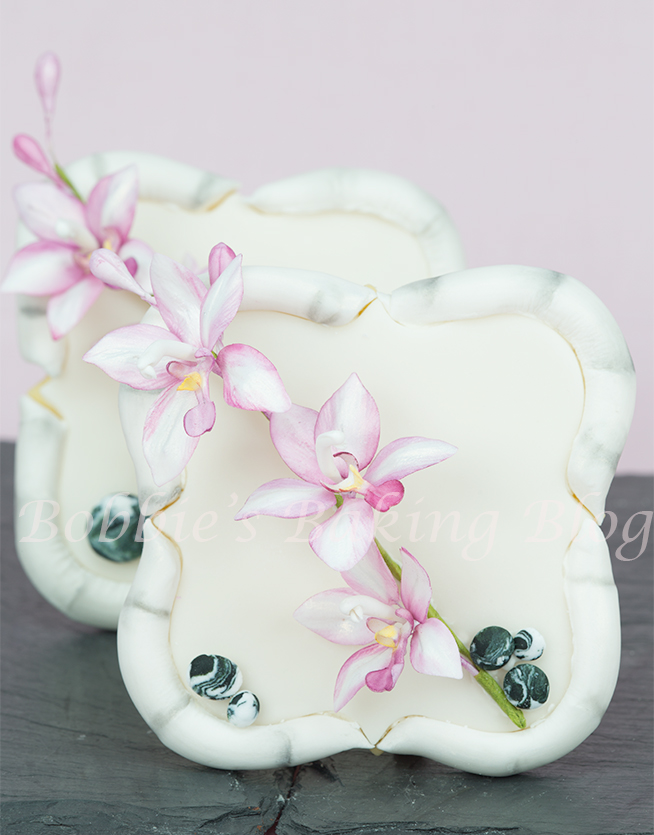
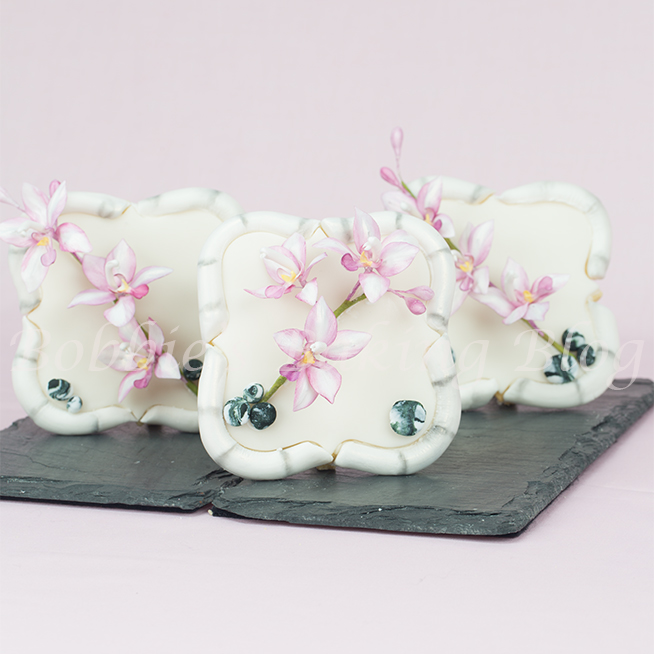
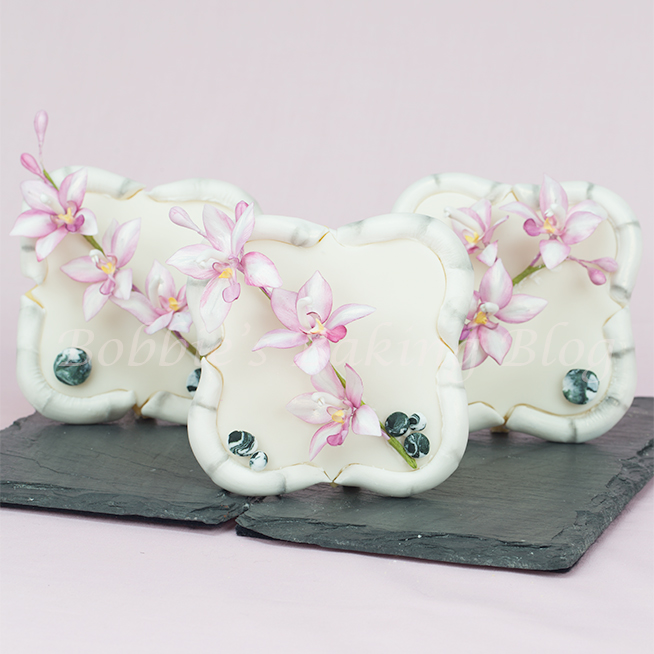
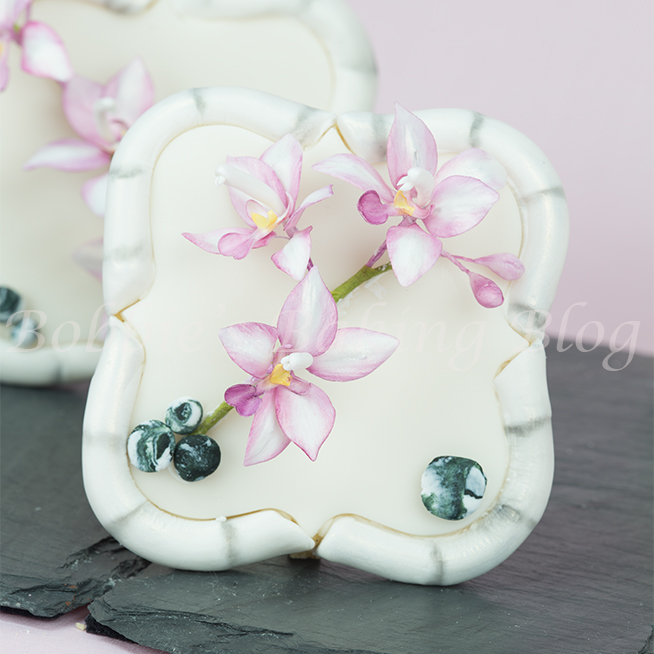
For quite sometime I have been waiting to create a bamboo framed sugar cookie with Spathoglottis orchids, better known as Asian Ground Orchids. I had promised Sydney I would wait for her to come home in order for us to design the sugar cookie frames together. She has a love affair with orchids and had seen Asian ground orchids in a photo with a friend in Sri Lanka. I had originally placed five orchids in a Mariposa lily spray, however we have received several requests asking to show a Asian Orchid tutorial.
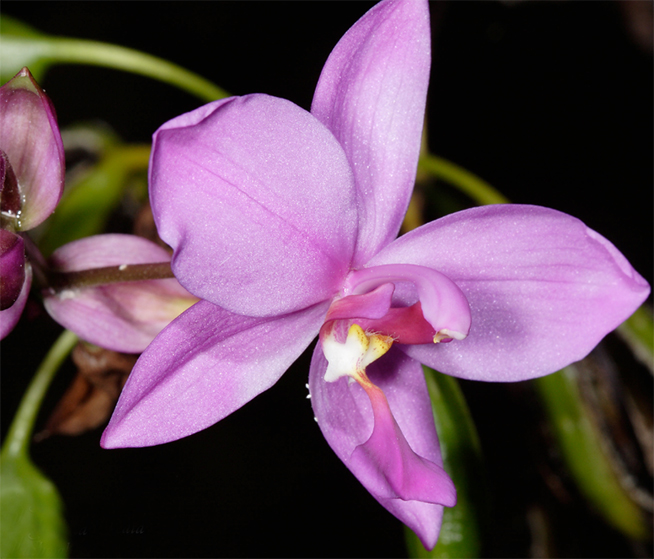
All orchids are similar in design, each orchid consists of an anther, throat, two lateral petals, and three dorsal petals. (I refer to the lateral petals as wings). What separates each type of orchid is the throat shape, the length of the petals, and color. The Spathoglottis is commonly called an Asian Ground Orchid, which is the most common ground orchid. The flowers bloom year round (usually spring to fall) from the top of the plants’ stem (about 3 feet tall). The flowers range from white, pink, and purple. This plant can be grown in the ground or in a container. This plant attracts butterflies and hummingbirds!
Spathoglottis Asian Ground Orchid tutorial:
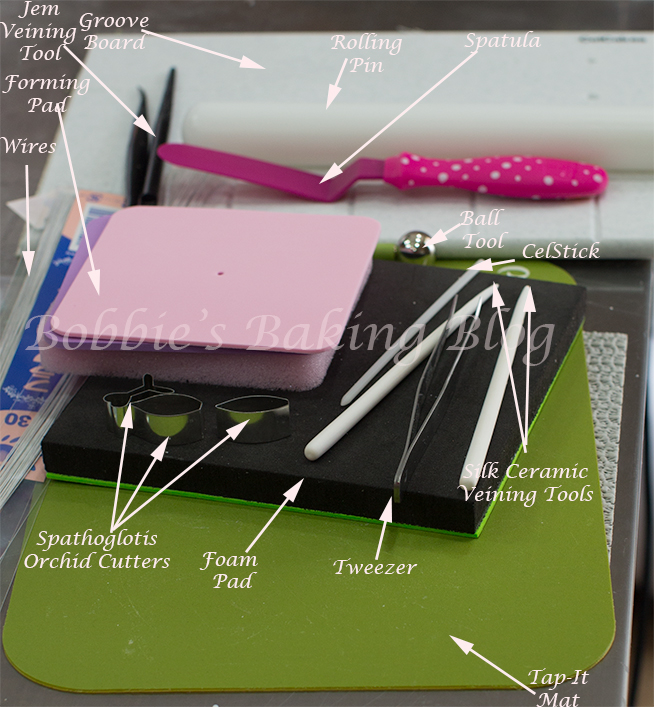
Equipment:
- 33,30, 28,26 & 22 gauge wire
- 1/4 width white floral tape
- 1/2 width nile green tape
- Tap-It mat, ISAC
- Shaping foam, wilton
- Foam pad
- Spathoglottis cutter, TT
- Christmas rose veiner, SKGI
- Silk veining tool, HP
- Celstick, Celcakes
- Jem veining tool, JEM
- Small rolling pin
- Metal ball tool
- Tweezers
- Small wire cutters
- Artistist brushes
- Size gauge chart
- Floral foam
- Stay fresh mat
- Steamer, optional
Materials:
- Flowerpaste, gum paste or sugar paste, white Fondarific
- Aubergine petal dust, Blossom sugar art
- Plum petal dust
- Iridescent gold shimmer,Blossom sugar art
- Daffodil yellow, CK
- Egg white
- Crisco
- Cornstarch
Knead your flowerpaste/gumpaste or sugar paste and prepare your mise place.
Anther/ Column:
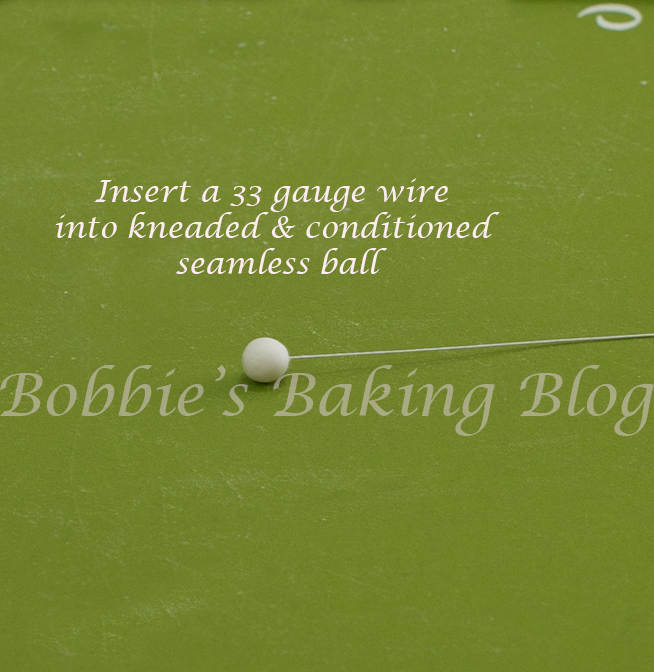
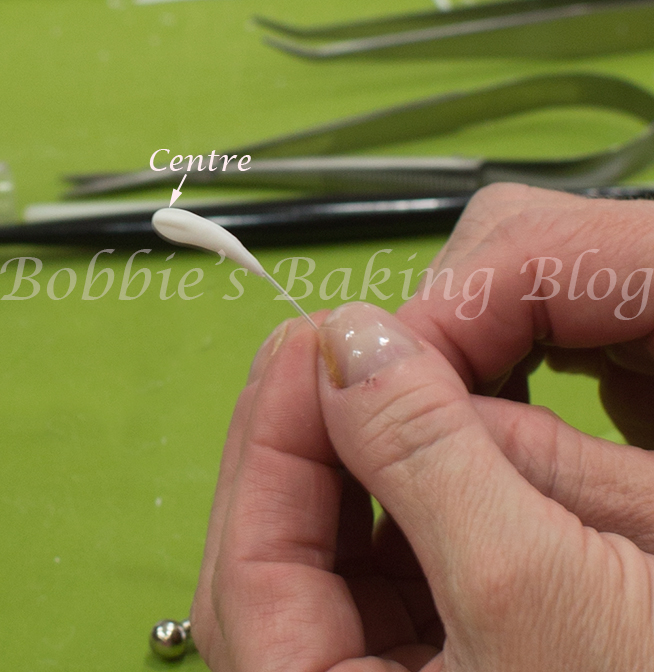
Cut a 33 gauge wire in 1/4th sections, you will need 15 asian orchids for five sugar cookie frames, you also need 15 anthers. Knead and condition a # 3 size seamless ball of flowerpaste. Insert a 33 gauge wire into the seamless ball.
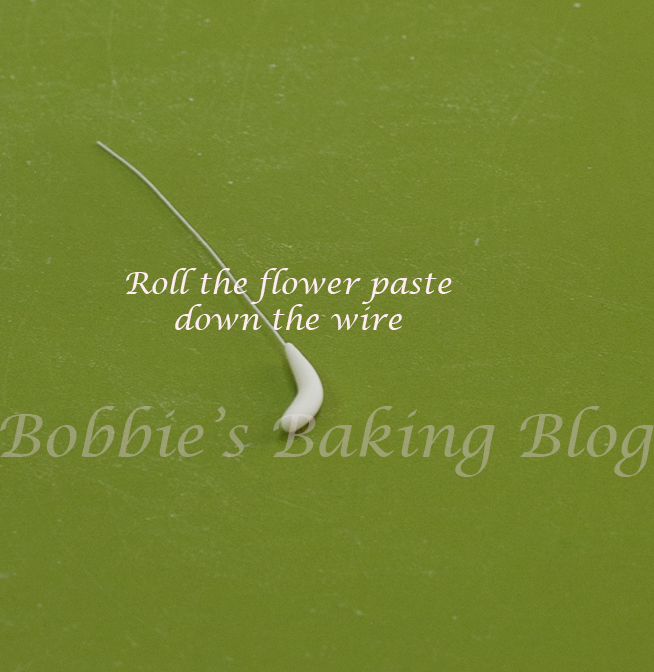
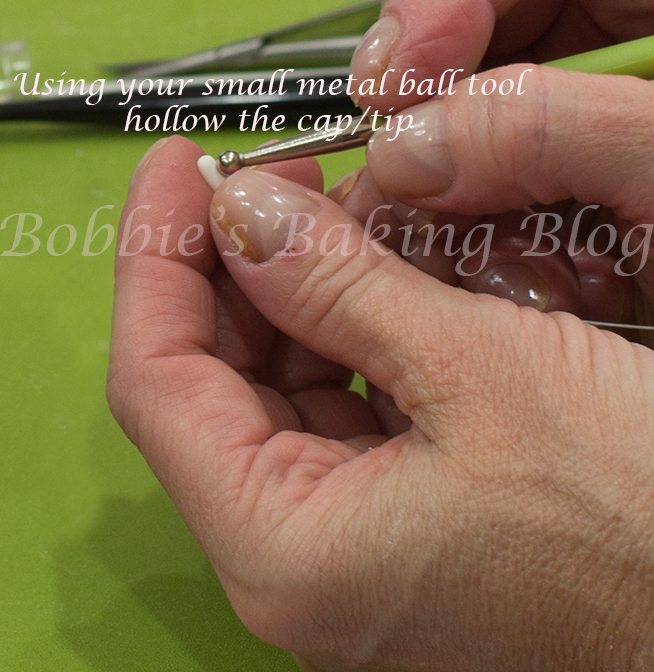
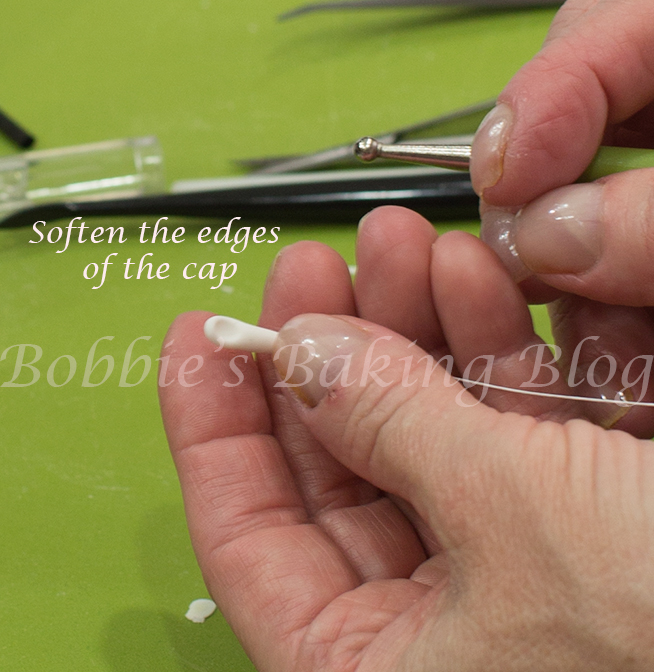
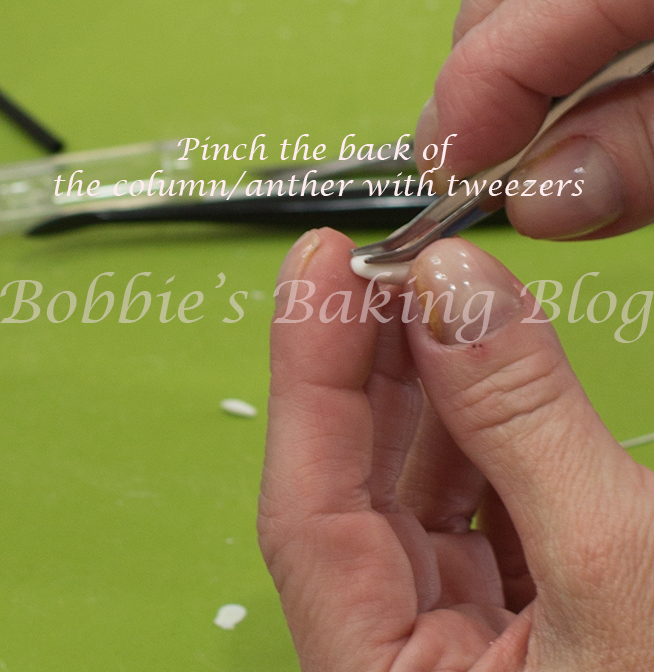
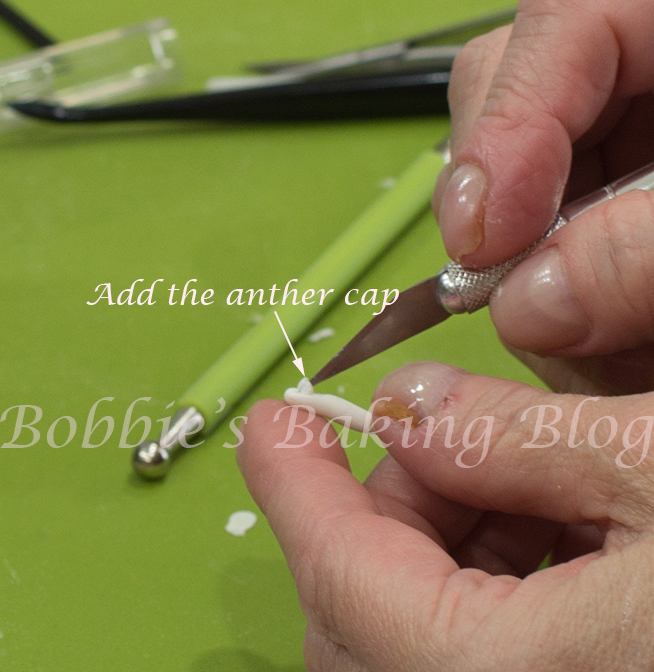
Gently roll the paste down the wire to create a slender shape with a slightly wider tip. With you thumb and forefinger work the paste into a point on the wire. Curve the anther and hollow out the tip with a ball tool and soften the edges. Using your tweezers pinch the back of the anther. Roll a 1/2mm ball of paste, slice with x-acto blade in half to the centre, this is the anther cap. Brush a little egg white on the back of the anther cap, and attach in the hollow tip.
Place in a straw in a floral foam to dry.
Labellum/Throat:
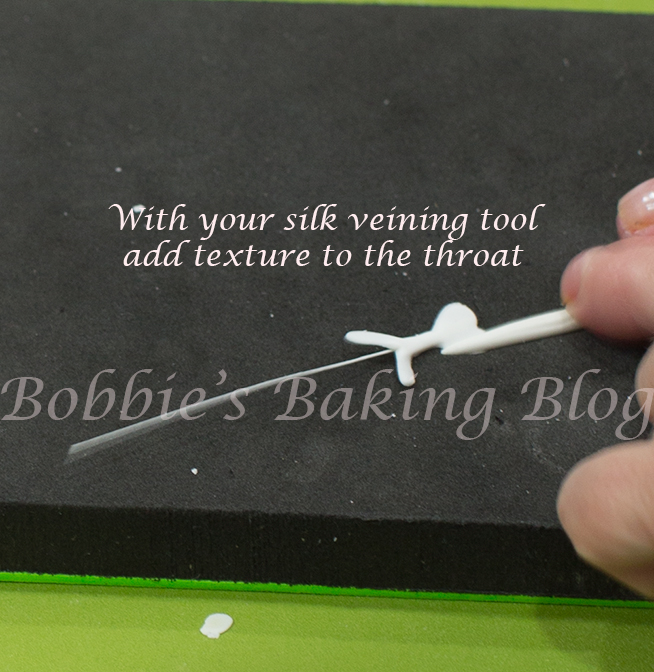
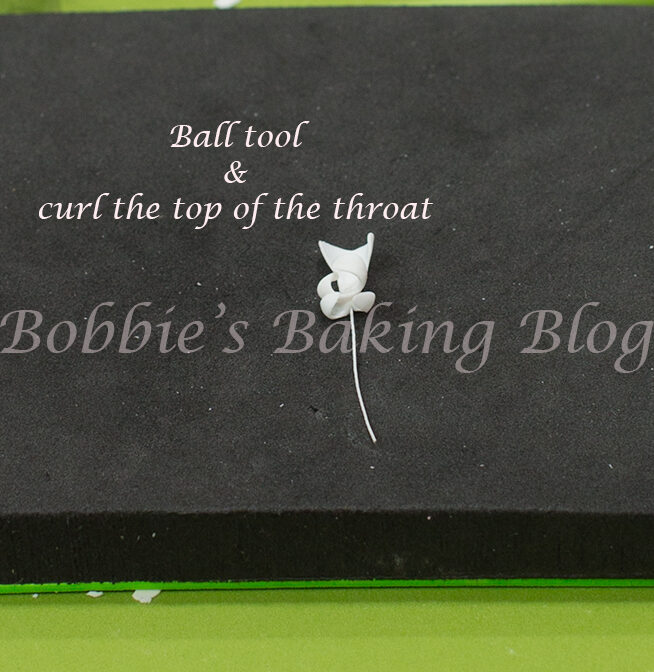
Cut 1/4 sections of 30 gauge wire, you will need 15 wires for 15 throats. Roll out and condition kneaded flowerpaste on a groove board, until transparently thin. Transfer to a Tap-It mat and cut with the oddly shaped cutter (stick people shape). Dip your 30 gauge wire into the egg white, wipe off the excess and thread the groove of the throat. Place the throat on your foam pad, use a small metal ball tool half on the pad and half off of the heart shape of the throat to thin the edges and to slightly concave. Use your silk veining tool to frill and add texture. Next use the ball tool on the legs to thin and curl.
Place in a straw in a floral foam to dry.
Lateral and Dorsal Petals:
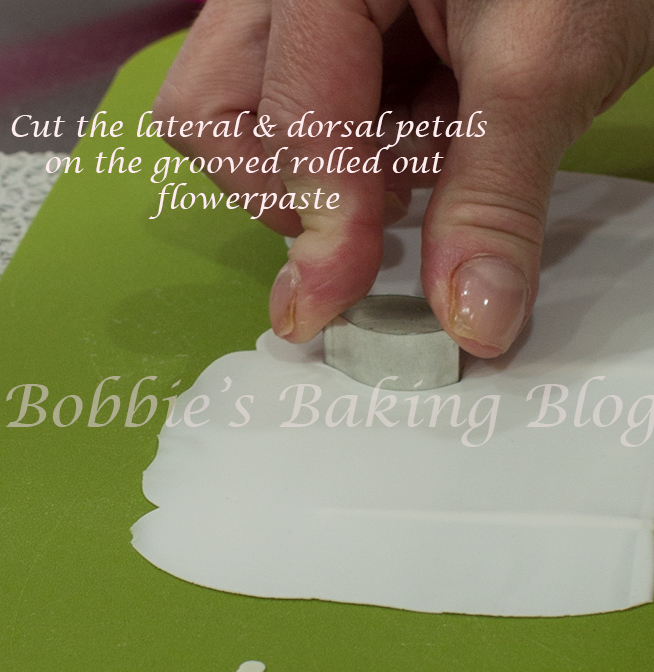
The lateral and dorsal petals are created following the same method, only the shapes are different. The lateral petals are wider and dorsal petals are narrower. Roll your white kneaded and conditioned flowerpaste/gumpaste onto a groove board, roll the paste thinly until it is transparent. Cut out two lateral petals per orchid, and three dorsal petals per orchid. We generally create all the lateral petals (for this project 30) first, six petals at a time. Next we create the dorsal petals (45 for this project) five at a time.
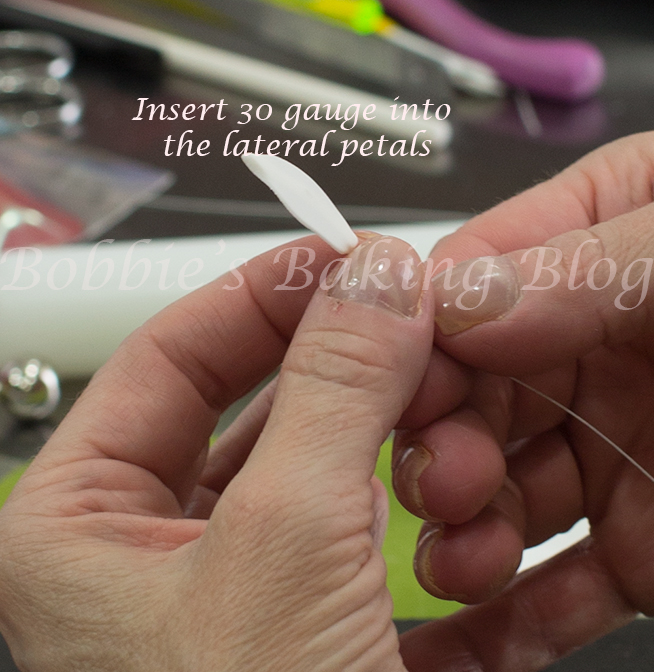
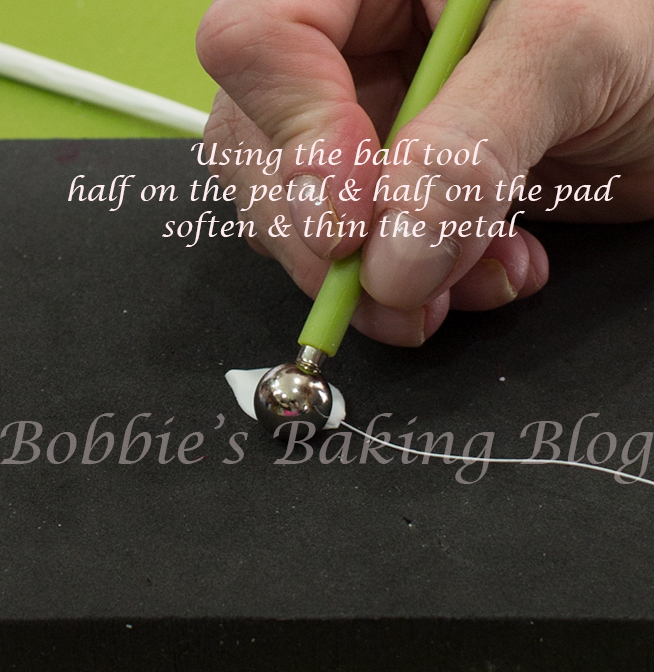
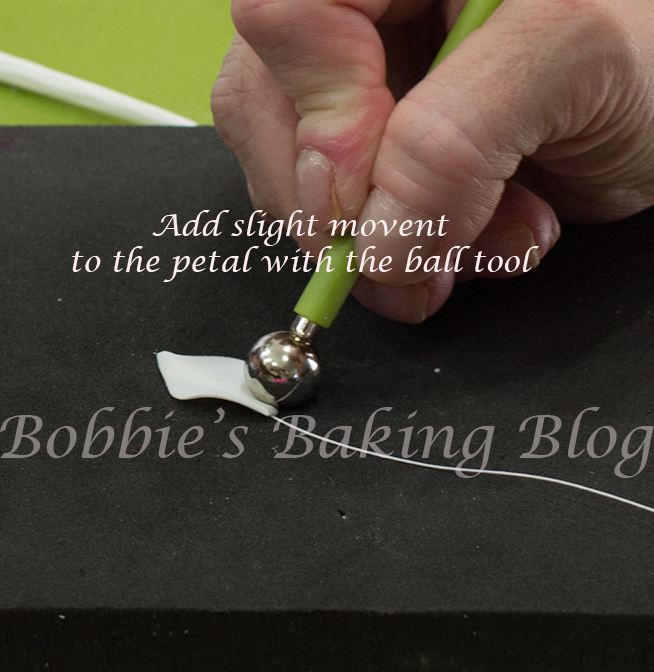
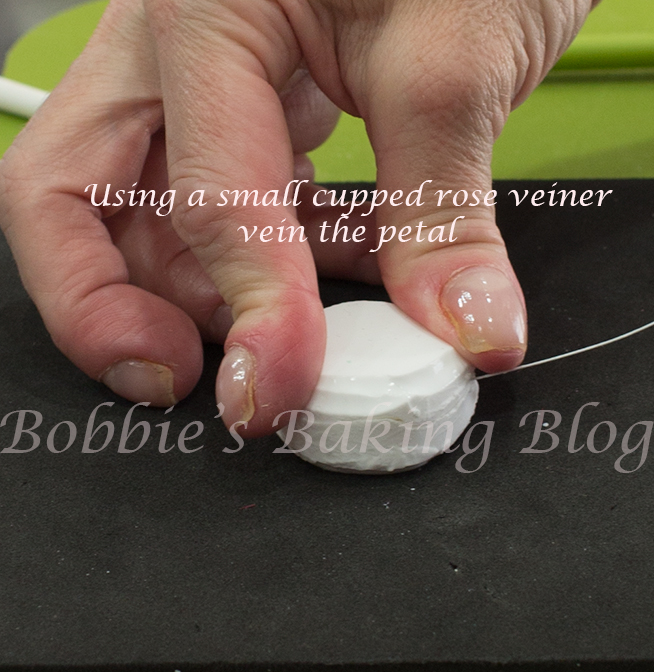
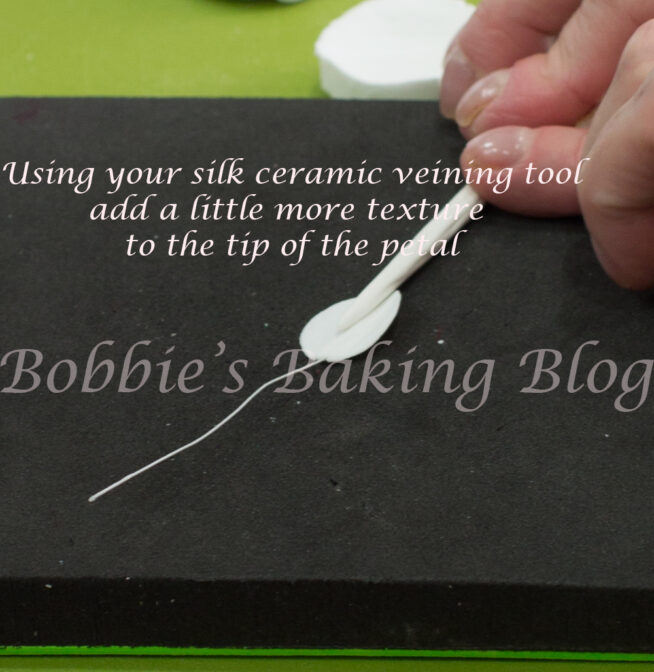
Transfer the grooved paste to your work mat and cut out five petals. Place four petals under a stay fresh mat and the fifth one on your foam pad. Insert a 30 gauge wire that has been dipped in egg white. Use a metal ball tool half on the petal and half on the pad to soften the edges. Vein the petal in between a Christmas rose double sided veiner. Use your thumb and forefinger to work the paste to a point on the wire, and transfer back onto the foam pad. Use the silk veining tool to add a little more texture to tip of the petals.
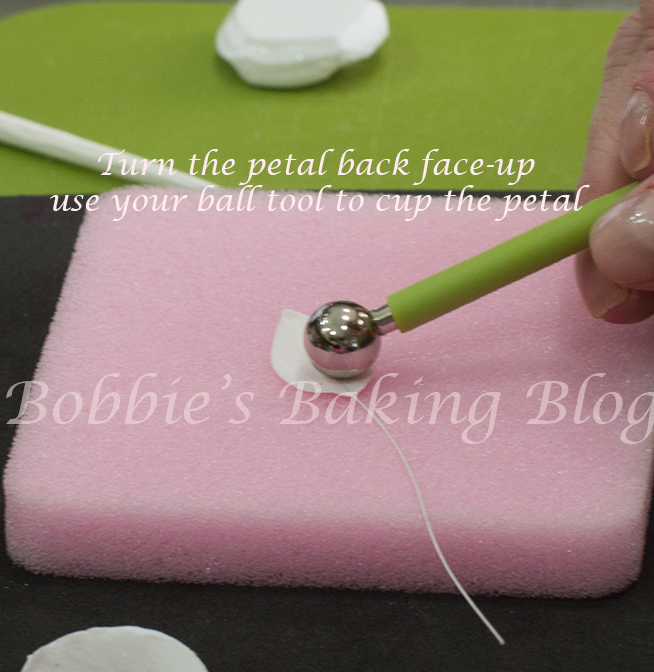
Turn the petal back side-up on a shaping foam and ball tool the back to cup the petal.
Place in a straw in a floral foam to dry.
Buds:
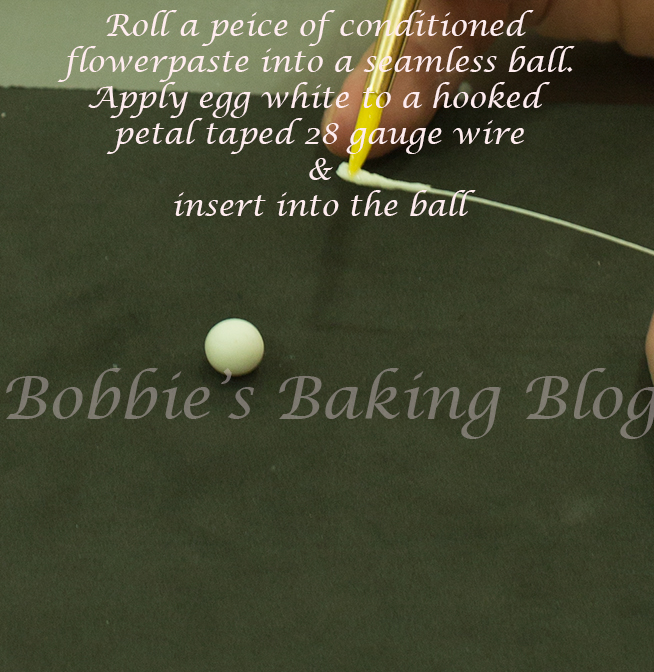
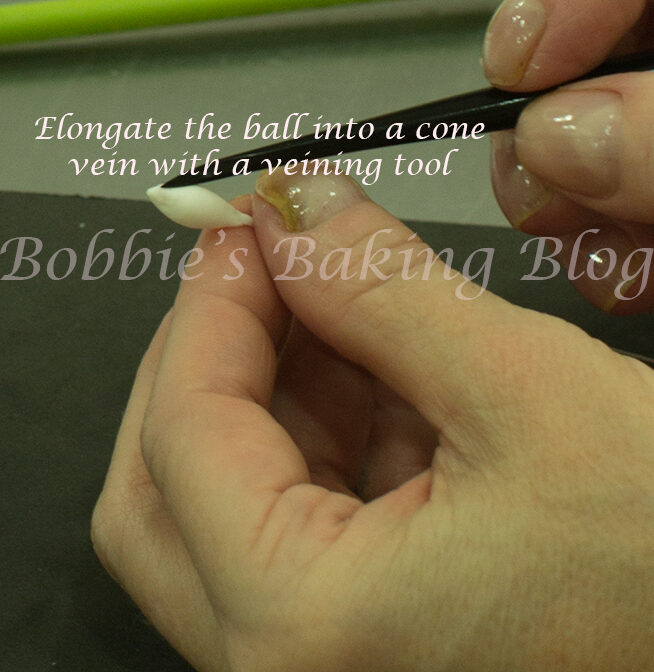
We decided for the sugar cookie bamboo frame two buds per Spathoglottis Asia Ground Orchid Spray would be perfect, therefore 30 buds were created. Cut 26 gauge wire in 1/4 sections. Design a floral tape bud, wrap 1/2-width white floral tape (1/4 will work as well) about five times around a hooked 26 gauge wire, and tape about 1/2 down the wire. Knead white flowerpaste into a seamless ball, and brush the taped wire with egg white. Push the taped wire through the ball. Work the ball down the taped wire to a point on the bottom and tip. Smooth into cone shape between your fingers. Create three sides with a Jem veining tool starting at the tip of the bud down to the base, (the lines should become lighter towards the centre to the base).
Place in a straw in a floral foam to dry.
Color the Bud:
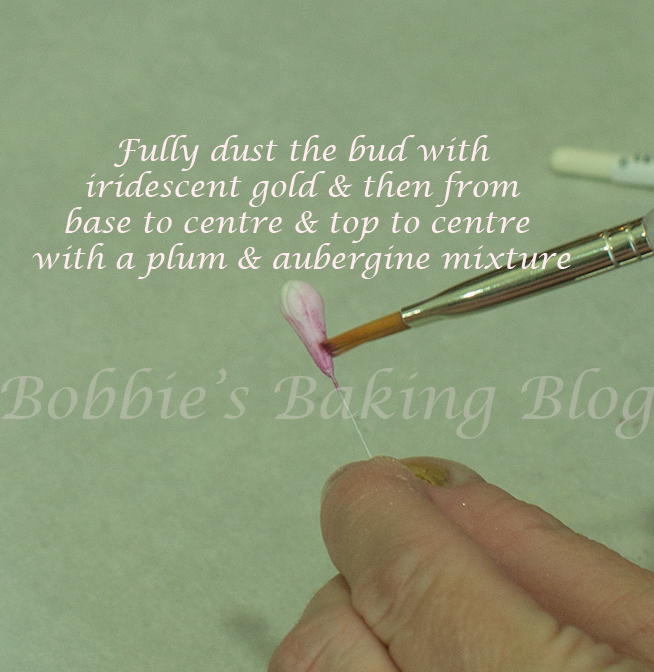
Fully dust the entire bud with the simmer gold (iridescent) from the base to the tip. Mix 1 part aubergine to 3 parts plum dust, and dust the bud, heaver at the tip of the bud and fading toward the base.
The gold shimmer (iridescent gold) has a very light hue of gold.
Color and Assemble:
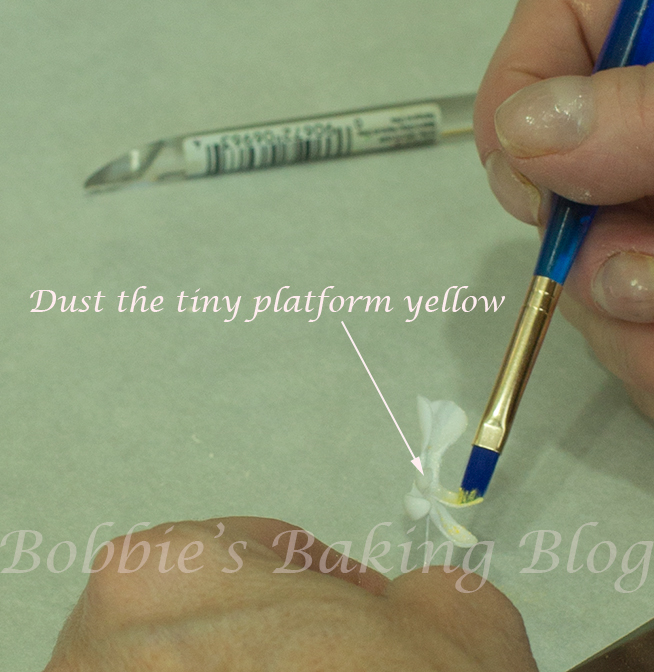
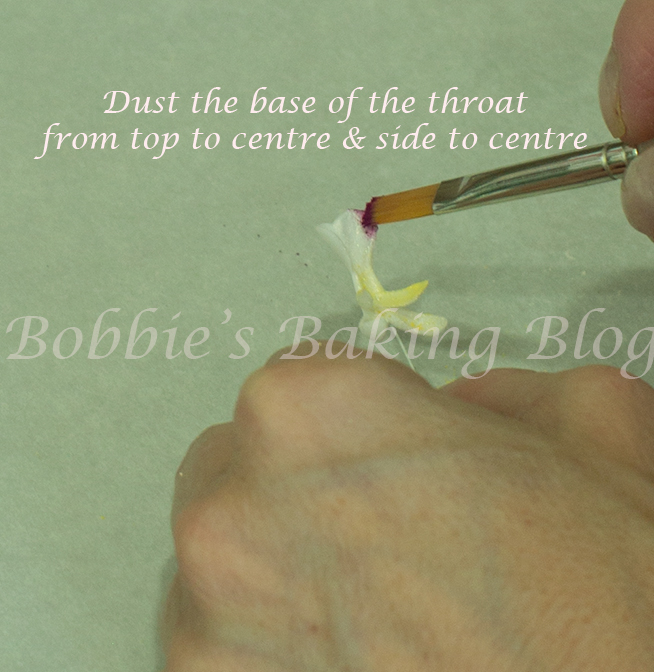
Color the anther with iridescent gold. Next color the throat, starting with the platform with daffodil yellow from the sides to the centre. Dust the entire throat with shimmer gold,now dust the bottom part of the throat with a mixture of plum and aubergine dust (3-parts plum to 1-part aubergine) you will want to colour this section the heaviest. Dust the legs with the same mixture (on some we left the legs iridescent gold in the inside with the mixture dusted only on the edge and back).
The Petals:
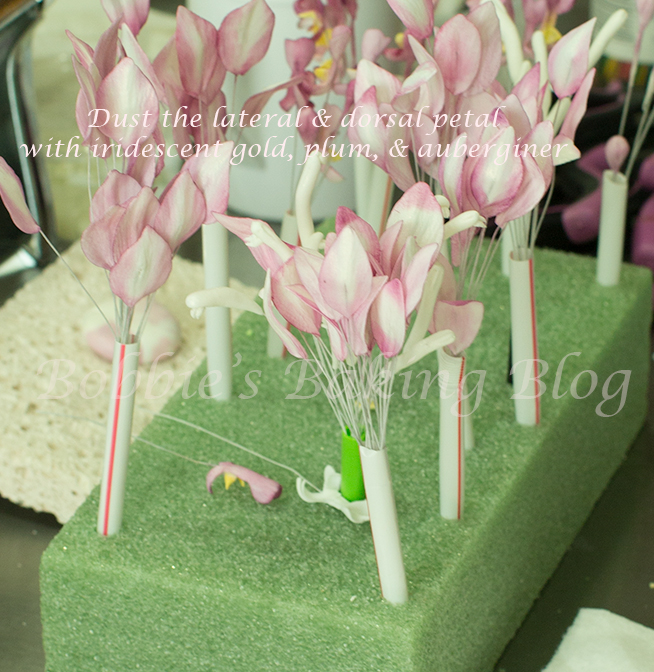
Dust all the petals front and back completely with gold shimmer. Dust the base up about 1/8 of the way with plum/aubergine mixture, dust sides towards the centre about 1/8th in with the plum/aubergine mixture, and the tip of the petals.
Assemble:
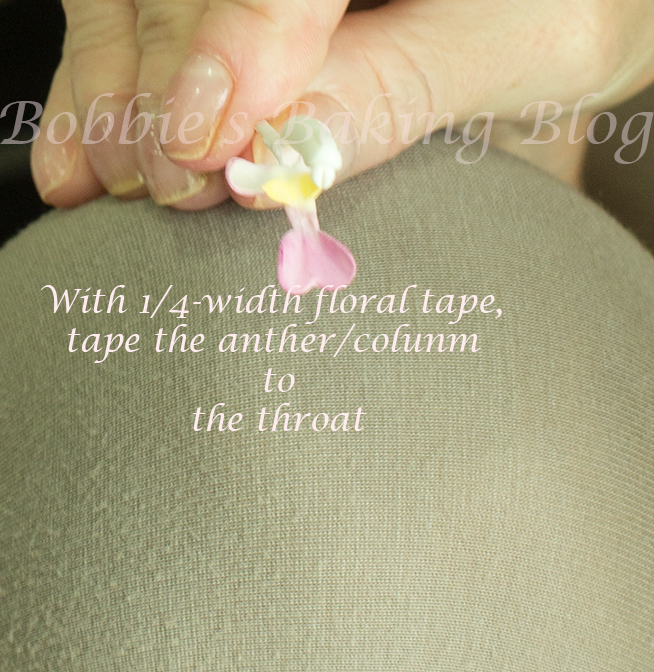
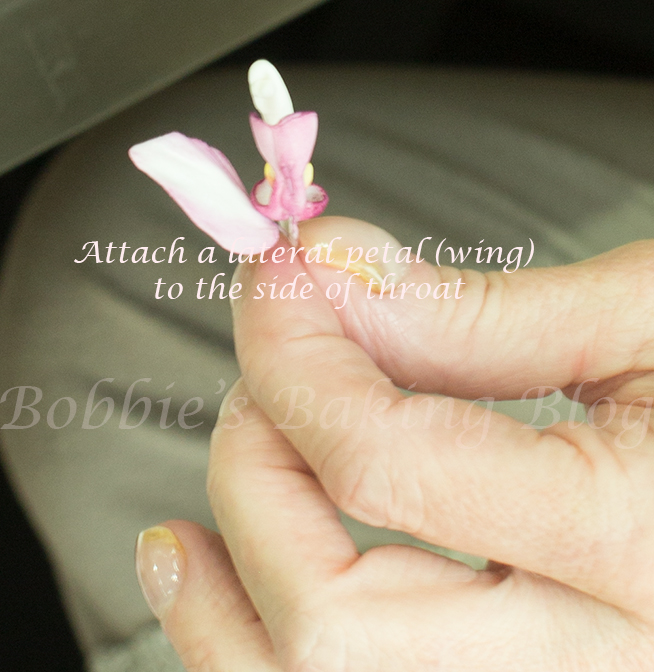
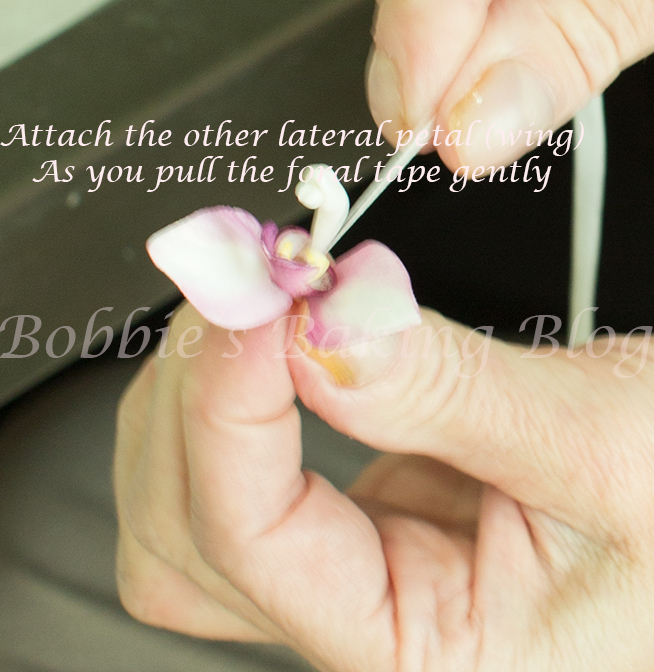
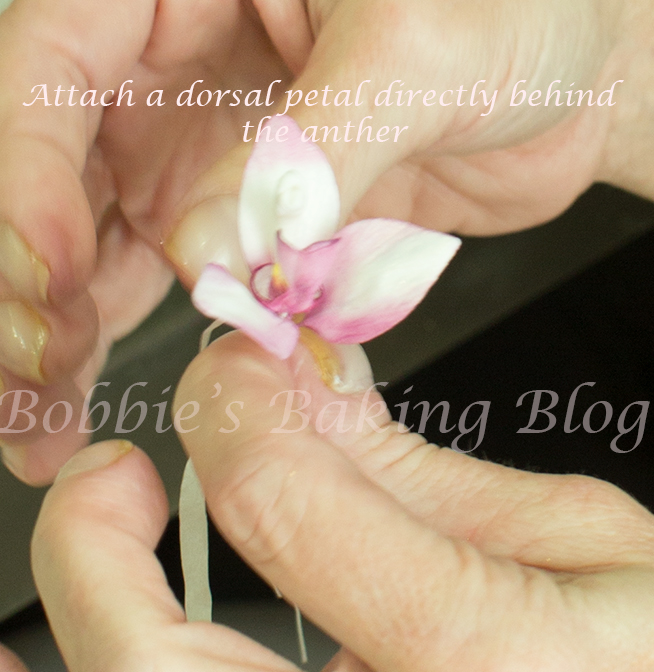
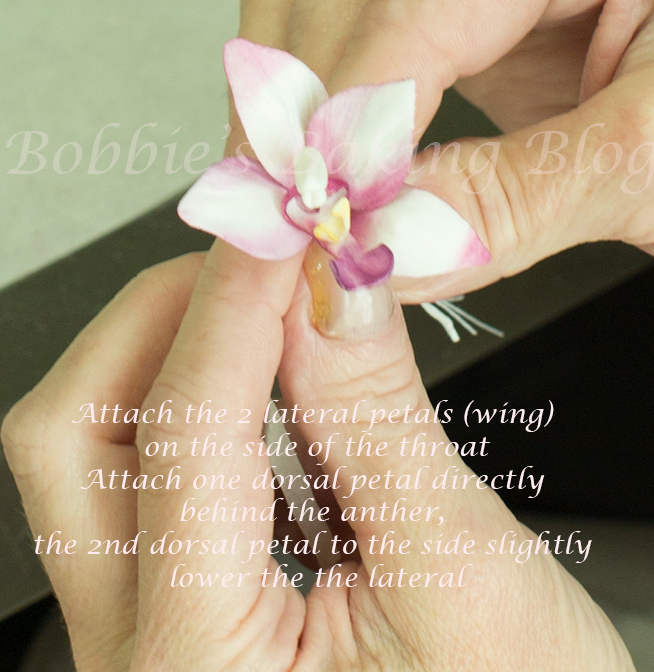
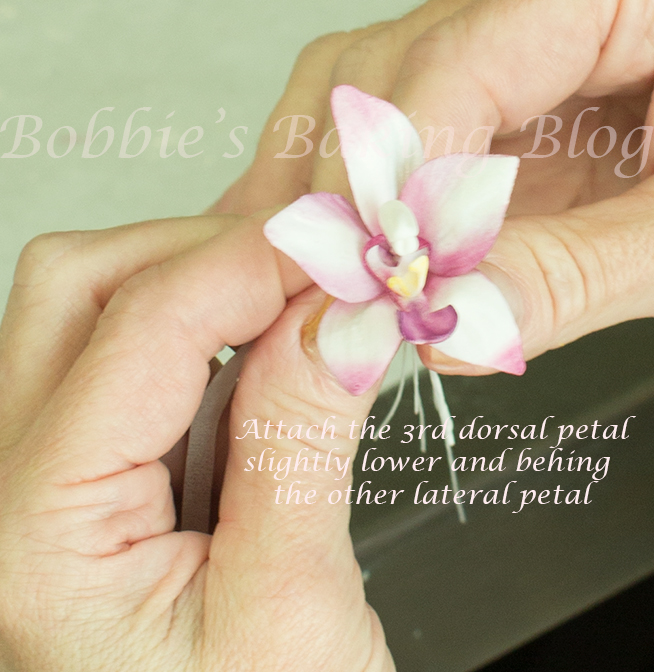
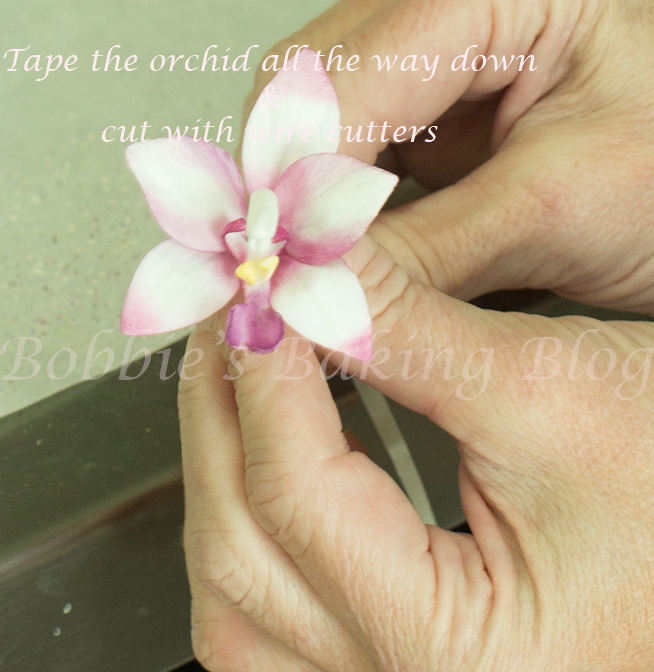
Every orchid is assembled in the same method. Tape the anther (column) to the labellum (throat with 1/4-width white floral tape, the column should be closest to the legs). Attach one lateral petal to one side of the throat more towards the column, keeping the tape taut wrap once around. Attach the second lateral petal to the other side, mirroring the first wrap, tape around once again. Next the dorsal petal, add the first one behind the column, pull the tape taut and wrap once around. The second dorsal petal attach slightly lower than the lateral petal; wrap the taut tape around once. Add the final petal to the other side mirroring the proceeding petal. Keeping the tape taut tape all the wires together all the way down to the bottom, and cut the excess wire with cutters.
Since the Spathoglottis Asian Orchid Spray is going to adorn the cookie create a floral tape cap to cover the bottom wires. Fondant and wire doesn’t taste the best.
The idea for the bamboo framed sugar cookies with an Asian Orchid Spray tutorial has been a special idea that I have been anxious to show you for serval months.
Enjoy!



Hi Bobbie,
I love your tutorial and your cookie idea. I always love what you create!!!
Shaile
Thank you! 🙂
Oh wow this tutorial is just amazing! You make it look so easy. I have a friends wedding coming up and these cookies would be perfect! I think I may try this technique on a mini cake! Thanks so much for this!
You are more than welcome. I would enjoy seeing your finished project! 🙂
thank you for taking the time to make this tutorial, you are very generous, I enjoy all of your tutorial, thanks again 🙂
Thank you; I am glad you enjoy the tutorials!