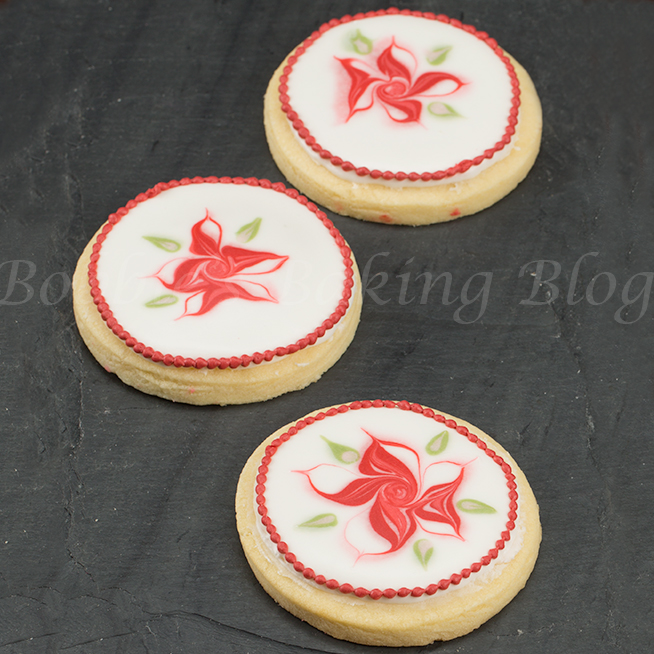
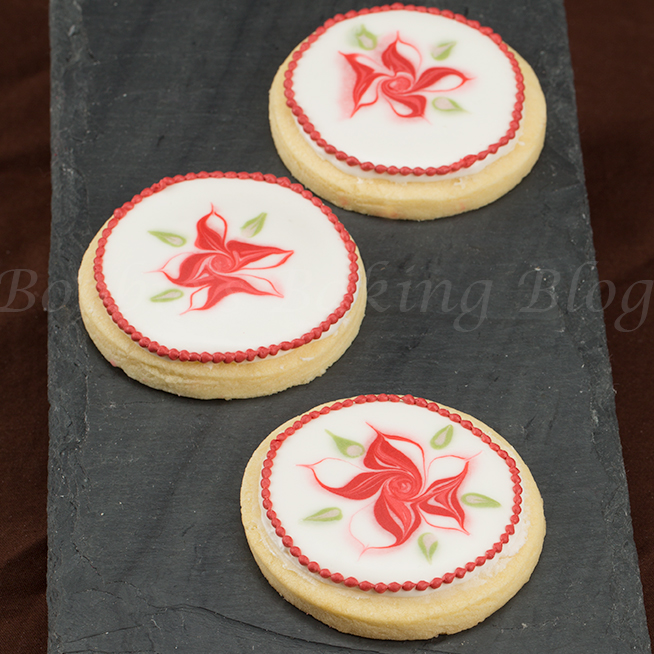
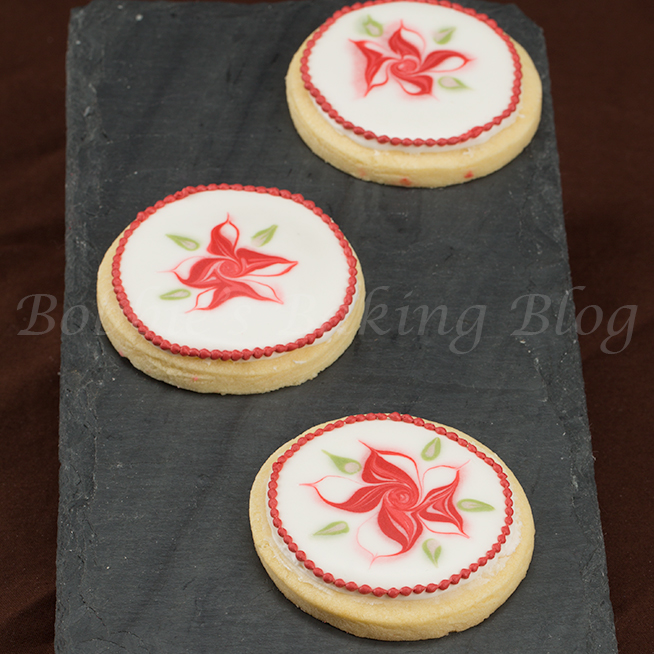
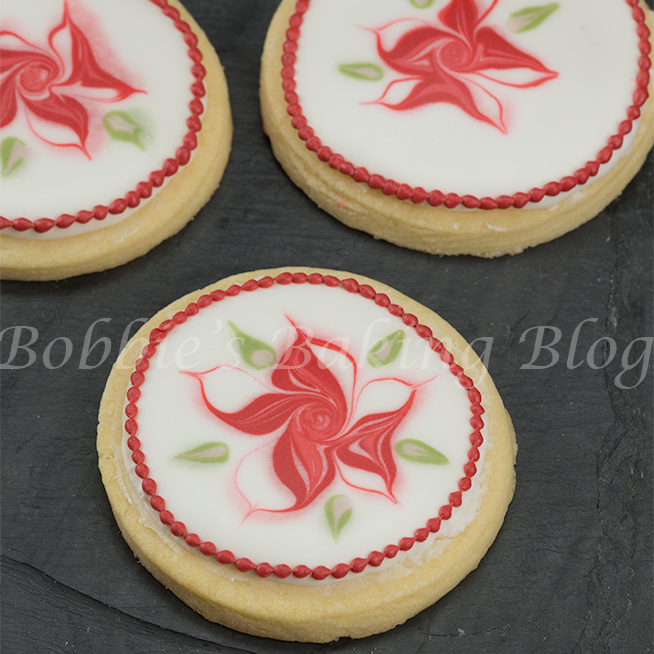
I wanted to share a quick royal icing technique, wet on wet. Wet on wet is a method of using a royal icing constancy of 10-12 seconds to top outline, coat, and decorate your cookies in a few minutes. For the poinsettia cookie above it literally took me 3.5 minutes to outline, cover, and decorate. Once the wet on wet method was finished I allowed the sugar cookie to dry for about 2 hours, piped a snails trail boarded, and allowed the cookie to completely dry. The results are not only beautiful, but simple.
Royal icing Fresh Egg Recipe:
Royal Icing Wet on Wet Poinsettia Cookie:
Equipment:
- Plastic Piping bags, 5 piping bags
- PME #2 tip, you will need two
- PME ST# 50 sm leaf tip
- Toothpicks
- Non-stick board, OP
- Spatula, I use a separate spatula for each colour, optional
- Damp cloth
- Scriber, PME, or cocktail stick
Materials:
- 1- recipe royal icing
- Cooled boiled water
- Moss green food paste, Wilton
- Pink Paste, Wilton
- Christmas Red, Chefmaster
- Red Red, Chefmaster
- Violet, Chefmaster
- Golden yellow, Chefmaster
Visit Shop 5th Avenue Cakes for supplies
Dried Albumen Royal Icing Recipe:
- 907 grams Confectioners Sugar, sifted
- 1/2 teaspoon Vanilla Extract or almond extract
- 30 grams dried albumen
- 3/4 cup Luxe water
Add the dried albumen to luke warm water and mix well.
Using the paddle of your standing mixer place mixed dried albumen and confectionary sugar in mixing bowl of the standing mixer, stir with a grease-free spatula just to incorporate. Add extract and mix on the lowest speed until ingredients are combined. Scrape bowl down as needed. Mix for 10-20 minutes on medium-low speed. Mix until icing forms peaks and doesn’t lose its shape. If the icing appears too thin add more powdered sugar; if icing appears too thick add more water.
Cover icing in an air tight container. The icing will keep for up to 7 days in a dark cool place, DO NOT PLACE IN THE REFRIGERATOR.
To Colour:
For white: Use uncoloured royal icing.
For light pink: 1/4 toothpick of pink.
For medium pink: 1/4 tooth pink, 1/8 toothpick christmas red.
For Red: 1/4 tooth violet, 1/8 toothpick golden yellow, 2 drops red red, and 2 drops christmas red.
For green: 1/2 toothpick moss green.
For each colour you will need 1/2 cup of the royal icing you just created placed on a non stick board, dip the coloured toothpick into the royal icing and rub the colour into the icing with your spatula against the the non stick board until the the icing is completely coloured (no white is showing).
Be sure to clean your board between colours.
To achieve a 10 second constancy:
Slowly add about 1/4 teaspoon of cooled boiled water to the colorured icing, rub the water into the icing with a clean spatula. Continue adding a 1/4 of water until you are able to draw a line in the icing (with the spatula) and the mark closes in 10 to 12 seconds. If you live in a humid climate use 15 seconds. Place the coloured 10 second constancy icing in piping bags and cover with a damp cloth until use.
I find using a rub down method controls air bubbles.
Place the #2 tips in two separate piping bags, place the red icing in one of the tipped bags and the dark pink in the other.
The white and the light pink use without tips; cut a small portion off the bottom of the piping bag.
Place the PME leaf tip in a piping bag for the green colour.
The boarder uses a # 2 pme tip with off peak constancy royal icing coloured red.
If you have any question please contact me or leave a message.
Enjoy!



Trackbacks/Pingbacks