
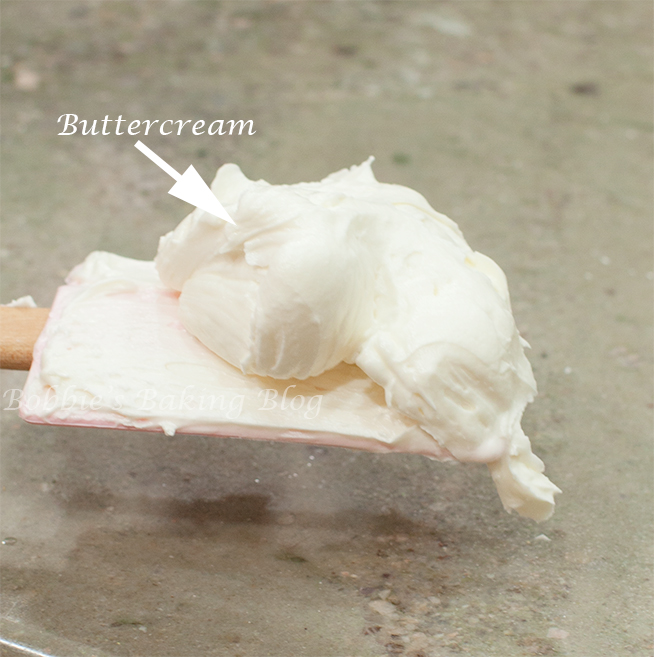
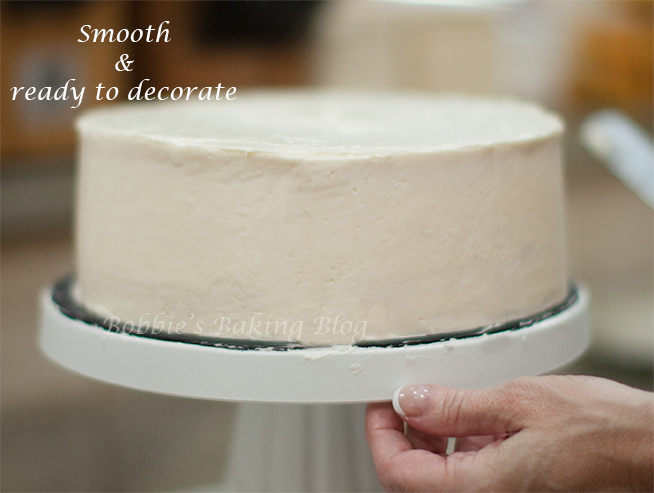
Smooth & creamy
Sydney and I were having pedicures when the woman in the next pedicure bath next to us over heard me talking and asked how can buttercream be frosted smooth. At first I was confused, but Sydney knew exactly what she was asking. After about 20 minutes of listening to her explain that she becomes frustrated when frosting a buttercream cake so much so that it bring her to tears and she has no idea what to do. She has never tried an Italian buttercream, she usually buys store bought.
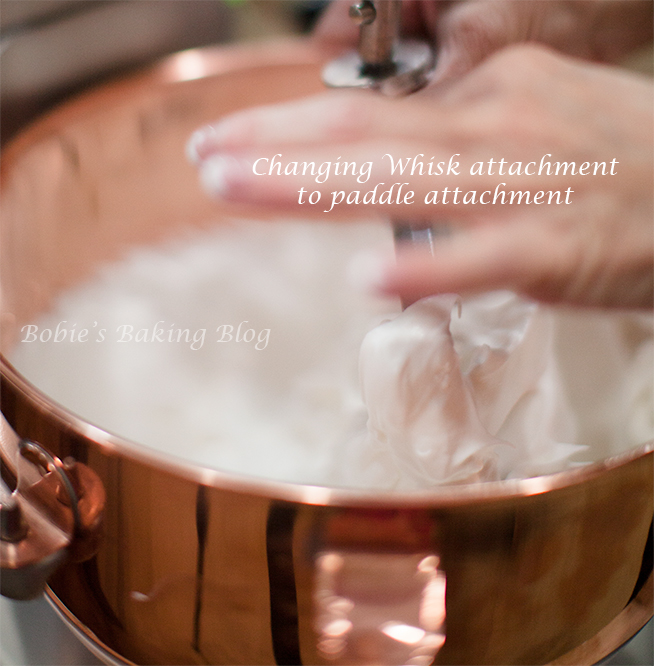
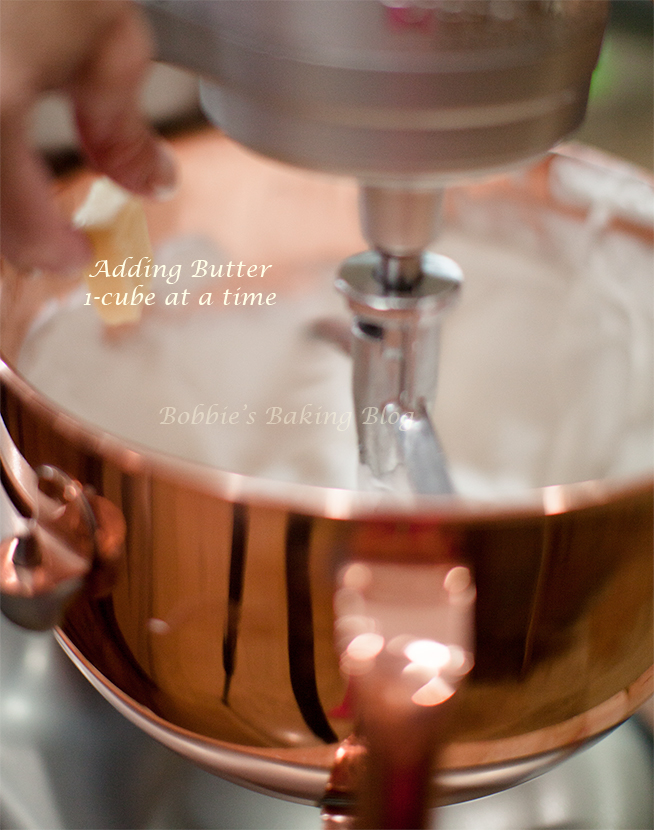
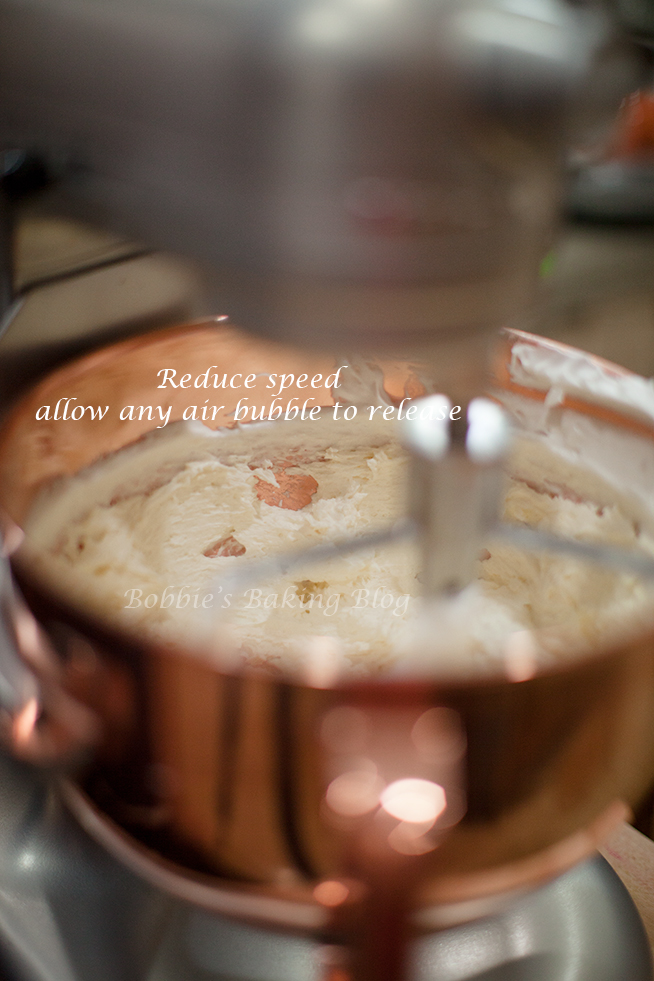
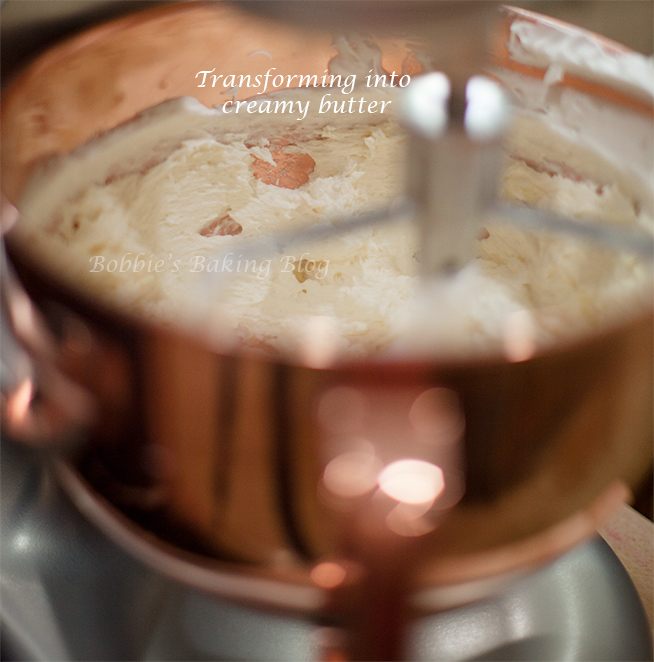
As I was explaining a few tricks Sydney thought it would be helpful to write our Italian buttercream recipe and share some secrets we have learned to achieve a smooth and creamy buttercream.
Italian Buttercream:
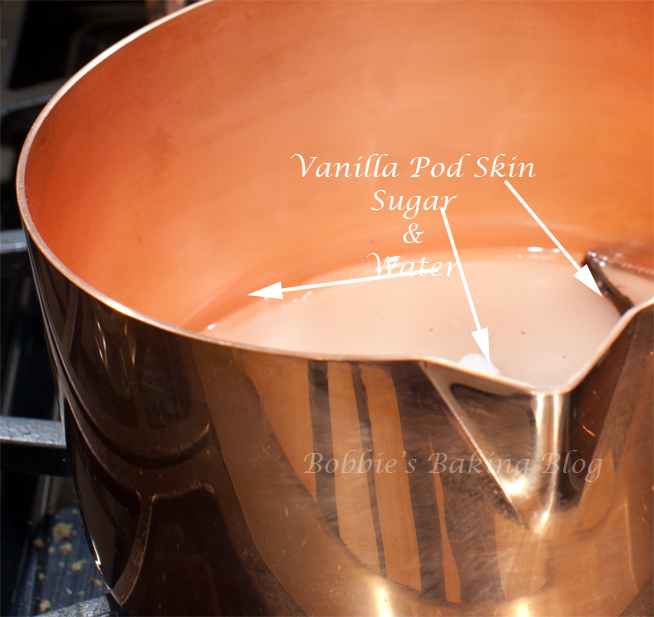
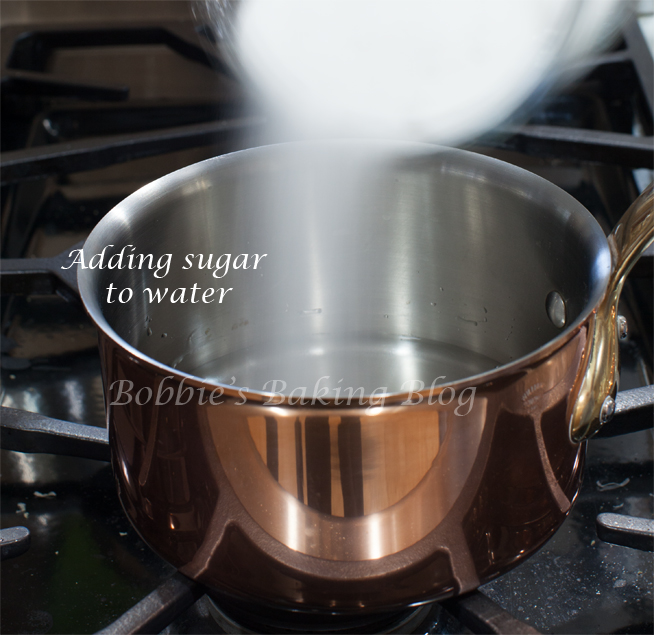
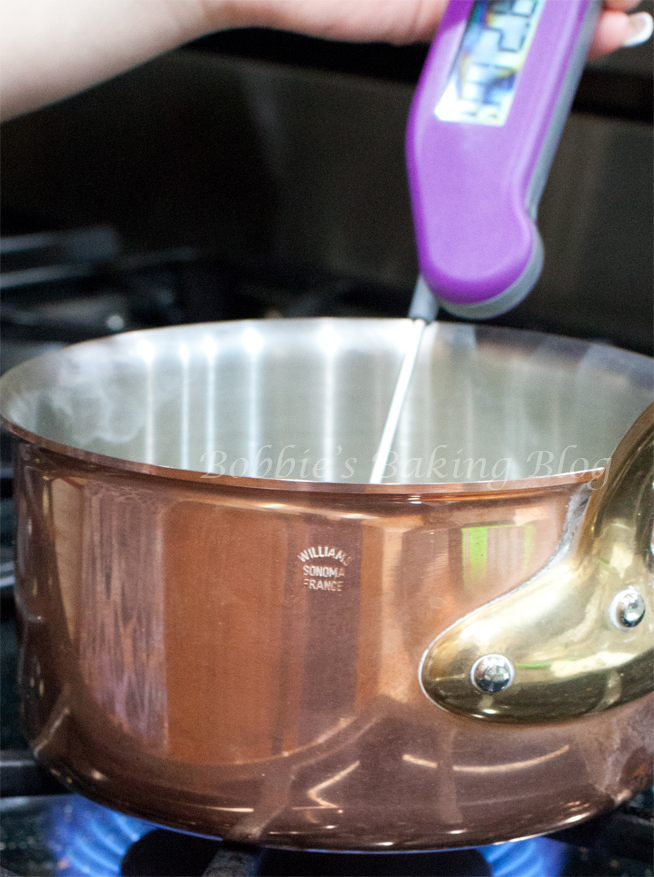
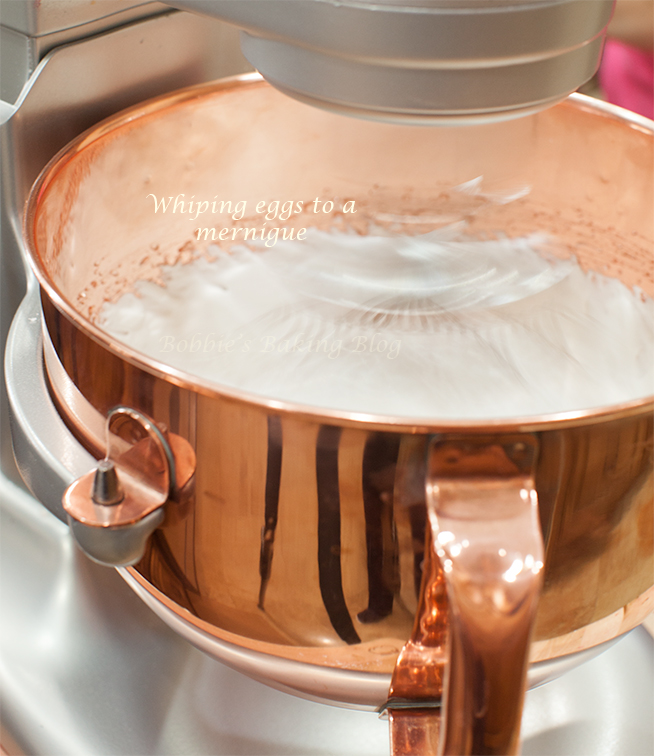
Prepare your mise en place.

Mise en place
Frosting the Cake:
- 1-cake
- 1-recipe for Italain buttercream
- 8-inch off-set spatula
- 8-inch metal spatula
- 12-inch metal spatula (you can also use an off-set spatula)
- straight bench scraper
- Cake turn table
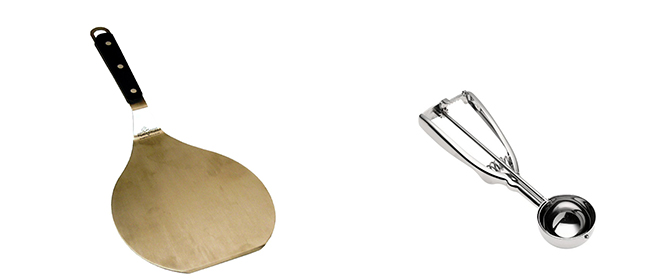
Prepare your mise en place of the icing equipment.

Equipment mise en place
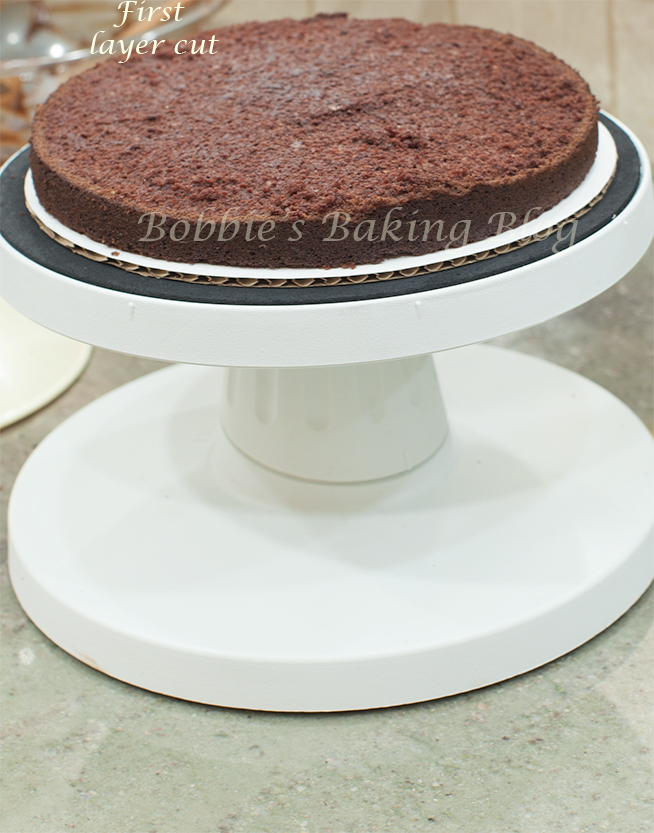
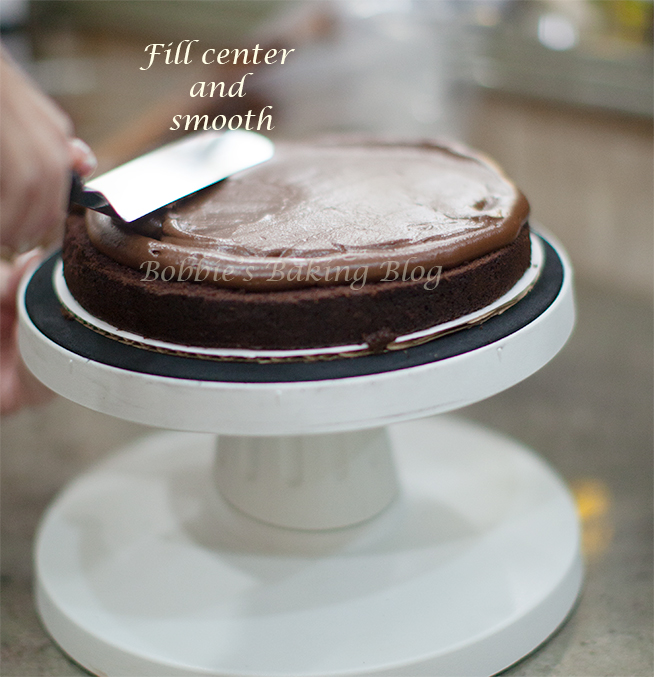
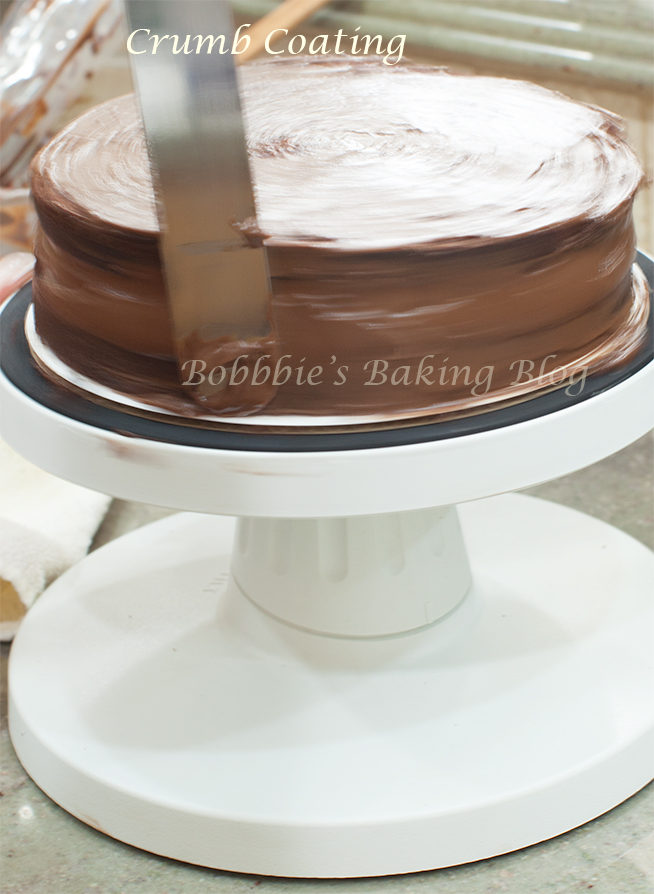
Cut the cake or cakes in half. Pipe a dam to prevent the filling of choice from seeping out, lay the second half of the cake evenly on top. (I find using a large rimless cookie spatula works best). Using a medium ice cream scoop place 2 scoops (approximately 6-Tablespoons) for an 8-inch round 3 to 4 layered cake, using the off-set spatula push the icing down and out toward the sides of the cake. I find it easier to push the frosting towards the left as I turn the cake turn table clockwise, this is a personal preference, play around and find what works best for you. This layer is the crumb coat. The method is just to cover the cake lightly in order to keep crumbs from poking through the finished cake.

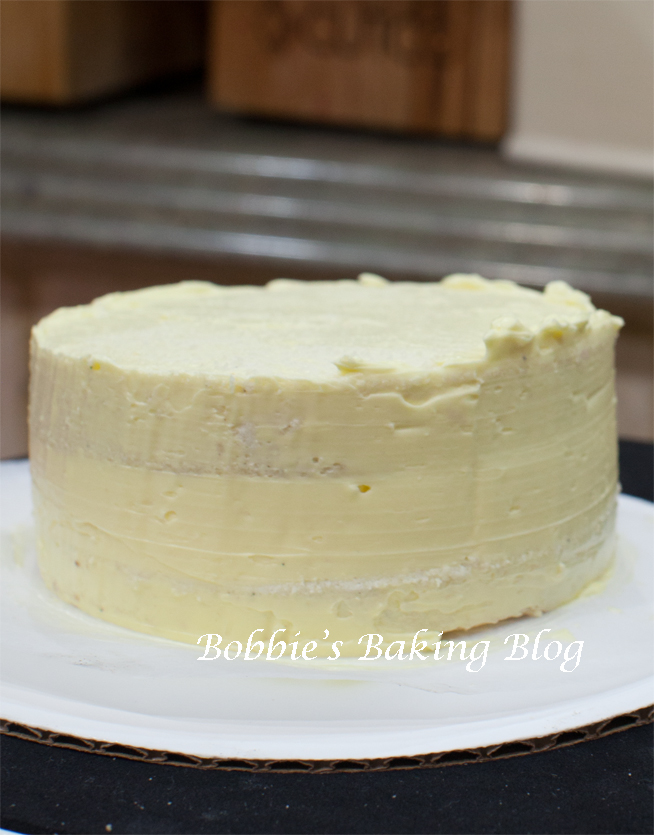
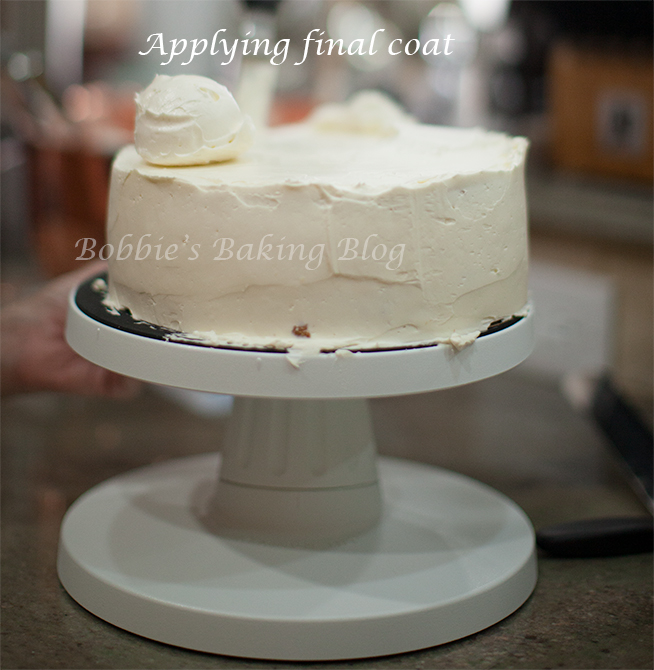
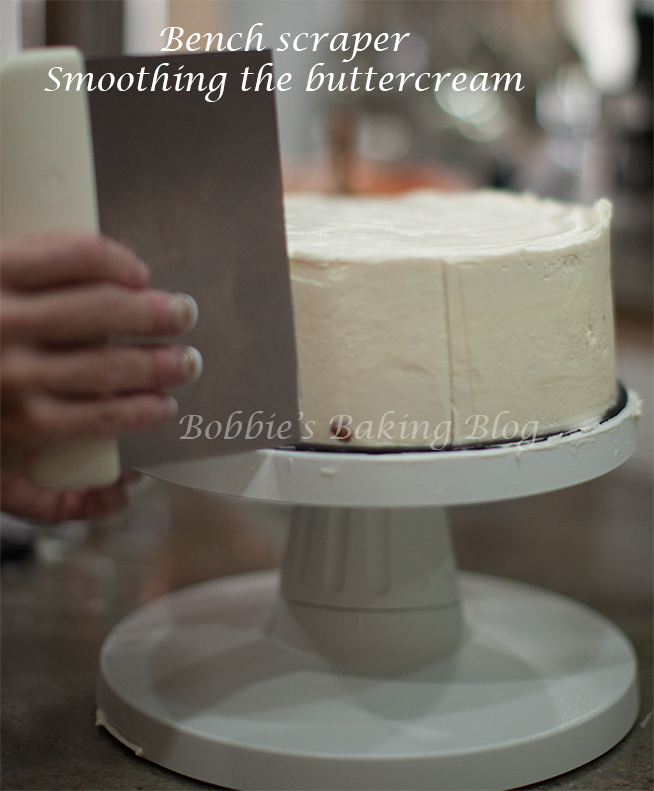
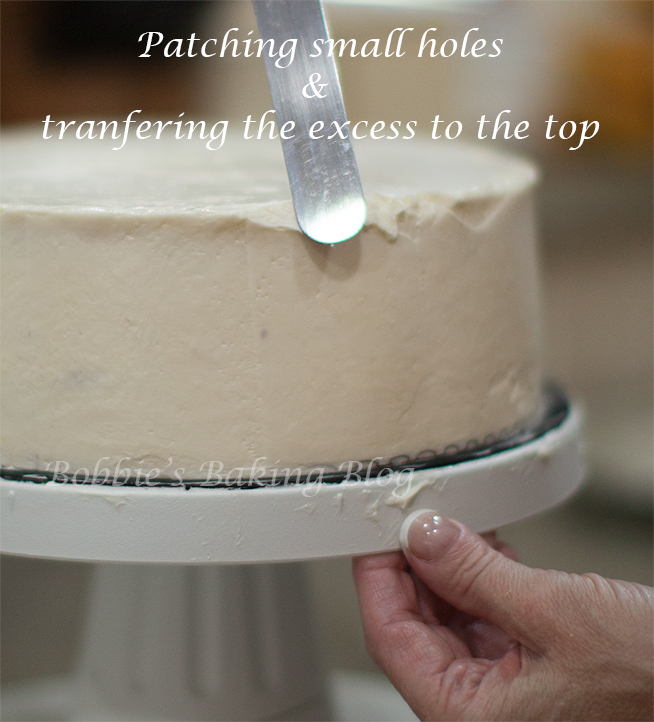
Once the crumb coat is applied and gently scraped it is time to add the final coat; generally for a 20 cm/ 8-inch cake an addition 3 cups of frosting is needed. Using the scooper add enough icing to finish the sides, don’t worry about the top I promise it will be fine. Gently with the 8-inch off-set spatula push down and outward towards the sides, using a back and forth motion apply the icing. Now at this point the icing will look wavy and you might want to message me if my directions don’t work. Take a deep breathe finish adding the icing. Step back grab the bench scraper with your right hand, lay the the bench scraper at a 25 degree angle on the side of the cake, begin scraping, lightly, to the left while turning the cake table counter clockwise with your left hand. Once the scraper has gone the entire circumference there should be at most 1-Tablespoon of icing on the scraper; the idea is to smooth the icing not remove the icing. * If you are left handed, please reverse method.
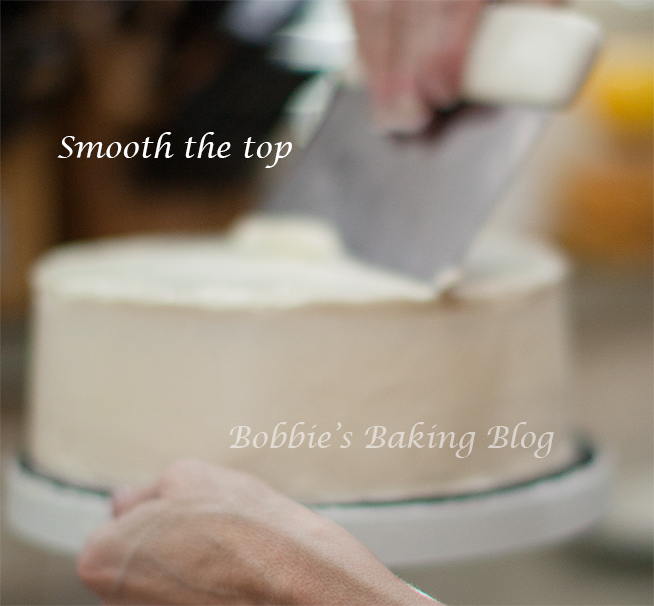
Look at the cake there should be an 1/4 inch high lip of icing higher than the cake. Take a 12-inch either off-set or straight metal spatula, lay the spatula at a 45 degree angle, scrape the lip toward the center of the cake. At this point the top of the cake will like a merry-go-round (4 sections), after many long hours trying to achieve a smooth top with the spatula alone, I have found using the bench scraper putting as little pressure as possible while turing the cake works amazingly.
**Pointers for success
- Have all your tools clean and ready.
- Fill a large bowl with hot water, for cleaning spatulas
- Have a clean towel, to dry the spatulas
- Breathe!!
- Make sure the cake is at room temperature
- Keep the buttercream bowl over ice, if your work area is warm
Remember to have fun and practice really does make perfect, except there really is no such thing as perfect!

Voila!


I love the step by step pictures in the slideshow. Your cakes look delicious (and your nails look great, too). 🙂
Thank you, you are too sweet!
WHAT A GREAT TUTORIAL! love this post. have to admit I am lacking in frosting skills. Have this one bookmarked! Thanks for sharing
Dave at erecipecards.com
Dave, thank you for letting me know; you are too sweet. I enjoy sharing my recipes on e-recipes.
a friend recommended your website and i’m glad he did because it is very informative and entertaining.
U r amazing! I am an avid baker and I am completely into cupcakes. But yes, I do make cakes too. I love your ideas, your cakes, your recipes ! Goodluck with all you do! 🙂 🙂
I also enjoy designing cupcakes, please tell me where I can view your pictures. Thank you for your sweet words!
Perfect tutorial– after seeing your cupcakes tonight I knew you must have info on your site about icings and this is just what I needed to read. I did wonder about the egg whites– is that safe to use for a kids’ cake or should I buy pasteurized eggs (they make those, right?)
Holly, I am not a fan of pasteurized eggs, they tend to play with the result of the recipe. I buy eggs from an egg farm, I realize that is not always available. Look for eggs with a long expiration date (at least 3 weeks out). There is a dried meringue egg powder, here is the link to explain more..https://bobbiesbakingblog.com/blog/2012/01/10/decorating-sugar-cookies-2/. If you have any more question please don’t hesitate to ask.