
The ruffles move like dress fabric!
Sydney and I are always on the look for new tips/tubes for our kitchen; I happened to purchase a set with a #070 ruffle tip/tube. We had worked with quite a few of the ruffle tips/tubes, however we hadn’t had the opportunity to work with tip/tube #070, coincidentally I came across an Ombre Cake that caught my eye. The cake was monochromatically decorated in pink tones of rosettes, but I was enthralled with the idea of violet ruffles on a cupcake. I wanted the ruffles to have a fabric sense to the eye almost as if the cupcake’s frosting was in constant motion.
It would seem I have become obsessed with purchasing decorating supplies and tool; DF bought me a few Pink Boxes to organize my pastry room. When he surprised me with the REALLY pink tool boxes he also entertained Sydney and I with his rendition of the warehouse men’s reaction of him buying the pink boxes. They say a picture is worth a thousand words. After a good laugh Sydney and I organized all our supplies and tools..happily!

REALLY PINK
Ruffle Blossom Cupcakes:

Perfect for a tea party!
- Cherry blossom cupcake recipe
- Italian meringue buttercream recipe
- #070 ruffle piping tip/tube
- Violet colourant
- Rose colorant
- White titanium colourant, optional
- 3 Disposable piping bags
- tooth picks
- 3 Couplers
Prepare your mise en place.

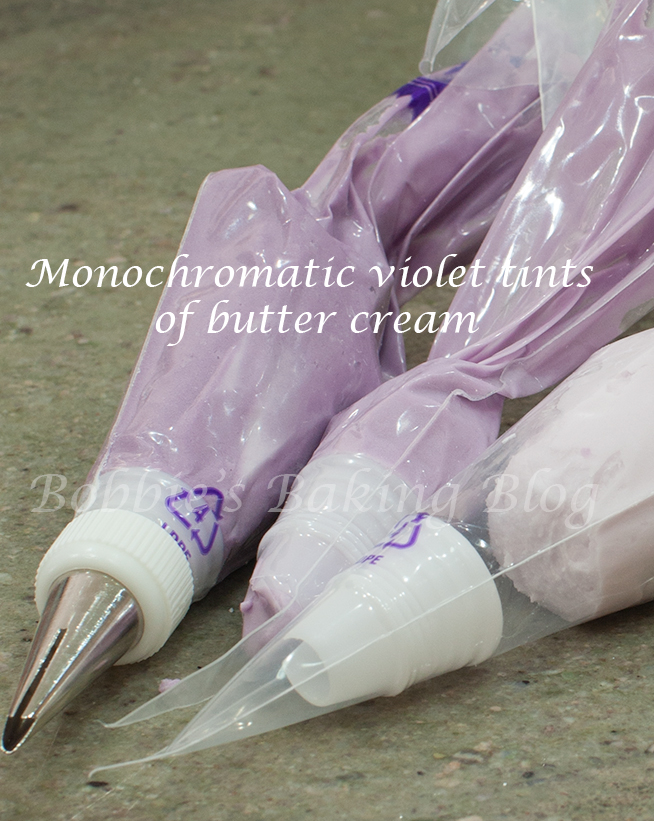
Ruffle mise en place.
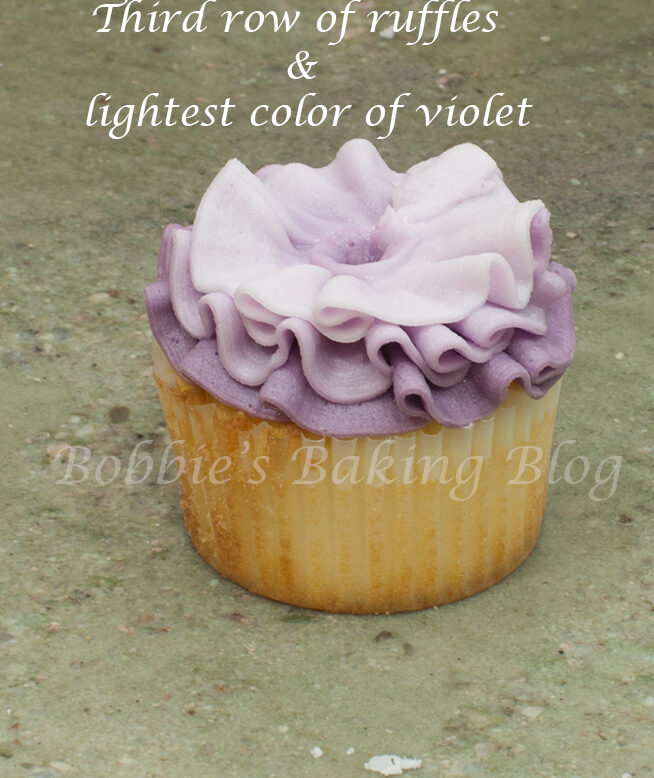
The first step is to mix your monochromatic colors, start with the lightest color, and depending on the amount of tones/tints you want separate the lightest or base color between glass bowls. We chose three tones the base color was light violet, the second color medium violet, and last was dark violet. Sydney and I have found using toothpick or cocktail sticks is the most efficient procedure to color the buttercream. Slowly add .64 cm/ 1/4 up the toothpick of color until you achieve the color you want. Our color recipe started with 1/4 / .64 cm rose colorant paste, smidge white titanium, and 1/8/.13 cm of violet, the medium was double the violet to the base color, and the darkest was 4 times the violet to the base color or a full toothpick. Once all the colors are amalgamated in the buttercream place the violet colors into your piping bags fitted with couplers and tip/tube #070 fitted with the darkest violet.
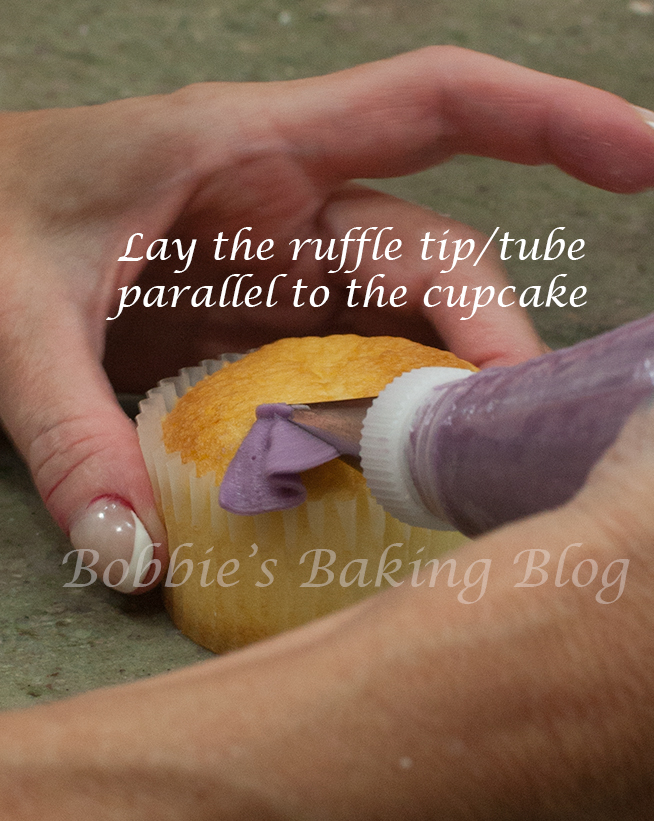
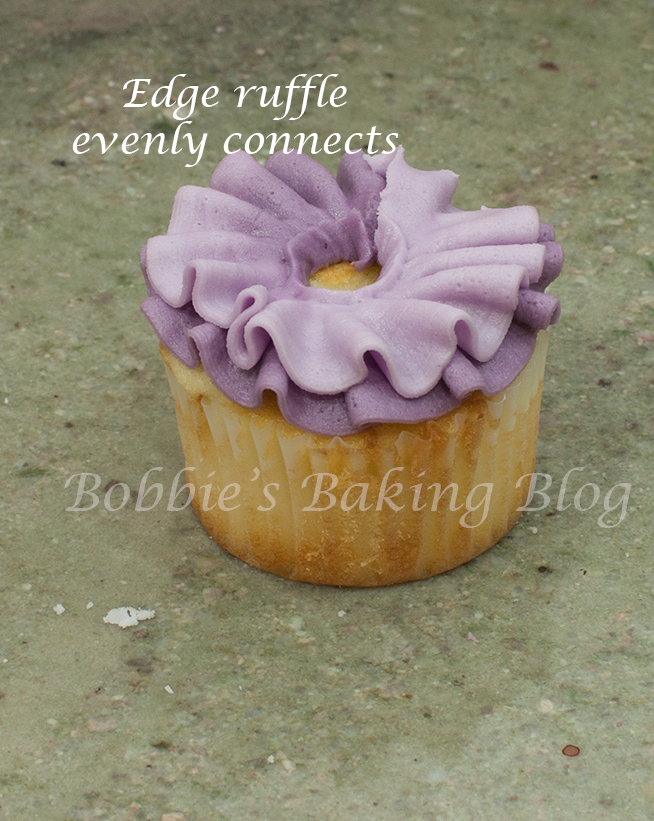
Begin piping with the darkest color first, lay tip/tube #070 almost flat with the frill line parallel to the cupcake. With even pressure start piping using a back and forth motion, slowly turn the cupcake once the ruffle has formed release the pressure, and gently pull away at a 45 degree angle. Make sure you turn the cupcake as you move in the back and forth motion with the tip.

The violet is too inviting!
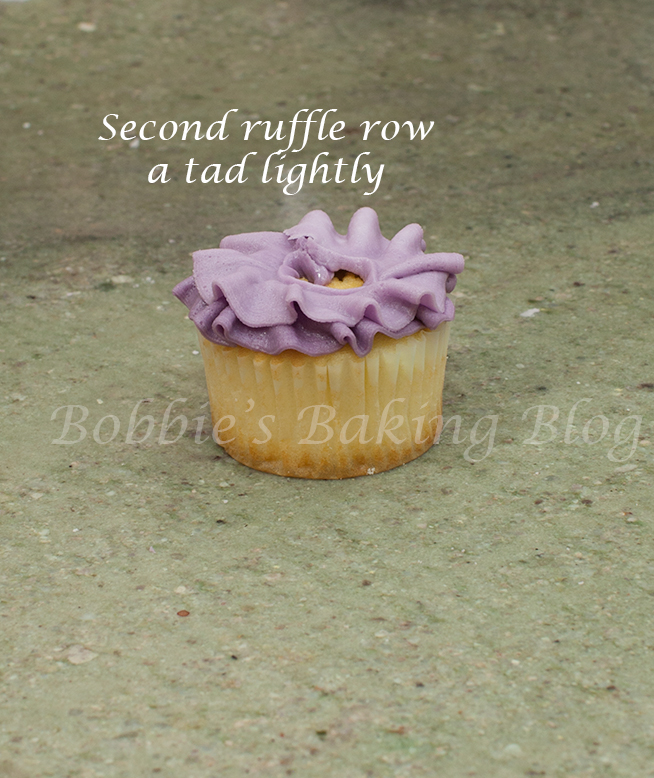
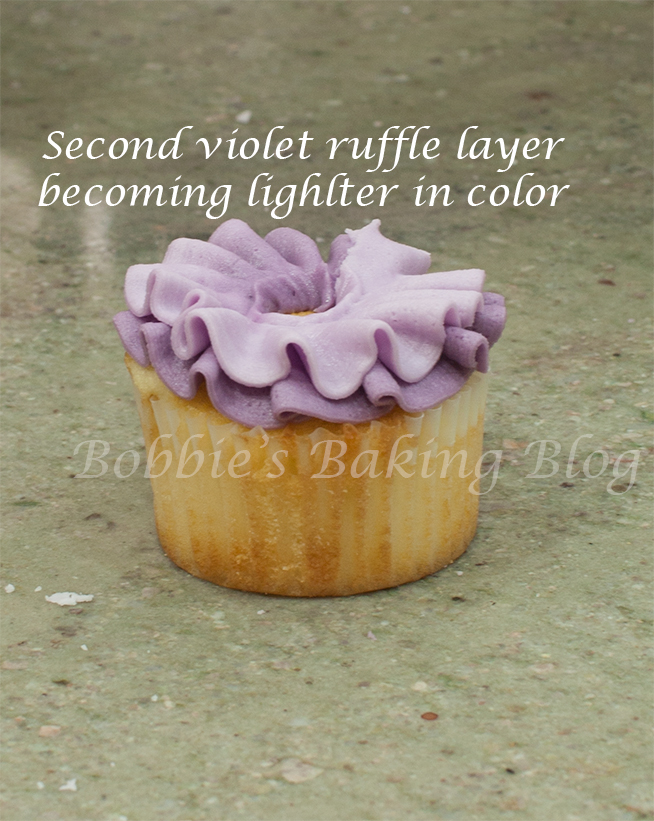
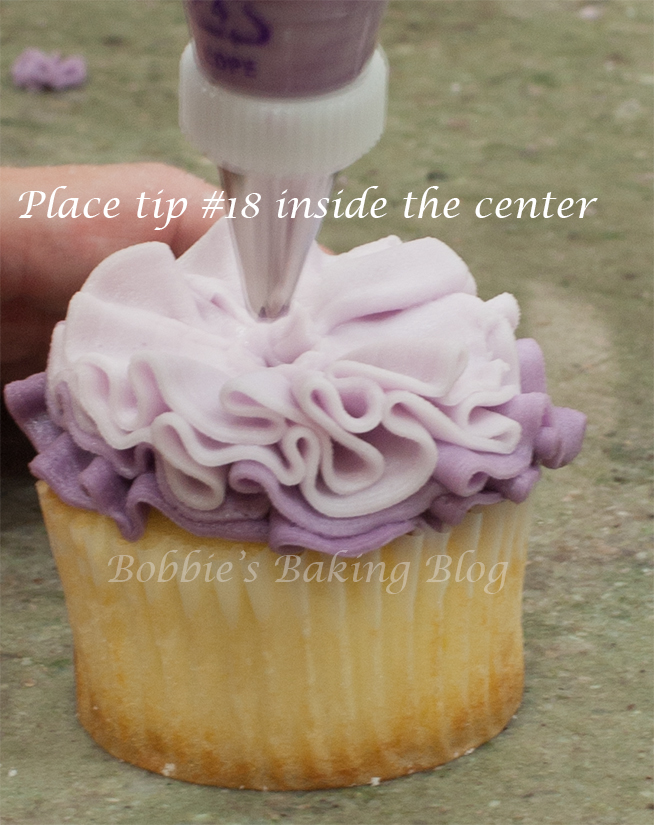
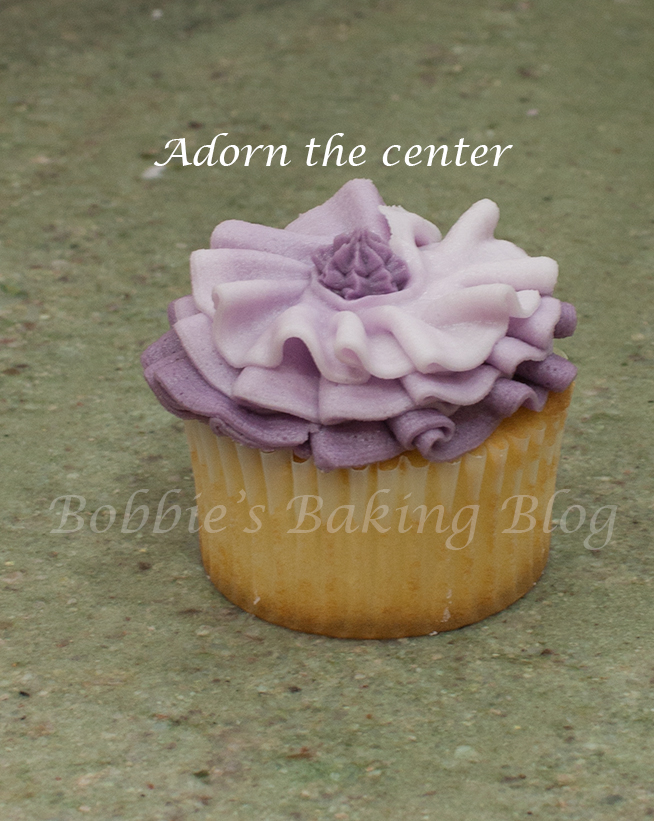
Pointers for success keep your tip/tube the width all the way around, start and end at the same spot, and begin each layer of color at the same spot as the first layer. As you pipe the ruffle you will notice a band, like a curtain line, place the your next two colors slightly above the band of the previous color, and adorn the the center with a star tip (we used #18). Place the star tip directly into the center of the ruffle circle at a 90 degree angle with even steady pressure pipe the star and pull as you ease off the pressure once the bottom of the star is full.
During the Ombre Ruffle Blossom Cupcake photo shoot I realized how “summery” the cupcakes were; I suppose that is not a surprise knowing my love of Summer!
Enjoy!

Voila!


Adorable! Is the tip a Wilton tip?
Hi Portia, thank you. The tip is a specialty tip/tube..I left the link for you on your Facebook message.
Hi Bobbie, I am trying to sign up for your newsletter but I can’t get the subscribe button to update my info. Will you please advise. Thanks, Leslie
Thanks for the tutorial! I would like the link for that tip as well, please?!
I am glad you enjoyed the post! Here is the link, the tip actually now comes in a set, it didn’t when I bought it, http://www.shopchefrubber.com/Piping-Tips-Frill-Set/
I absolutely LOVE these! G-E-OR-Geous!! Thanks for the demo & link to the tip. I am always looking for a way to frost without a swirl – they get old so fast. 🙂
Ruffles are fun to add and seem to receive a wonderful response! Thank you for letting me know!
Un poste plein de conseils
Merci