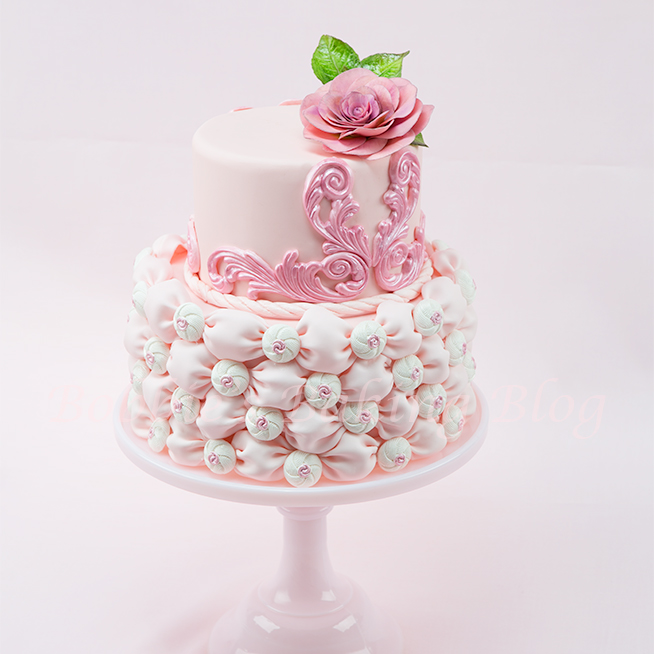
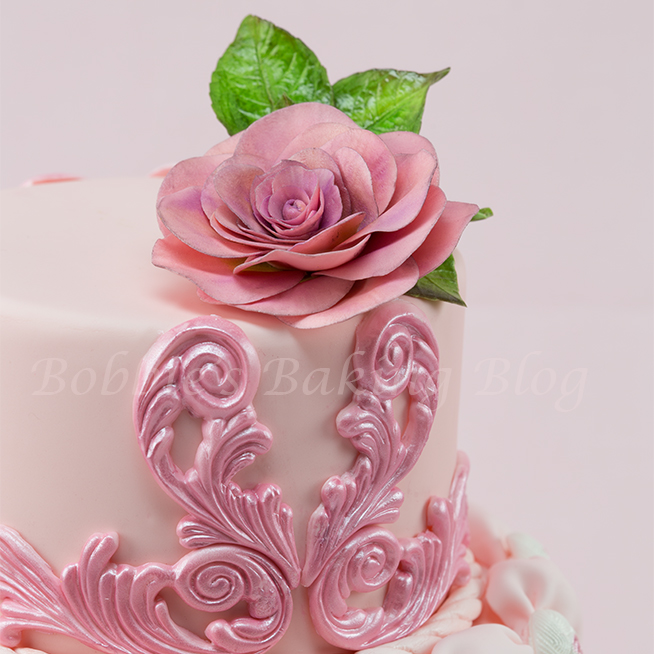
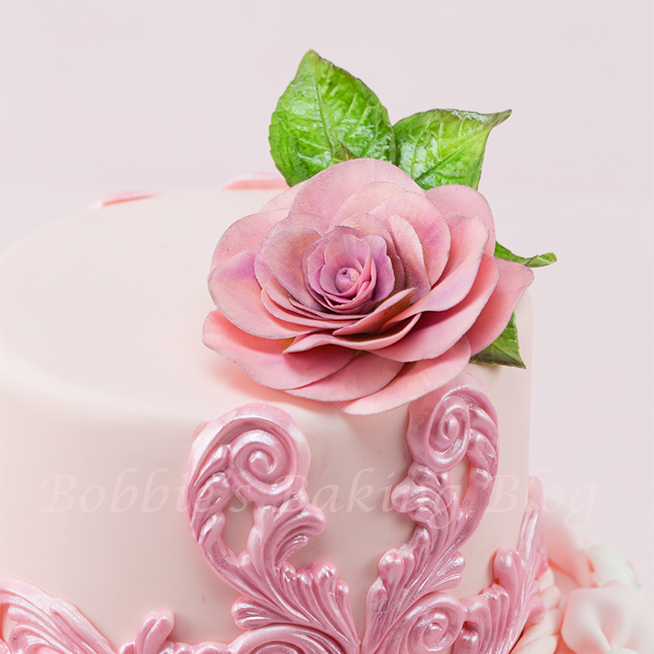
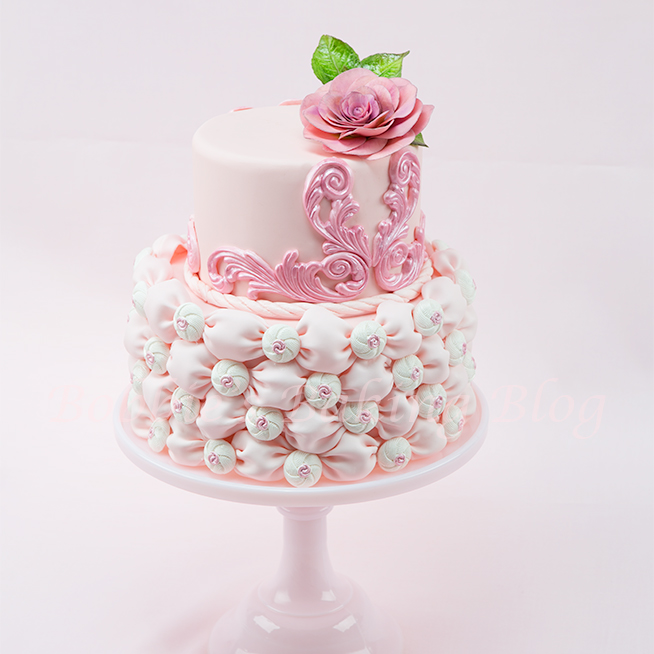
I love a full open rose sitting on top of a cake. It is a simple touch of elegance. I had planned on designing a few cakes for Sydney to choose from for 21st birthday party. The first element I need is for her to choose from is the type of topper; she is leaning towards a flower. She wanted to see a few different types, last year we designed Butterfly Orchids for her birthday cake. This year she hasn’t a clue, so I thought I would start with the rose, but I wanted to have a fabric quality to match the cake design, (I plan to explain the cake design in another post).
I found a perfect rose at a flower shop, The Pink Graduate and designed the gumpaste on this cake to resemble the Pink Graduate. Generally pink roses are given to those whom you want to show thankfulness, admiration, and happiness. Perfect for how I fell about my daughter, Sydney!
Sugar Paste Roses:
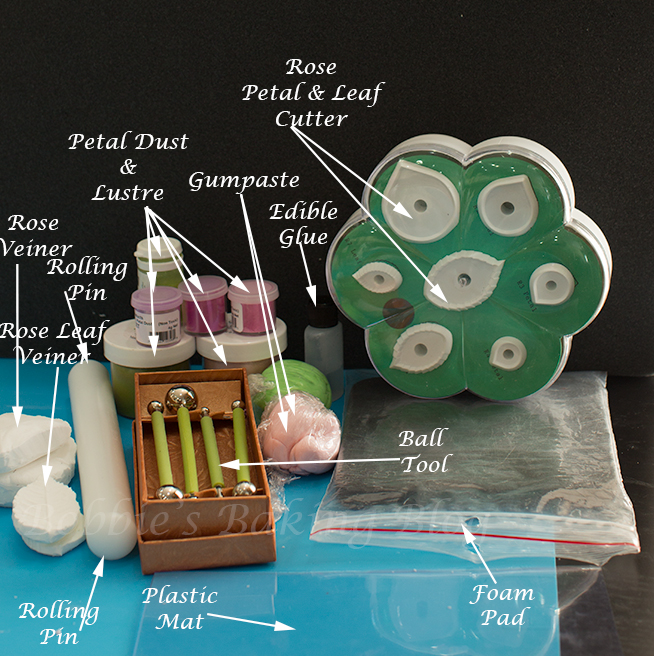
Equipment:
- Rose petal cutters, OP
- Rose leaf cutters, OP
- Calyx cutter, OP
- Foam Pad
- Ball tool
- Rose letal veiner, SKGI
- Rose leaf veiner. SKGI
- Ceramic stick, HP
- Scriber tool
- Paper towel
- Parchment paper
- 24, 26 and 28 gauge white and green wire
- White floral tape
- Nile green floral tape
- Celformer
- Ridge broad
- Pasta machine, optional
- Plastic spoon
Materials:
- White gum paste or sugar paste
- Green food paste
- Pink food paste
- Magenta petal dust, CK
- Fairy pink petal dust, Cc
- Buttercup yellow petal dust, CK
- American beauty petal dust, NL
- Cosmo petal dust, CK
- Vine green petal dust, SKGI
- Aubergine petal dust, SKgI
- Foliage green petal dust, CC
- Edible vanish, CK
- Egg white
- Cornstarch
- Crisco
Prepare your mise en place and color your gumpaste/sugar paste.
The Bud:
Forth and Fifth layer
This fabric fondant rose is built in the former, you do not need to wire each petal. Prepare your 24 gauge wire, with a small pair of needle nose pliers bend the top part into an open hook. Shape a small piece of fondant into a cone or egg shape about 2/3 the size of your smallest petal. Dip the hook end of your 24 gauge wire into your egg white and insert the wire into the cone end of your egg/cone shaped bud. Set in a floral foam to dry overnight.
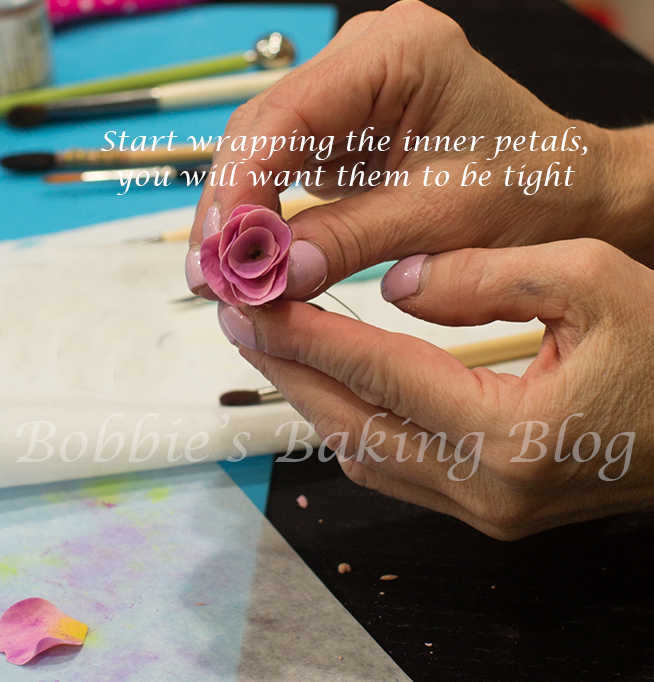
Roll your pale pink gumpaste/sugar paste with your small fondant rolling pin, place the paste in a pasta machine and gradually roll the paste to a number 6 (if your pasta machine’s largest opening is 0, if your largest opening is a higher number adjust to match the thinness).Cut 9 petals with the smallest petal cutter and place the petals under the plastic mat. Use your ball tool to soften the edges. Use a rolling method to just soften the rough edges, and do not frill the small petals. Once all the petal are soften moisten each petal, one at a time, with egg white. Wrap the first petal around the cone, continue to wrap two more petals in the same manor. Moisten the next three petals, one at a time, for the second layer. Add the petals this time leaving the right side slightly open, in order to tuck the next petal underneath. The petals should be spiraled. Place the rose bud back in the floral foam.
Yes there might be 3 extra petals, best to be safe than sorry. If you did not need to use the extra petals knead them and add the paste back to the pink paste to be used again.
The Petals:
For a fabric rose effect we found building the rose from the outside in works best.
First Layer
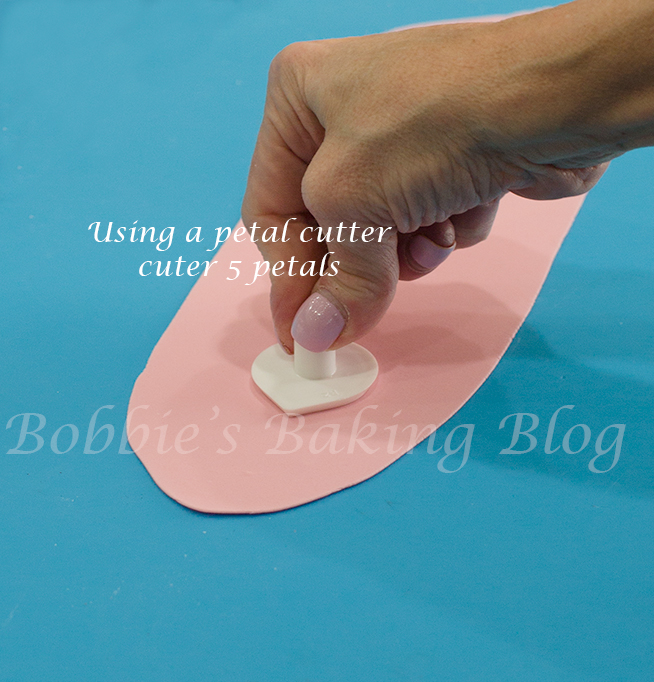
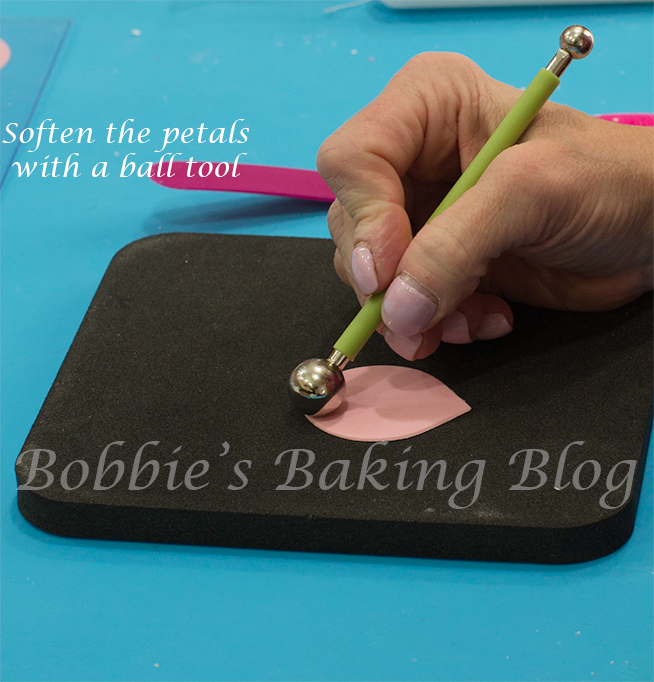
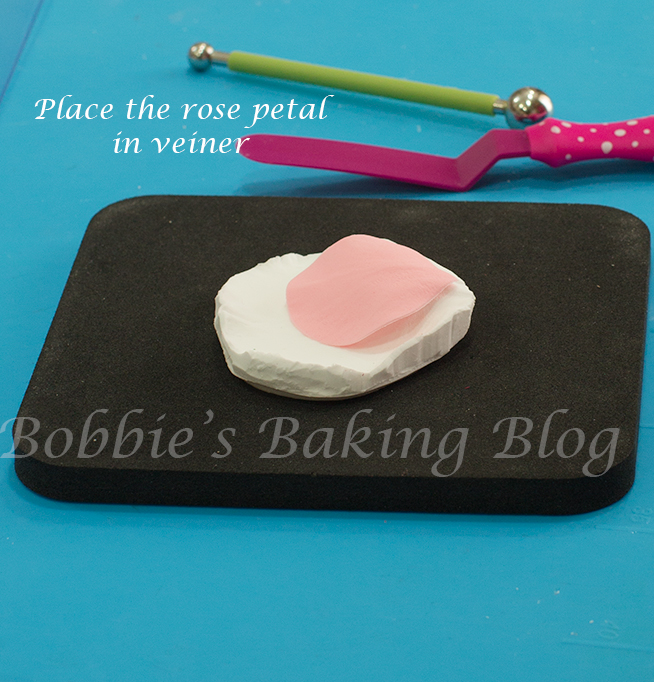
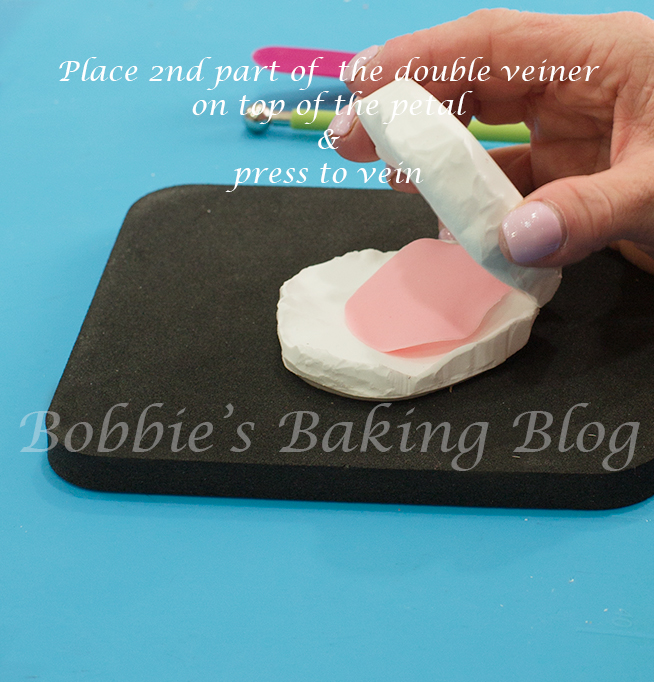
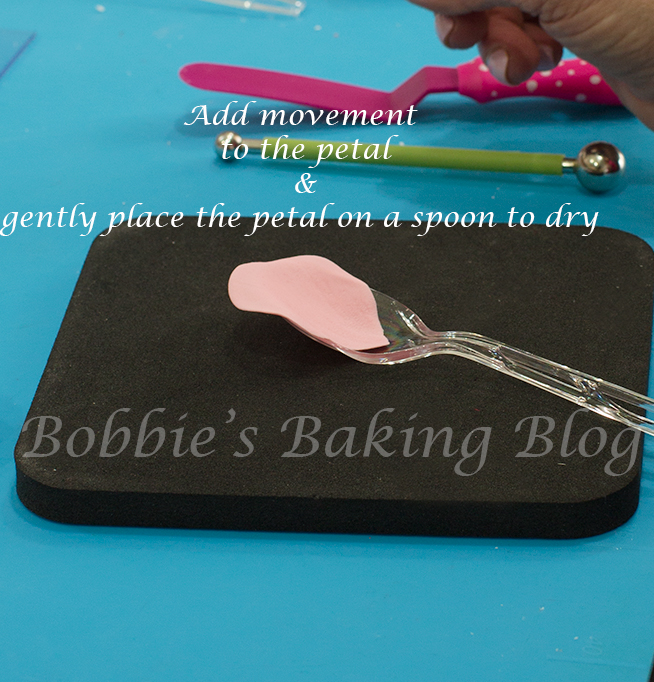
Roll the sugar paste to a # 6 on the pasta machine. Cut out 15 petals, using the largest petal cutter. Place the cut petals under your plastic mat, to keep the paste from drying out (you will only need 9, but to be safe we like having a few extra for breakage). Take one of petals lay it on your foam pad, using the ball tool to soften the edges, add a slight frill, and add movement to the petal. Vein the petal with your petal veiner, place the petal on the bottom veiner, close the top petal veiner over the sugar paste petal, and press. Place the vein petal back on the foam pad and hollow out the centre, using your ball tool. Place the petal on a plastic spoon to hold the shape while slightly drying.
Second Layer and Third Layer
Roll out the pale pink pink paste to a #6 on a pasta machine, or you may roll the paste by hand (you should be able to see through the paste, like tissue paper). Using the next size down from the largest size, cut 16 petals, 12 petals are what you will need. Place the petals under a plastic mat to keep them moist. Place one petal on the foam pad soften the edges and vein the petal as you did before, but this time you do not need to hollow the petal’s centre. Place the petal on a plastic spoon to hold the shape while slightly drying.
Dusting and Layering in the Former:
Once the sugar paste petals are dry enough to hold it’s shape, however still pliable to form on the Celformer, colour the petals with petal dust and lustre dust. Roses have a few colours in each petal, for this rose I chose yellow for the base, and built the shades of pinks in the centre, and brush just the lip of the top of the petal. If you study a rose they are generally dark in the centre and fade in colour as the petals open. You can also are brush the petals if you prefer.
Layering the Petals:
After you have dusted the petals place the largest petal on the bottom or the first layer on the former. Moisten the point/bottom and lower side of the petal with edible glue, arrange the nine petals how you prefer them to lay, and be sure they slightly overlap on the right-hand-side. As you arrange your petals be sure to tuck them under the previous petal. Proceed the same way with the next two layers, slightly cupping upwards as you place the petals, again be sure to slightly overlap. With a scriber too gently create a hole in the centre of the flower and pull the wire bud through the whole. Set safely aside to dry while you create your cake.
Calyx and Leaves:
Roll some light green sugar paste/gumpaste to a #4 on the pasta machine (if you do not have a pasta machine roll by hand). Cut one calyx with the calyx cutter. Roll the gum paste slightly on a ridge broad, 5 large leaves with the large leaf cutter, and three small leaves. You will need four large leaves and two small..extra leaves are for breakage.
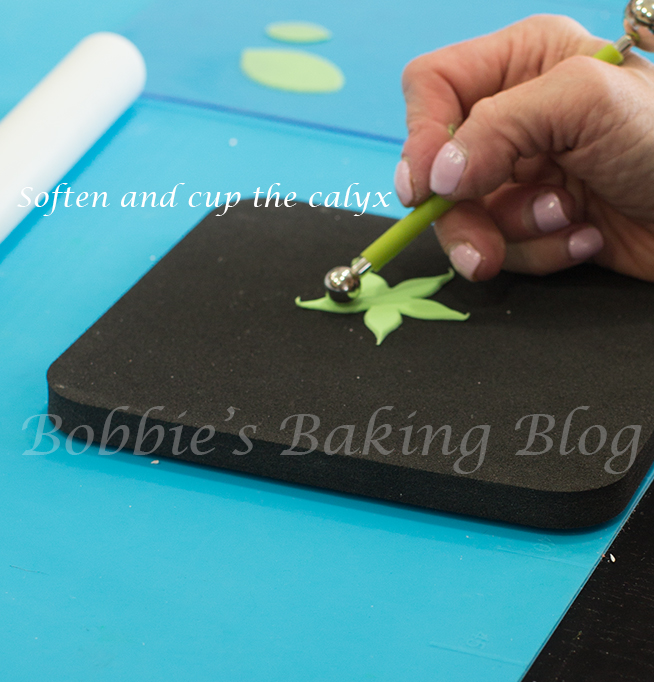
Place the leaves under the plastic mat and calyx on the foam pad. Soften the edges with a ball tool and cup/hollow the centre of calyx. Thread each leaf half of the way into the ridge, and use 28 gauge floral wire. Soften and vein with a rose leaf veiner, add some movement to the leaves, and pinch the leaf from the back to exaggerate the centre vein. Place little pieces of foam or paper towel under the leaves to dry with the movement.
Dusting Calyx and Leaves:
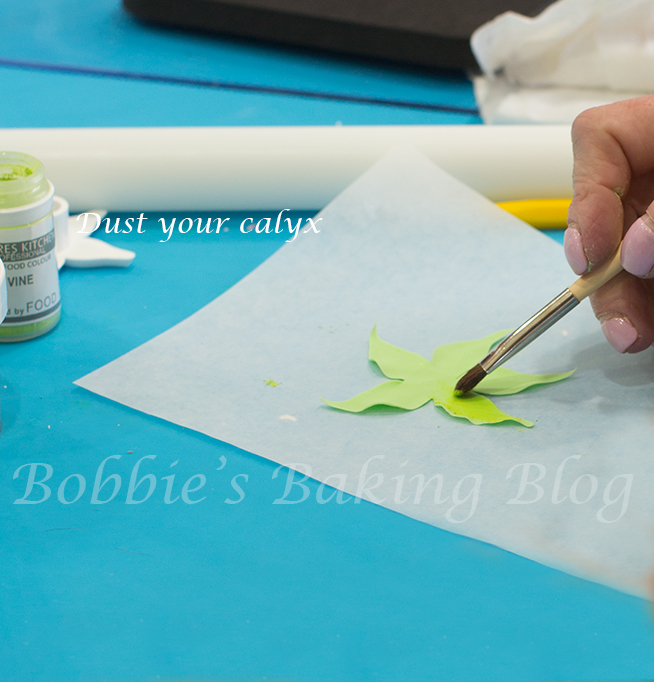
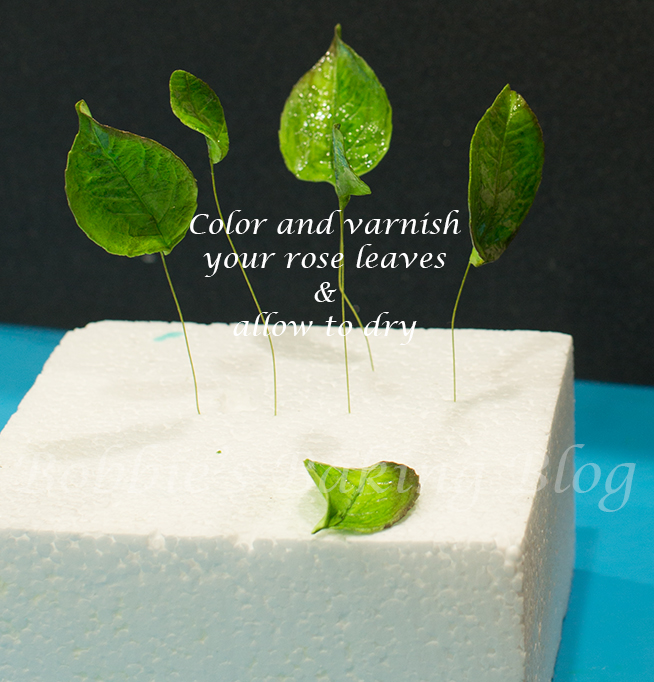
I dusted the calyx completely with a mixture of 50/50 of buttercup yellow and vine green. I then layered the calyx with foliage and little aubergine on the edges. The leaves are dusted with same colours as the calyx, however once the leaves dry I varnished them with an edible varnish. Allow the leaves to dry overnight after varnishing, place in the floral foam. Use the scriber tool to create a hole, gently place the wire rose through the calyx hole, and twist the sides of the calyx slightly to resemble movement.
Generally, prepared floral roses have three to six leaves arranged per rose. I chose to to do two sets of two large leaves with each set having one small leaf. Floral wrap two large leaves together with nile green floral tape, about 1/8 down add the small leaf, and continue to wrap with the nile green floral tape. Repeat for the second set.
I suppose I will be creating a few more flowers and cakes for Sydney to choose from since her birthday is not until August.
Have fun creating your own open fabric fondant rose, or roses.
Enjoy!



This cake is gorgeous!
Thank you