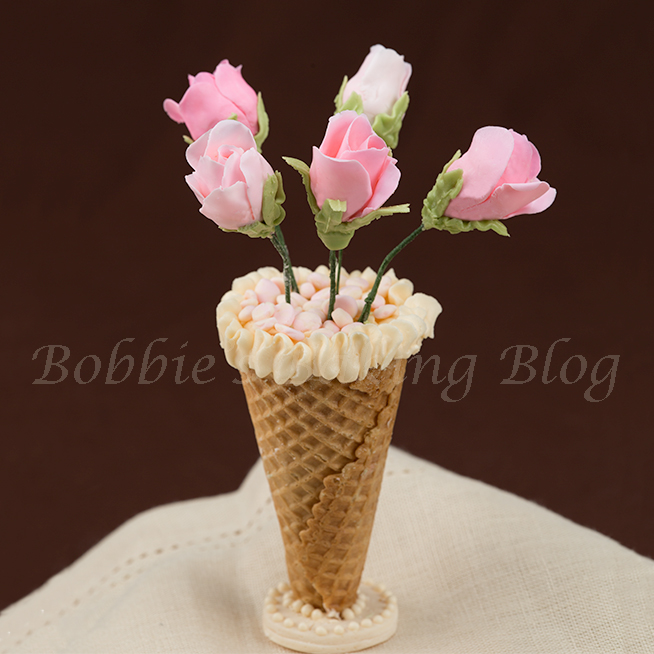
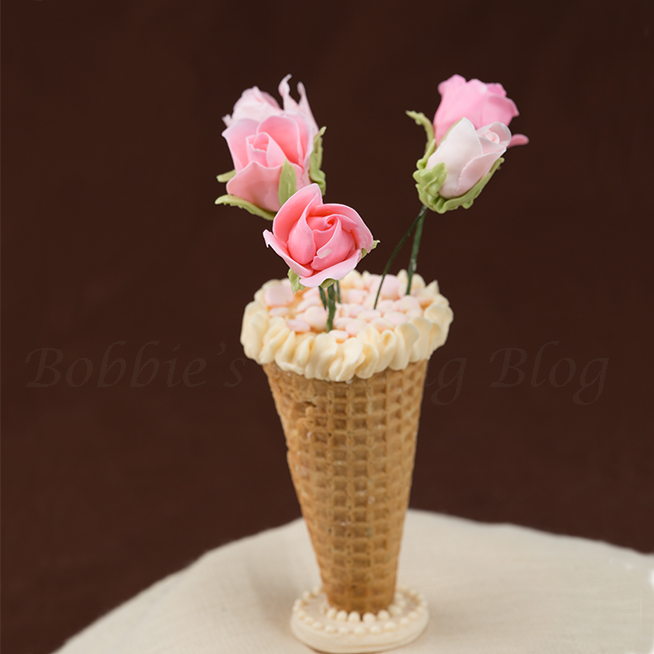
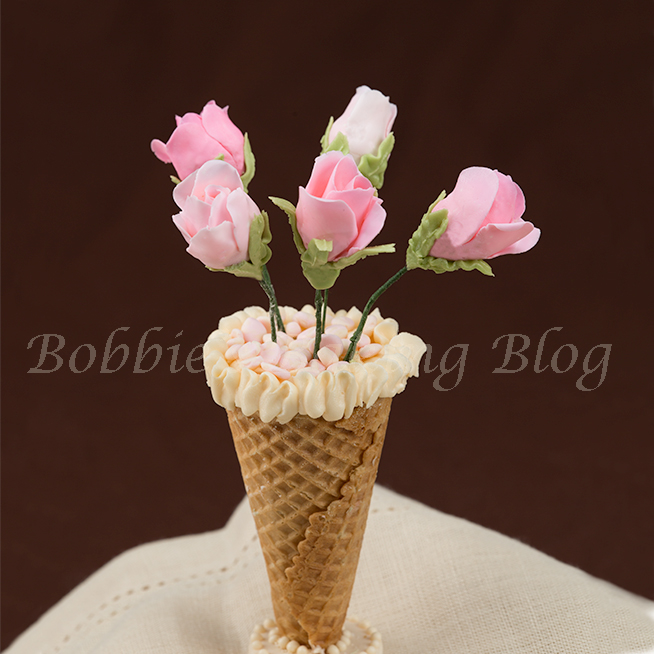
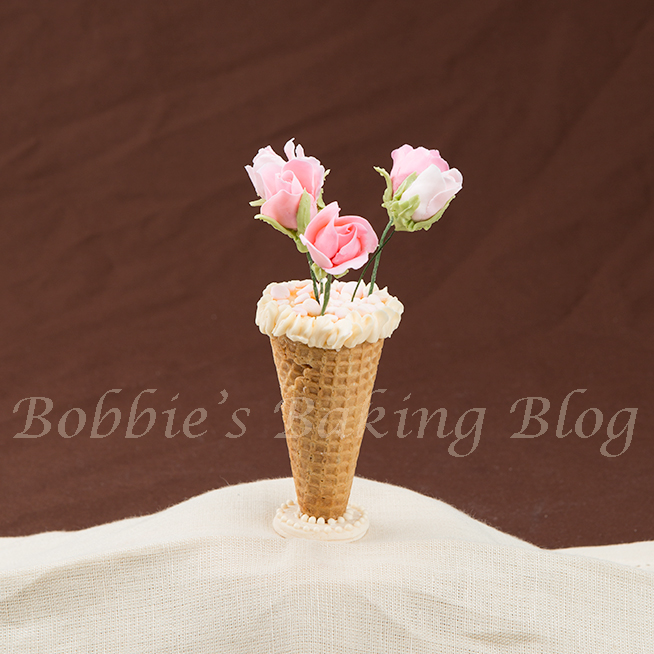
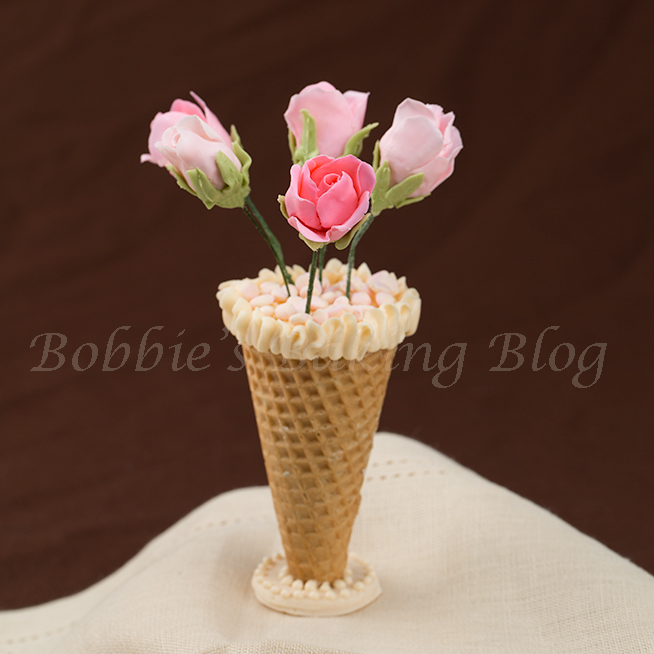
I know I have gone cake decorating “crazy” when I see an ice cream cone and instead of thinking what flavor ice cream I want; I picture a vase holding long stem modeling chocolate roses. My husband wanted to grab ice cream on Saturday due to our unusual warm weather (today Denver is only 22 degrees), as we were waiting in line I visualized using an ice cream cone for a vase. Literally the moment we arrived home I began creating modeling chocolate roses. I had made some modeling chocolate on Friday, for another project, and we always have ice cream cones in the pantry, I was set.
It accord to me my vase design with the long stem modeling chocolate roses would be apropos for a Valentine’s day cake topper, or by itself a cute Valentine’s day treat. The entire vase and roses are completely edible, except for the wire. I didn’t need any edible glue to attach the roses; they will easily slide off the wire without damaging any petals!
Long Stem Modeling Chocolate Rose in a Vase:
Equipment:
- Sandwich bag
- Your buckle or finger
- # 22 dark green or white wire
- Dark green floral tape
- Artist brushes
- Pme St-50 leaf nozzle
- # 57 PME nozzle, or Wilton 101 nozzle
- Toothpicks
- Piping cornets or piping bags, 3
Materials
- White modeling chocolate prepared the day ahead, recipe follows
- Royal icing
- Royal icing bead constancy
- Food Pate,
- Ivory, Wilton
- Moss green, Wilton
- Pink, Wilton
- A cup of water
- 1-Ice cream cone
Find supplies here
Modeling Chocolate Recipe:
Adapted from Lauren Kitchen’s
•840 grams/ 14.5 ounces mermen’s white chocolate melted
• 1 cup (237 ml) light (clear) Karo corn syrup
Prepare your mise en place.
Melt the chocolate in a microwave-safe bowl in 30-second intervals on High (100%), stirring between heating. (Do not overheat.)
Heat corn syrup in a separate microwave safebowl on High (100%) for 30 seconds.
Pour syrup into melted chocolate and stir with a rubber spatula until completely
blended, about 20 -30 folds with the spatula. You will want to be sure the spatula and bowl are scraped clean of white chocolate. (Mix until the streaks are gone.)
Do not over-mix.
Line the back of 1/2-sheet cake pan with a large sheet of plastic wrap, leave a generous amount hang off the pan.
Pour chocolate mixture into pan and wrap the plastic wrap around the chocolate. Pull the plastic wrap straight and tight over the chocolate.
The next day, cut the block of modeling chocolate into knead-able sections.
The block will be greasy. It needs to be kneaded. Dust a little cornstarch on the
table to knead if chocolate is sticky. As you knead the block it will change from a hard block to a silky and pliable clay-like ball.
Cover with plastic wrap and place in an resealable plastic
bag for storage.
I create tiny pebbles with ivory modeling chocolate and pink modeling chocolate and used the chocolate pebbles to hide the insertion of wire.
For construction of vase.
Have fun creating your own vase with long stem modeling chocolate..I would love to see your designs and with permission post the photos on my Facebook page.
Enjoy!



I just finished watching this tutorial on You Tube. It likes so much fun I am going to give it a try. However, what did you put in the ice cream cone and what did you make the little platform at the bottom on the cone out of? Thank you for your reply.
Marlene
The “pebbles” were made of modeling chocolate rolled into pebble shapes and the base was a disk of modeling chocolate piped with a royal icing border. Soak the bottom of cone in water to cut the point off with ease and attach with royal icing.